How to Do a DIY Delamination Repair in 3 Steps
Stephen Griswell • April 28, 2026
A small bubble on your roof might not seem like an emergency, but it’s a warning sign you shouldn’t ignore. This is delamination, a process where the fused layers of your roofing material fail and separate. Each bubble is a weak point, creating a pathway for moisture to seep in and cause rot, mold, and structural decay. The longer you wait, the more the damage spreads, turning a small fix into a major expense. This guide explains how to stop the problem in its tracks. You’ll learn how to identify the signs, what causes the issue, and the proper procedure for a lasting delamination repair.
Key Takeaways
- Recognize delamination to prevent leaks: This separation of roofing layers creates weak spots like blisters, bubbles, and curls. Identifying these signs early helps you stop water damage before it starts and avoid more significant structural problems.
- A successful repair depends on careful preparation: For a small DIY fix to hold, you must work with a completely clean and dry surface, use the correct roofing-grade adhesive, and allow the area to cure fully without exposure to moisture.
- Proactive maintenance is your best defense : You can avoid most delamination issues with routine care. Schedule regular roof inspections, keep your gutters clear to prevent water backup, and understand when a problem is too extensive for a DIY fix and requires a professional.
What Is Roof Delamination?
When you hear the term "delamination," you might picture something peeling apart, and that’s exactly what happens to a roof. Roof delamination is the separation of the bonded layers that make up your roofing materials. For homes with asphalt shingles, this can look like blistering, bubbling, or curling along the shingle’s surface. On a commercial flat roof, you might see large bubbles or areas where the membrane is lifting away from the substrate underneath. It’s essentially a failure of the adhesive that holds the different plies of the material together.
This separation is more than just a cosmetic issue. The layers of your roofing materials are fused together to create a strong, waterproof barrier. When they come apart, that barrier is compromised. Each bubble or peel creates a weak spot where water can collect, wind can catch, and physical damage can easily occur. Think of it like a blister on your skin; the raised area is fragile and prone to breaking open. On your roof, a broken blister exposes the underlying layers to the elements, accelerating wear and tear. Ignoring these signs allows small problems to grow, potentially leading to significant leaks and damage to your property’s structure. Catching delamination early is key to protecting your investment and avoiding a much larger repair bill down the road.
Understanding the Causes: Water, Age, and Weather
The most common cause of roof delamination is moisture. When water finds its way between the layers of a shingle or roofing membrane, it begins to break down the adhesives that hold everything together. This water intrusion can happen because of poor attic ventilation creating condensation, ice dams forcing water under shingles, or tiny cracks that form over time. Age and weather also play a big part. Years of exposure to the sun’s UV rays and the constant cycle of heating and cooling can weaken the material bonds. Severe weather, like high winds that lift shingles or hail that creates impact points, can create the initial opening for moisture to get in and start the delamination process for your residential roofing system.
How It Affects Your Roofing System
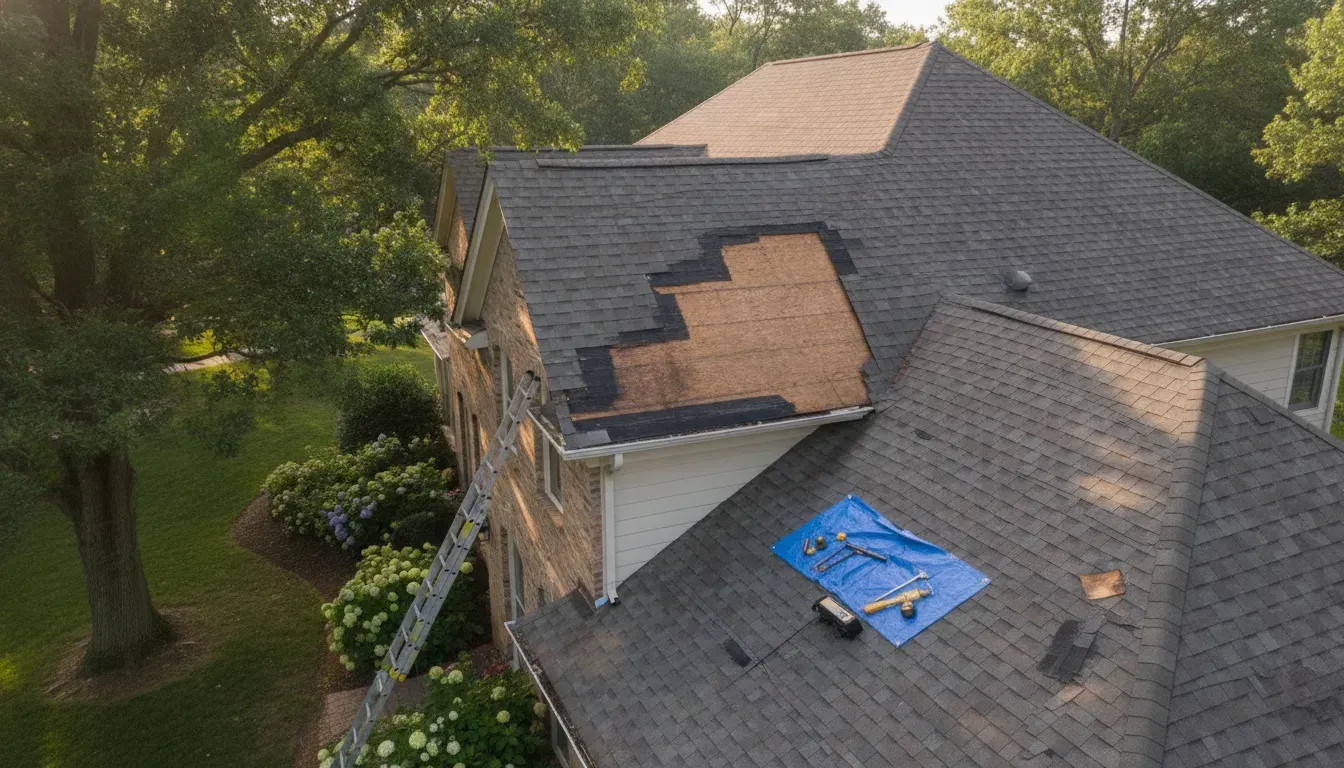
Delamination is a serious threat to the health of your entire roofing system. A single blister on a shingle might seem small, but it’s a sign of a weak point. This spot is much more susceptible to being torn off by wind or cracked by hail. As the layers separate, the material loses its structural integrity and its ability to shed water effectively. If left unaddressed, the problem will spread, and these weak spots will eventually fail, leading to active leaks. A persistent leak can cause wood rot in your roof deck, saturate your insulation, and even lead to mold growth inside your home or business. Essentially, delamination is the beginning of a chain reaction that can shorten your roof’s lifespan and lead to extensive, costly damage.
How to Spot the Signs of Delamination
Catching roof delamination early can save you from a world of headaches and costly repairs down the line. Think of it as a small problem that can quickly escalate if ignored. When the layers of your roofing materials start to separate, it creates an opening for moisture, which can lead to leaks, rot, and structural damage. The good news is that you don't need to be a roofing expert to spot the initial warning signs. A few simple checks can help you identify potential issues before they become major emergencies.
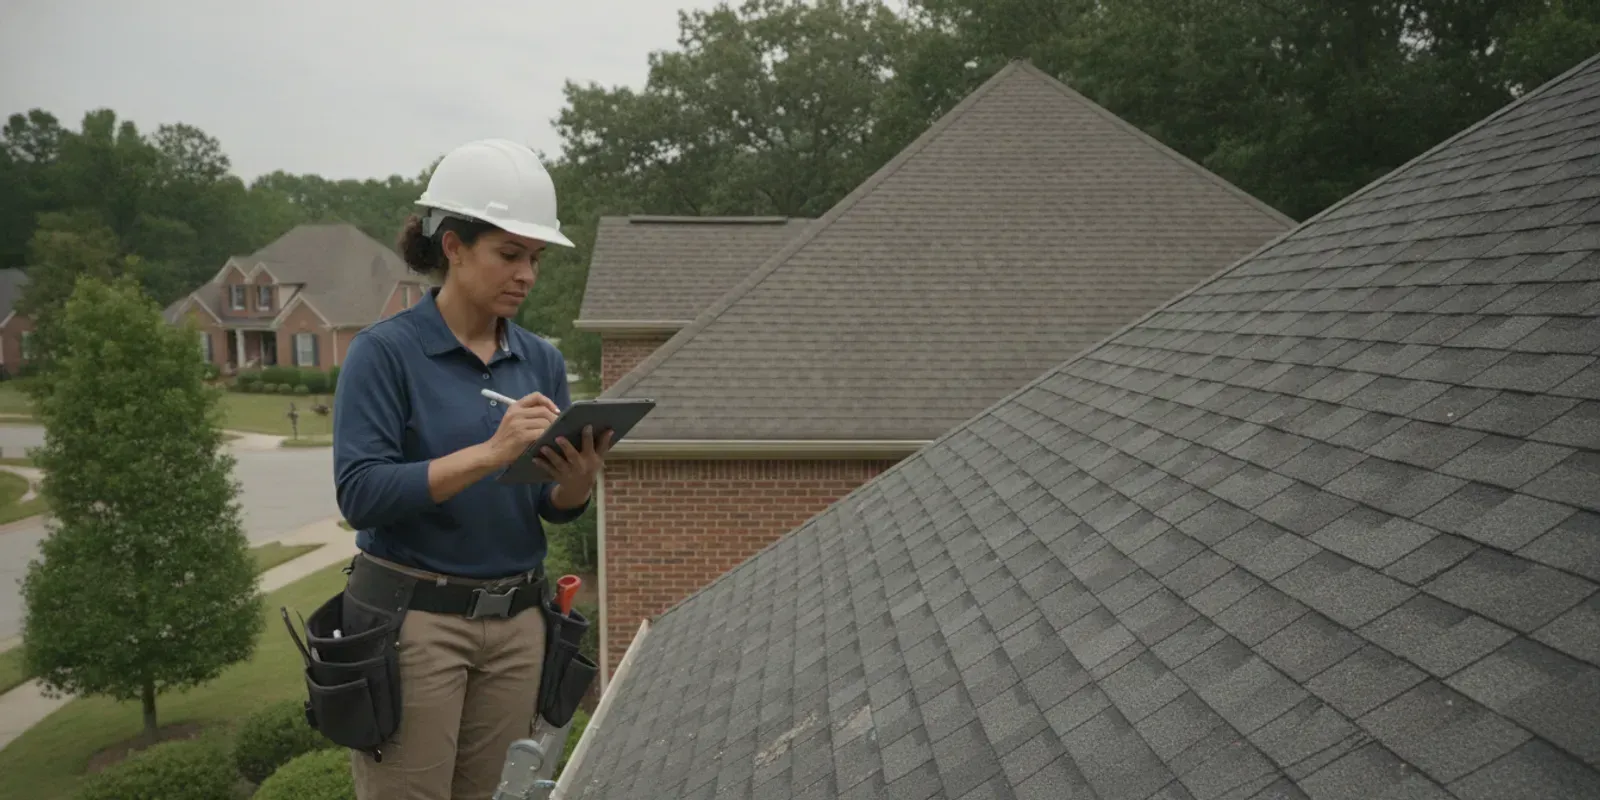
By regularly inspecting your roof, especially after heavy storms or significant weather changes, you can stay ahead of the game. This proactive approach helps protect your investment and gives you peace of mind. Below are a few practical methods you can use to check for delamination on your own. Remember to always prioritize safety; if you're not comfortable getting on your roof, it's best to call a professional for an inspection. The goal is to be informed, not to take unnecessary risks. Knowing what to look for is the first step in maintaining a healthy, long-lasting roof.
Perform a Visual Inspection
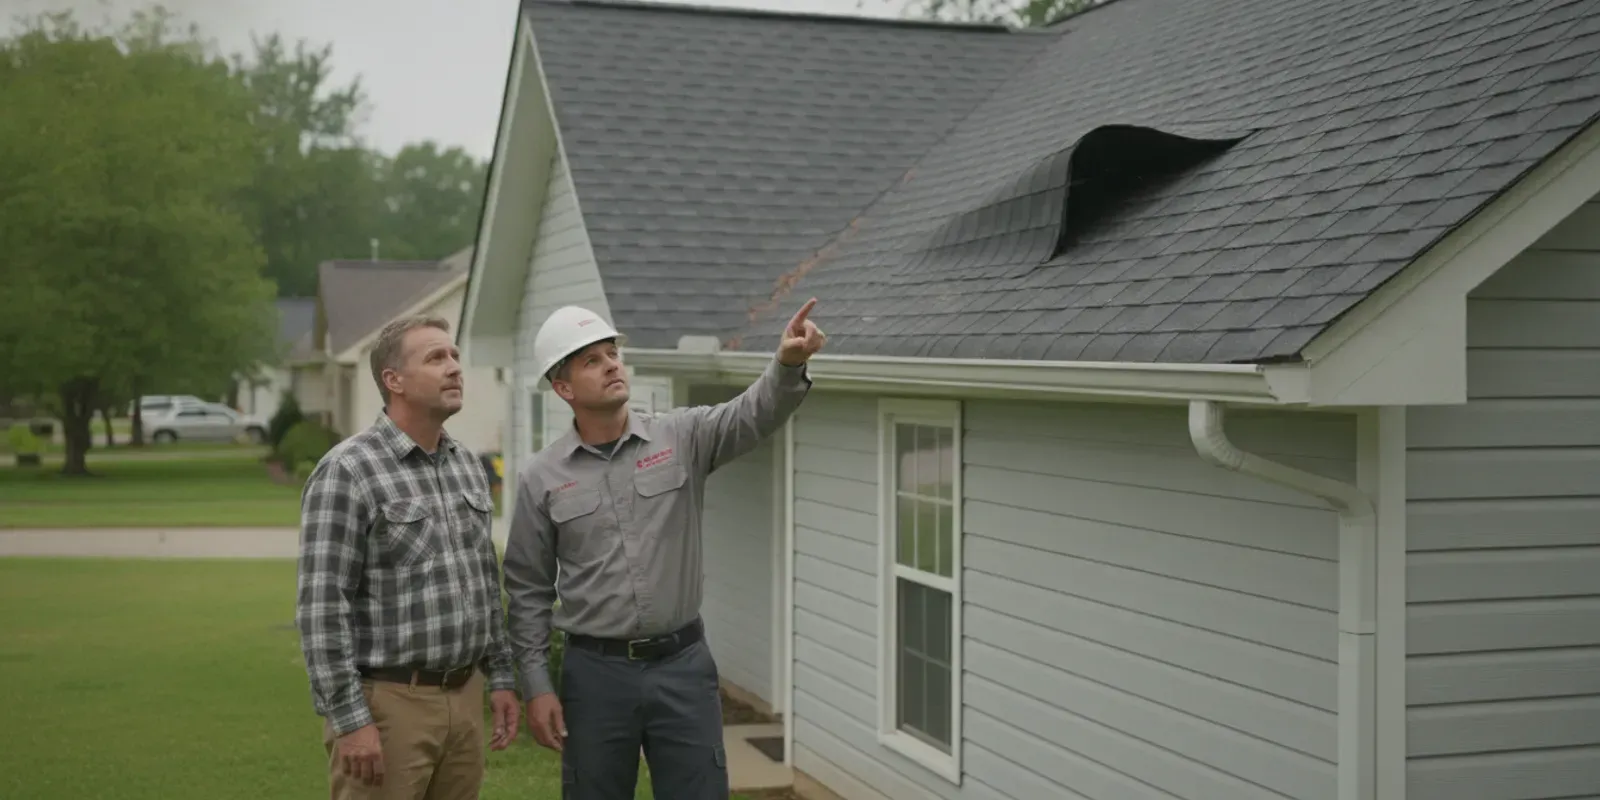
The easiest way to start is with a simple visual check. From a safe vantage point on the ground, use binoculars to get a closer look at your roof's surface. You’re searching for anything that looks out of place. On shingle roofs, look for shingles that are curling, cracking, or appear bubbled or blistered. For flat or low-slope commercial roofing systems, scan for bubbles, wrinkles, or areas that look swollen. These are often the first indicators that the layers are beginning to separate and that moisture may be trapped underneath.
Use the Tap and Pressure Test
If you can safely access your roof, a gentle pressure test can reveal hidden problems. Carefully walk across the roof and pay attention to how it feels underfoot. Areas that feel soft, spongy, or bouncy are significant red flags for underlying moisture damage and delamination. You can also gently press on any bubbles or blisters you find. If they feel soft or give way easily, it’s a strong sign that the layers have separated. This test helps you identify weak spots that aren't always visible to the naked eye, indicating a compromised roofing structure.
Know the Most Vulnerable Areas
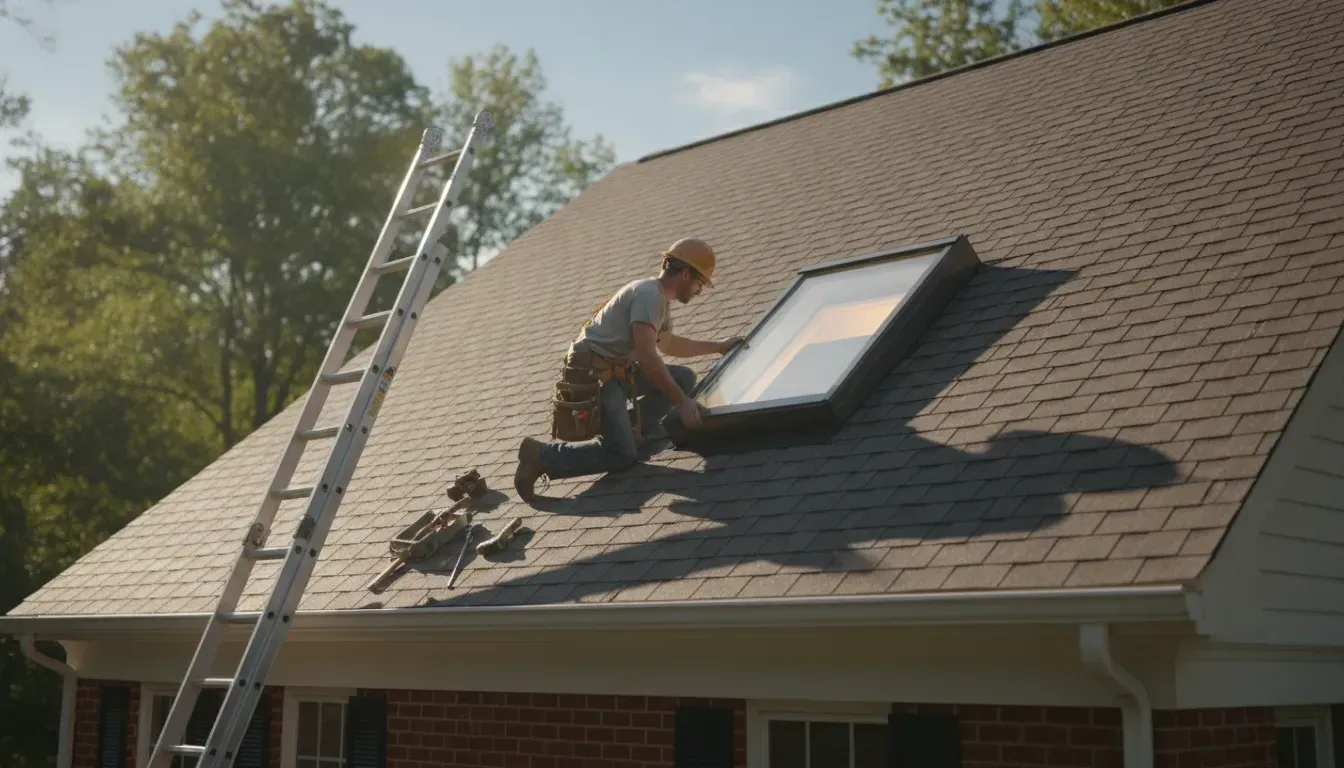
Delamination often starts in areas where water is most likely to collect or seep in. Pay close attention to the flashing around chimneys, vents, and skylights. These seams are common failure points. Also, inspect the valleys where different roof planes meet and the edges of the roofline. Clogged gutters can cause water to back up under the shingles, creating the perfect environment for delamination to begin. By knowing where your roof is most vulnerable, you can focus your inspections on the areas that need the most attention and catch problems before they spread.
Gather Your Tools and Materials for Repair
Before you climb a ladder or touch the damaged area, it’s time to get organized. Having everything you need within arm's reach makes the repair process smoother and safer. A successful DIY project starts with proper preparation, so take a moment to gather your supplies. Think of it like cooking a meal; you want all your ingredients prepped and ready to go before you turn on the heat. This simple step prevents you from having to stop mid-repair to search for a tool, which is the last thing you want when you're working with fast-setting adhesives.
Essential Safety Gear
First things first, let's talk about safety. This isn't a step you can afford to skip. Working with adhesives and roofing materials can be messy and potentially hazardous, so protecting yourself is your top priority. Always wear safety gear like heavy-duty gloves to protect your hands from sticky resins and sharp edges, and safety glasses or goggles to shield your eyes from debris and chemical splashes. Sturdy, closed-toe shoes with good grip are also a must-have for any work involving ladders. Taking these simple precautions ensures your DIY project is remembered for the great results, not for an unnecessary injury.
The Right Adhesives and Sealants
The success of your delamination repair hinges on using the right bonding agents. This isn't the place for all-purpose glue from your junk drawer. You need a strong, waterproof adhesive specifically designed for roofing materials to ensure a durable, long-lasting fix. For most delamination issues, you'll need an epoxy resin, which you can inject into the separated layers. Your shopping list should include the epoxy resin itself, syringes with plastic tubing for precise application, mixing cups, and stir sticks. Having plenty of clamps, scrap wood for even pressure, and plastic sheeting to protect surrounding areas will also be crucial for a clean, professional-looking roof repair.
Basic Tools for the Job
Beyond the specialized adhesives, you’ll need a few basic tools to get the job done right. You will likely need to remove parts like trim or flashing to get to the damaged areas, so have a pry bar, hammer, and utility knife handy. A putty knife is great for scraping away old, loose material and applying fillers. When you’re ready to mix your adhesive, remember to work in small batches of about four to six ounces at a time. This keeps the epoxy manageable before it starts to set. Finally, make sure you have plenty of clean rags for quick cleanups and a caulk gun for resealing any trim you removed.
A Step-by-Step Guide to DIY Delamination Repair
If you've caught the delamination early and feel confident in your skills, a DIY repair might be an option for a small, accessible area. Tackling this project requires careful preparation and patience, but it can prevent the damage from spreading. Before you start, make sure you have all your tools and safety gear ready to go. This guide breaks down the process into three manageable steps to help you restore the integrity of the affected surface.
Remember, this is a general guide. The specific adhesive and technique will depend on your roofing material. When in doubt, consulting with a professional for your residential roofing needs is always the safest bet.
Step 1: Prepare and Clean the Damaged Area
Proper preparation is the key to a lasting repair. Start by clearly marking the delaminated section so you know the exact boundaries of your work area. Carefully remove any loose debris, peeling material, or old, failing sealant from the spot. Once the loose bits are gone, you need to clean the surface thoroughly. Use a mild soap and water solution to scrub away any dirt, grime, or algae. A clean surface ensures the new adhesive will form a strong bond. After cleaning, the most critical part of this step is to let the area dry completely. Trapped moisture is the enemy here, so give it ample time to air dry.
Step 2: Apply Adhesive and Clamp Securely
With a clean and dry surface, you’re ready for the adhesive. It’s best to use a high-quality, construction-grade epoxy or a sealant specifically designed for your roofing material. If your adhesive requires mixing, prepare it in small batches to prevent it from hardening before you can apply it. Using a syringe or a putty knife, carefully work the adhesive into the separated layers, ensuring you get even coverage throughout the delaminated pocket. The general process of injecting epoxy can be a useful reference. Immediately after applying the adhesive, press down firmly on the area to spread the product and push out any air bubbles. Use clamps or heavy, flat weights to apply consistent pressure while it sets.
Step 3: Let It Cure and Perform a Final Check
Patience is a virtue, especially when it comes to adhesives. The epoxy or sealant needs time to cure and create a permanent bond. Check the product’s instructions for the recommended curing time, which can be anywhere from 15 to 24 hours or more, depending on the product and weather conditions. It’s important to protect the repaired area from rain and direct sun while it cures. Once the recommended time has passed, remove your clamps or weights and give the area a final inspection. Press on it gently to ensure the layers have bonded securely. The surface should feel solid, with no give or separation.
Common DIY Mistakes to Avoid
A DIY project can be incredibly satisfying, but a few common missteps can turn a simple repair into a bigger headache. When it comes to delamination, getting the repair right the first time is crucial for protecting your roof and your home. By being aware of these potential pitfalls, you can approach your project with confidence and ensure a durable, long-lasting fix. Let's walk through the most frequent mistakes so you can steer clear of them.
Don't Rush the Timing or Planning
The most critical mistake you can make is jumping in without a solid plan. Thinking through the entire process beforehand is essential because you often only get one shot after applying the adhesive. Before you even open a tube of sealant, map out every step, from preparation to cleanup. Make sure you have all your tools and materials within arm's reach. Part of good planning also involves checking the weather forecast. You’ll need a string of clear, dry days for the adhesive to cure properly, so don’t try to squeeze this project in before a storm. A well-structured home repair plan is your best defense against a failed repair.
Apply and Mix Materials Correctly
When you’re working with adhesives like two-part epoxy, precision is everything. It can be tempting to mix one giant batch to save time, but this is a recipe for disaster. Most epoxies begin to harden quickly, so it’s best to mix small batches of about four to six ounces at a time. This gives you enough time to apply it without the mixture becoming unusable. Always use the pumps that come with your epoxy to get the right ratio of resin to hardener; an incorrect mix won’t cure properly, leaving you with a weak bond. Reading and following the manufacturer’s instructions is non-negotiable for a successful and permanent roof repair.
Always Consider Safety and Weather Conditions
Your personal safety should always be the top priority. You’ll be working with chemical adhesives and likely at a height, so always wear the right safety gear, including gloves and eye protection. Ensure your ladder is secure and you feel comfortable with its placement. Beyond personal safety, you need to consider the environmental conditions. Adhesives require specific temperatures to bond and cure correctly, so you’ll need warm, dry days for the repair. Attempting this work in cold or damp weather will likely result in a weak bond that fails over time, forcing you to do the job all over again. Following basic ladder safety guidelines is a simple step that can prevent serious injury.
How to Prevent Future Delamination
After you’ve tackled a delamination repair, the last thing you want is a repeat performance. The good news is that a little proactive care can go a long way in preventing future issues. By staying on top of your roof’s condition, you can protect your home and avoid costly repairs down the road.
Stick to a Regular Maintenance Schedule
Think of your roof like your car; it needs regular check-ups to perform its best. Scheduling routine inspections, ideally twice a year in the spring and fall, allows you to catch small issues before they escalate into major headaches. A professional can spot subtle signs of wear and tear that might go unnoticed. This simple habit is one of the most effective ways to extend the life of your residential roofing system and keep it in top shape. Catching a small blister or a loose shingle early is much easier and cheaper than dealing with widespread delamination later.
Seal Vulnerable Areas to Prevent Leaks
Water is the number one enemy of your roof and the primary cause of delamination. When moisture seeps between the roofing layers, it breaks down the adhesive bonds and starts the destructive process. Pay close attention to the most vulnerable spots on your roof. This includes the flashing around chimneys, vents, and skylights, as well as the seams and edges. Also, ensure your gutters are clean and functioning correctly, as clogged gutters can cause water to pool and seep under your shingles. Regularly checking and resealing these areas with a high-quality, waterproof sealant is a critical preventive step.
Know When a DIY Fix Isn't Enough
While a small, manageable repair can be a satisfying DIY project, it’s important to recognize your limits. If you discover extensive delamination, widespread water damage, or structural issues, it’s time to call in a professional. Attempting a large-scale repair without the right experience can often make the problem worse and lead to even more expensive fixes. Delamination repairs can be complex, and an expert can ensure the job is done correctly. When you’re facing a significant issue, trusting a team of certified professionals gives you peace of mind that your home is properly protected.
Related Articles
- Best Ways to Fix Common Roofing Issues
- Residential Roof Repair Prices: A Comprehensive Guide to What You Should Pay
- The Real Cost of a New Roof in Atlanta: Top Influencing Factors Revealed
- Essential Gutter Installation Cost Factors: An In-Depth Analysis
- 5 Types of Roofing System: A Complete Comparison
Frequently Asked Questions
Is delamination a sign that I need a whole new roof? Not always. If the delamination is limited to a small, isolated area and you catch it early, a professional repair is often a perfectly good solution. However, if you see widespread blistering across your roof, it could signal a larger issue like systemic material failure or chronic moisture problems from poor ventilation. In those cases, a full replacement might be the smarter long-term investment.
Can I just pop or cut open the bubbles on my roof to flatten them? Please avoid the temptation to do this. Cutting open a blister on a shingle or a bubble on a flat roof immediately destroys its waterproof integrity. This action creates a direct path for water to enter, which can accelerate damage to the underlying roof deck. The correct repair method involves injecting an adhesive to rebond the layers from underneath, keeping the top surface intact.
How can I tell the difference between delamination and normal shingle curling from age? This is a great question, as they can look similar. Normal aging usually causes a uniform, gentle curling along the bottom edges of the shingles over many years. Delamination, however, often looks like a random blister, bubble, or peeling patch that can appear anywhere on the shingle’s surface. It’s a more localized failure of the layers, whereas age-related curling is a more consistent sign of wear.
How long will a DIY repair last? The durability of a DIY repair depends heavily on your preparation and the products you use. If you thoroughly clean the area and use the correct construction-grade epoxy on a minor issue, the patch can hold for several years. Keep in mind, this is a spot treatment. It doesn't fix the underlying cause, so it’s possible for new delaminated areas to appear elsewhere over time.
If I see signs of delamination, should I always try to fix it myself first? A DIY approach is only suitable for a very small, easily accessible spot on an otherwise healthy roof. If the delamination is widespread, if you see it in multiple locations, or if the area feels soft underfoot, it's best to call a professional. These are indicators of a more serious problem that a simple adhesive repair won't solve, and you'll want an expert to assess the roof's structural health.