A Homeowner's Guide to Chimney Flashing Repair
Stephen Griswell • April 14, 2026
That mysterious water stain on the ceiling near your fireplace is a classic homeowner headache. It’s easy to assume the worst, but the culprit is often a small, fixable issue with your roof’s most vulnerable spot: the chimney. The metal seal where your chimney meets the roof, known as flashing, takes a constant beating from the elements. When it fails, water finds an easy path into your home. This guide is your complete resource for understanding everything about chimney flashing repair. We’ll walk you through how to spot the warning signs, what to expect in terms of cost, and how to decide if this is a project you can tackle yourself or one best left to the pros.
Key Takeaways
- Look for clues inside and out : The first sign of a flashing issue is often inside your home, like water stains near the fireplace. Regularly checking for these signs, along with visible rust or gaps on the roof, helps you catch problems before they cause serious damage.
- Understand the limits of a quick fix: Using caulk on a small gap is only a temporary solution that can hide bigger issues. Since chimney flashing is an interconnected system, patching one spot often fails, making a professional assessment the smarter choice for a lasting repair.
- Stay ahead of leaks with routine care: Prevent expensive surprises by scheduling annual roof inspections and keeping your gutters clear of debris. Addressing small leaks the moment you spot them is the most effective way to protect your home's structure and avoid major repairs down the line.
What is Chimney Flashing?
Think of chimney flashing as a custom-fit raincoat for the spot where your chimney meets your roof. It’s not just a single piece of material, but a carefully layered system of metal sheets that creates a waterproof seal. This barrier is designed to direct rainwater down your roof and into your gutters, preventing it from seeping into the vulnerable gap between your chimney structure and your roof deck.
Because your chimney and roof expand and contract at different rates with temperature changes, this joint needs a flexible and durable solution. Properly installed flashing is the key to keeping this area watertight and protecting your home from the elements. It’s one of the most critical components of both residential and commercial roofing systems.
How Flashing Protects Your Roof
The main job of chimney flashing is to prevent leaks. If the flashing fails, water can easily find its way into your attic, insulation, and the wooden framework of your roof. This moisture can lead to serious problems that are often hidden from view until the damage is extensive. A small leak can cause wood to rot, leading to structural weakness over time. It also creates a damp environment perfect for mold and mildew to grow, which can impact your home's air quality. You might notice water stains on your ceilings or walls near the fireplace, but by then, the underlying damage could be significant. Intact flashing is your first line of defense against these costly and stressful repairs.
Common Types of Flashing Materials
Flashing comes in several different materials, each with its own benefits and price point. The right choice often depends on your budget, climate, and roofing material. As an Owens Corning Platinum Preferred contractor, we know that using high-quality, compatible materials is essential for a long-lasting repair. Common options include copper, which is extremely durable and develops a beautiful patina over time, and stainless steel, another long-lasting choice. More budget-friendly materials include galvanized steel and aluminum. It's crucial to use only one type of metal for your flashing system. Mixing different metals, like copper and galvanized steel, can cause a chemical reaction called galvanic corrosion, which will eat away at the metal and cause it to fail prematurely.
Signs Your Chimney Flashing Needs Repair
Your chimney flashing is your roof’s first line of defense against water intrusion where the chimney meets the roofline. When it fails, it can lead to significant water damage that affects your attic, ceilings, and walls. The good news is that flashing usually gives you a few warning signs before a major problem occurs. Knowing what to look for can help you catch issues early, saving you from more extensive and costly repairs down the road. The key is to pay attention to clues both inside your home and on the roof itself, especially after heavy rain or wind.
Warning Signs Inside Your Home
Often, the first sign of a flashing problem isn’t on the roof at all, but inside your house. If you notice water stains on the ceiling or walls around your fireplace, it’s a strong indicator that water is getting in. These stains might look like yellowish or brownish circles that grow over time. You might also see peeling paint or wallpaper in the same area. Don’t ignore a musty smell in your attic or near the chimney, as this can point to hidden moisture and mold growth from a slow leak. These are clear signals that your residential roofing system has a breach that needs immediate attention.
Spotting Damage on Your Roof
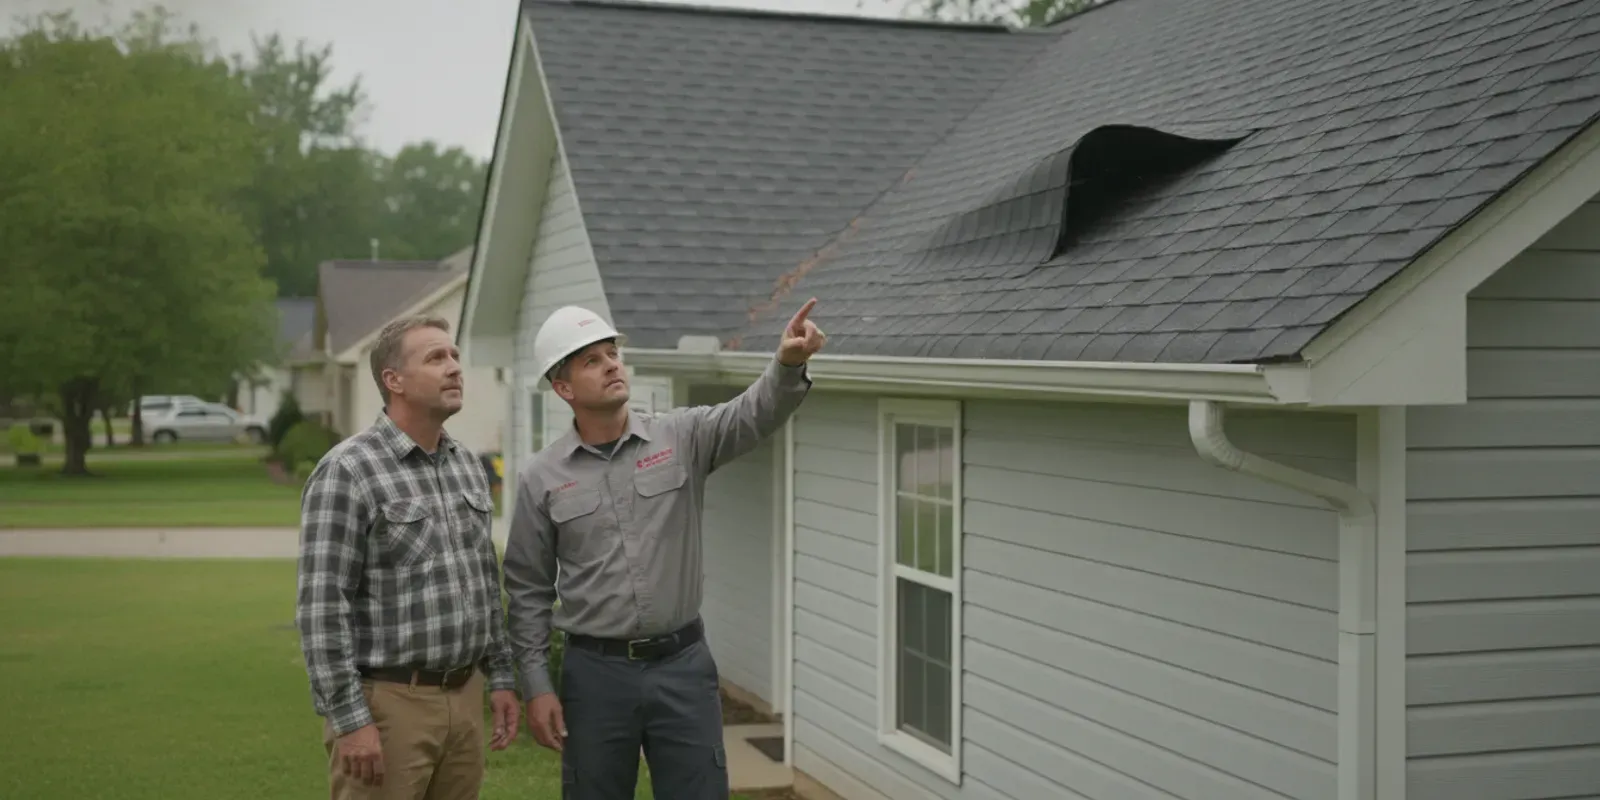
If you can safely view your roof from the ground or a window, you can often spot visible signs of flashing damage. Look for any metal pieces around the base of your chimney that appear bent, loose, or pulled away from the bricks. You should also check for cracked or crumbling sealant along the edges of the flashing, as this is a common failure point. Rust stains on the shingles or the chimney itself are another red flag, indicating that the metal is deteriorating. A professional roof inspection can safely identify these issues up close, but a quick visual scan can tell you if it’s time to call for help.
What to Look for After a Storm
Storms with heavy rain and high winds put your entire roofing system to the test, especially the flashing. After a storm passes, listen for any dripping sounds coming from your chimney or attic. Even if you don’t see water, this is a sure sign of an active leak. If it’s safe to do so, take a closer look at the flashing for any new damage. You might find small cracks, peeling caulk, or gaps that weren’t there before. Wind can lift the edges of the flashing, breaking the watertight seal and creating an entry point for rain. Addressing these small problems right away prevents them from turning into major leaks.
How Much Does Chimney Flashing Repair Cost?
Figuring out the budget for a chimney flashing repair is a top question for most homeowners. While the national average can range from $300 to $700, this is just a starting point. Minor fixes, like resealing a small gap, might only cost a couple hundred dollars. On the other hand, a complete replacement of the flashing system could run over $1,000. The final price tag really depends on the specifics of your home and the extent of the damage. Understanding what goes into the estimate will help you know what to expect when you get a quote from a professional.
Factors That Influence Repair Costs
Several key factors determine the final cost of your chimney flashing repair. The most significant is the amount of damage. A small leak caught early is much less expensive to fix than widespread water damage that has rotted the underlying wood. The size and height of your chimney also play a role, as a larger chimney requires more materials and a taller one can make the job more complex and time-consuming. Your roofer will also consider how easy it is to access the area. A steep roof pitch or tricky landscaping can increase labor costs. Finally, any extra work, like waterproofing or replacing damaged shingles around the chimney, will add to the total.
DIY vs. Professional Repair: A Cost Breakdown
You might be tempted to handle minor flashing issues yourself, which could cost between $100 and $200 in materials for things like caulk or small patches. While this can be a temporary fix for a tiny gap, it usually only lasts a year or two. For more significant problems like extensive rust, multiple leaks, or flashing that has pulled away from the chimney, you’ll want to call a professional. A professional repair typically costs between $700 and $1,500 but comes with expertise, quality materials, and a warranty. If the flashing is completely rusted through or you're getting a new residential roof, a full replacement is the only way to go.
How to Budget for Emergency Repairs
An unexpected roof leak is stressful, but you can prepare for the cost. Keep in mind that most professional repairs will fall somewhere between $300 and $700. To budget effectively, start by getting quotes from a few licensed and insured roofing contractors. This will give you a clear idea of the market rate for the work you need. Don't be afraid to ask about what’s included in the price. Many reputable companies also offer flexible financing options to help manage the expense without delay. Addressing a leak immediately is crucial, as waiting can allow a small, affordable repair to turn into a major, costly problem involving structural damage and mold.
Tools and Materials for DIY Flashing Repair
Before you even think about climbing a ladder, let’s talk about preparation. Having the right tools and materials on hand is the key to a successful and safe repair. A well-stocked toolkit not only makes the job easier but also ensures your repair will stand up to the elements. Think of this as your pre-flight checklist for fixing that pesky leak for good.
Your Safety Gear Checklist
First things first: your safety is non-negotiable. Always plan to work on a dry, calm day, as a wet or windy roof is a serious hazard. Your essential safety gear should include a sturdy, well-placed ladder, shoes with excellent grip, and heavy-duty work gloves to protect your hands. For any sloped roof, a safety harness is an absolute must. Even a short fall can cause severe injury, so it’s a piece of equipment worth investing in. Finally, wear safety glasses to shield your eyes from dust and debris while you work.
Choosing the Right Flashing and Sealant
Next, let's talk materials. You have a few options for flashing, each with its own pros and cons. Copper and stainless steel are the most durable choices and will last for decades, but they come with a higher price tag. For a more budget-friendly option, you can use galvanized steel or aluminum. While they don't last as long, they still provide solid protection. Just as important is your sealant. Don't grab any old tube of caulk; you need a high-quality, waterproof roofing sealant or cement designed to withstand harsh weather and bond securely to both the chimney and your residential roofing materials.
Supplies for Prepping the Work Area
Proper preparation is the secret to a long-lasting seal. To get the job done, you’ll need a few key tools to remove the old, damaged flashing and clean the surface. Make sure you have a pry bar or flat bar to gently lift the old metal and shingles, a hammer, and a stiff wire brush. The wire brush is crucial for scrubbing away all the old sealant, rust, and grime. A clean surface ensures the new sealant will adhere properly. You’ll also need tin snips to cut your new flashing to size and a trowel to apply the roofing cement smoothly.
How to Repair Chimney Flashing: A Step-by-Step Guide
Tackling a chimney flashing repair yourself can be a rewarding project, but it requires careful attention to detail and a serious commitment to safety. This guide walks you through the fundamental steps for a standard repair. Remember, working on a roof carries inherent risks. If you feel unsure at any point or if the damage seems extensive, your best and safest option is to contact a professional for roof repair services. A small mistake can lead to bigger, more expensive problems down the road, so it’s important to know your limits before you start.
Step 1: Prepare for Safety and Assess the Damage
Your safety is the top priority. Only work on a clear, dry day with no wind. Make sure your ladder is secure on level ground and always wear sturdy, non-slip shoes. For any roof with a noticeable slope, a safety harness is essential. Once you're safely positioned, take a close look at the flashing. Look for obvious signs of damage like rust, holes, or sections that have pulled away from the chimney or roof. If you've noticed leaks inside, check for water stains on the roof deck around the chimney. Also, inspect the surrounding shingles for any that are curled, cracked, or missing, as this can contribute to the problem.
Step 2: Remove the Old Flashing and Clean the Area
With the damage identified, you can begin removing the old flashing. Use a pry bar to carefully lift the shingles surrounding the chimney and gently pull out the old metal pieces. Take your time to avoid damaging the shingles or the chimney bricks. Once the old flashing is gone, the next crucial step is cleaning the entire area. Use a wire brush to scrub away old sealant, dirt, and any loose debris from both the roof deck and the chimney surface. A clean, smooth surface is vital for ensuring the new flashing and sealant create a watertight bond that will last for years.
Step 3: Install New Step and Counter Flashing
Proper flashing involves a two-part system: step flashing and counter flashing. Step flashing pieces are L-shaped and get woven into the shingle courses along the side of the chimney. Start from the bottom and work your way up, placing a piece of flashing with each new row of shingles. The counter flashing is the second layer that covers the top edge of the step flashing. It is typically set into the chimney's mortar joints. You may need a grinder with a masonry blade to cut a clean groove about an inch deep into the mortar, then fit the counter flashing into the groove and secure it.
Step 4: Apply Sealant and Perform a Final Check
After all the new metal is in place, the final step is to seal everything. Apply a generous bead of high-quality roofing sealant to all seams, particularly where the counter flashing enters the mortar joints and along the bottom edges of the flashing where it meets the shingles. Use a caulk gun for a clean application. Once you’ve sealed all potential entry points for water, do a final visual check to make sure everything looks secure. The true test will be the next rainfall. After a storm, check your attic for any signs of moisture to confirm your repair was a success.
Common DIY Repair Mistakes to Avoid
Tackling a home repair yourself can feel empowering, but some jobs have a very small margin for error. Chimney flashing is one of them. A small mistake can lead to bigger, more expensive problems with water damage and rot. Before you climb up on the roof, it’s important to understand the common missteps homeowners make when they try to fix flashing on their own. Getting it right means more than just stopping a leak; it means protecting the long-term health of your home’s structure.
Using Caulk as a Quick Fix
When you spot a small gap or crack in your flashing, reaching for a tube of roofing caulk or sealant seems like a logical, easy fix. However, this is one of the most common and temporary solutions. Caulk is not a permanent fix. It's a patch that breaks down over time, especially under the Georgia sun and through changing seasons. UV rays and temperature fluctuations cause it to shrink, crack, and pull away from the chimney and shingles. This leaves you right back where you started, often with a more hidden leak. If the metal flashing itself is bent, rusted, or broken, it needs a proper residential roofing repair, not just a cover-up.
Patching Instead of Replacing
Another frequent mistake is trying to patch just one section of the flashing. It’s tempting to replace only the single piece that looks damaged, but chimney flashing is a complete, interconnected system. The step flashing, counter flashing, and apron flashing are all layered precisely to direct water away from the chimney. As one source wisely puts it, "You can't just replace one small piece." Attempting to do so can disrupt the entire system, creating new gaps or channels for water to get in. A professional will assess the entire flashing system to ensure every component is working together correctly, preventing a small failure from turning into a major leak later on.
Overlooking Safety and Proper Installation
Working on a roof is inherently dangerous, and safety should always be your top priority. Many DIY attempts go wrong simply because proper precautions aren't taken. You should only work on a dry, calm day, using a sturdy ladder, non-slip shoes, and a safety harness, especially on sloped roofs. Beyond personal safety, proper installation is critical. The area must be thoroughly cleaned and prepped for a lasting repair. Even a small error, like placing a nail in the wrong spot or layering the metal incorrectly, can create a new leak. Our experienced team handles these challenges every day, ensuring the job is done safely and correctly the first time.
When to Call a Professional Roofer
While tackling a home repair project yourself can be satisfying, chimney flashing is one area where a DIY approach can quickly get complicated. Safety is a major concern, and a small mistake can lead to bigger, more expensive problems down the road. Knowing when to step back and call in a professional is key to protecting your home and your peace of mind. If you find yourself facing extensive damage, an unsafe work environment, or the hassle of an insurance claim, it’s time to contact an expert. A professional roofer has the experience, tools, and safety training to do the job right the first time.
The Damage is Too Complex for a DIY Fix
A small bit of peeling sealant might seem like a simple fix, but sometimes it’s a sign of a much larger issue. If you notice that the flashing is rusted all the way through, has pulled away from the chimney, or is completely separated, a professional repair is necessary. These are not patch-and-go situations. A licensed roofer can assess whether the damage extends to the underlying wood decking or roof structure, which can rot if exposed to moisture. Attempting to fix complex flashing issues without addressing these hidden problems is like putting a bandage on a broken bone. A professional will ensure your entire residential roofing system is sound, not just the visible flashing.
Your Roof is Steep or Unsafe to Work On
Your personal safety should always be the top priority. Working on a roof is inherently risky, especially if you’re not used to it. If your roof has a steep pitch, is more than one story high, or if you’re simply not comfortable with heights, it’s best to call a professional. Even on a calm, dry day, you need a sturdy ladder, non-slip shoes, and a safety harness for sloped roofs. Professional roofers are equipped with the proper safety gear and are trained to work in these conditions. Our team at Total Roof Solutions has decades of experience working safely on all types of roofs. No DIY project is worth risking a serious fall or injury.
You Need Help with Insurance or Warranty Claims
If a storm or falling tree limb damaged your chimney flashing, you might be dealing with an insurance claim. This process can be tricky, as insurance companies require specific documentation to approve a claim. A professional roofer can provide a detailed inspection report with photos and an accurate estimate that will stand up to scrutiny. Furthermore, many roofing material warranties require that any repairs be performed by a certified contractor. A DIY repair, no matter how well-intentioned, could void your warranty, leaving you on the hook for future costs. Letting a professional handle the repair ensures the work is done to code and your warranty remains intact.
How to Prevent Future Flashing Leaks
After you’ve repaired your chimney flashing, the last thing you want is a repeat performance. The best way to avoid future leaks and costly damage is to shift from a reactive mindset to a proactive one. A little preventative maintenance goes a long way in protecting your roof and your home. By staying on top of a few key tasks, you can extend the life of your flashing and catch potential problems before they escalate. Think of it as simple, routine care that saves you significant stress and expense down the road. These straightforward habits will help keep your chimney flashing, and your entire roofing system, in top condition for years to come.
Schedule Regular Professional Inspections
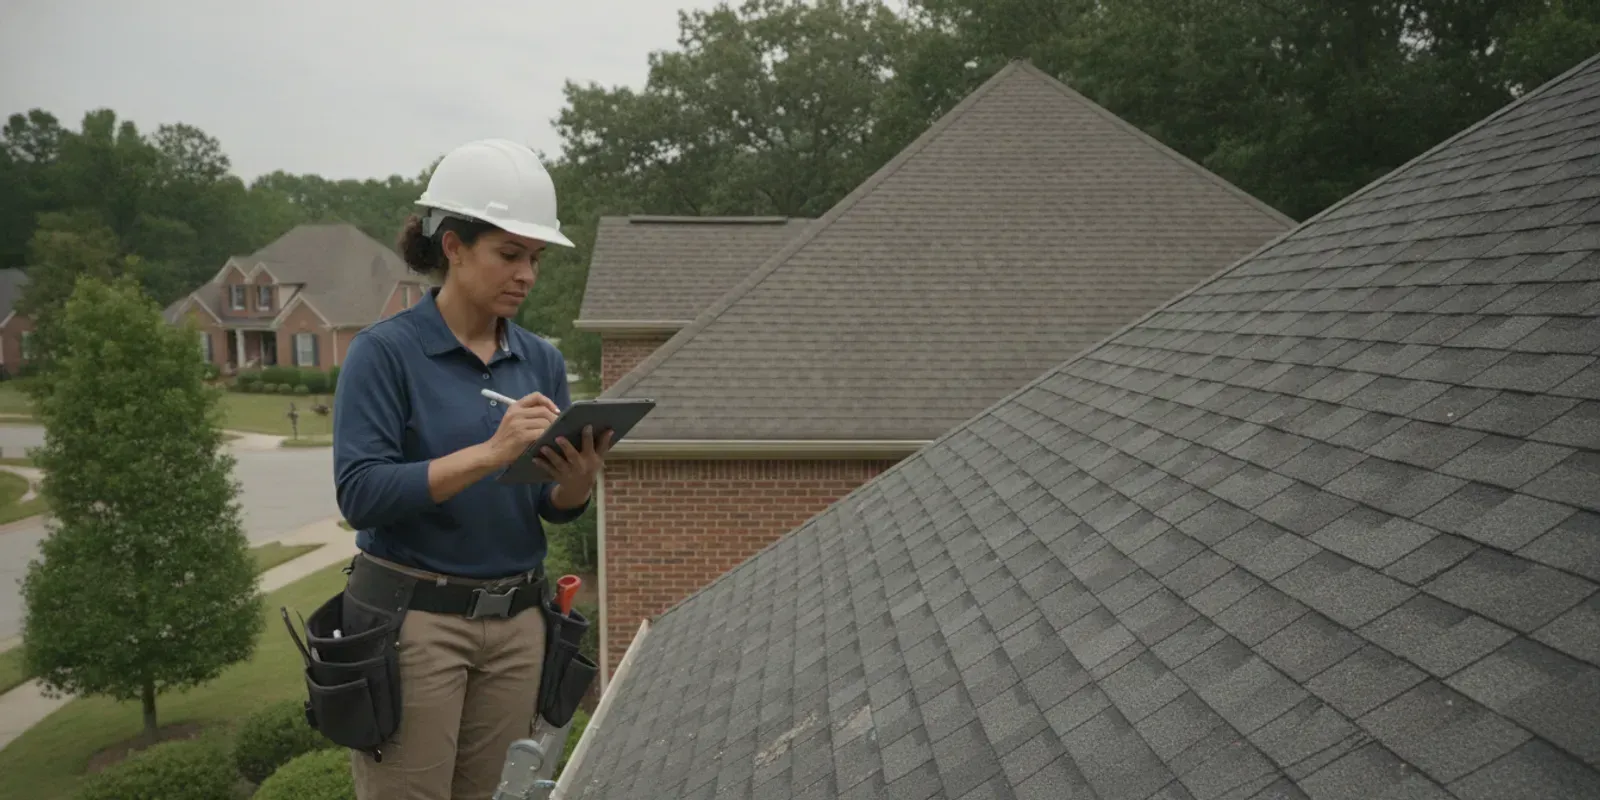
It’s easy to forget about your roof until something goes wrong, but an annual check-up is one of the smartest things you can do for your home. Experts recommend having your roof and flashing inspected at least once a year to catch problems early. A trained professional can spot subtle signs of wear, like cracked sealant or slightly lifted flashing, that are easy to miss from the ground. During a comprehensive residential roofing inspection, a certified roofer will assess the entire system to ensure every component is working together. This proactive step is an investment in your peace of mind, helping you avoid surprise leaks and emergency repairs.
Address Leaks Immediately
If you spot a water stain on your ceiling or notice a drip near your fireplace, your first instinct should be to act fast. If you find an active roof leak, it’s critical to fix it right away. An active leak means water is already getting inside, and waiting only makes the problem worse. What starts as a small issue can quickly lead to rotted wood, damaged drywall, and even mold growth, which can compromise your home’s structural integrity and air quality. Don’t dismiss a minor leak. Call a professional immediately to assess the source and stop the damage before it spreads.
Prepare Your Roof for Every Season
Your roof faces different challenges with each changing season, from spring downpours to summer heat. Preparing it for these shifts is key to preventing flashing leaks. A crucial step is to keep your roof and gutters free of debris. When leaves and twigs pile up, they can trap moisture against your flashing and chimney, accelerating wear and causing water to back up under your shingles. Ensuring your gutters are clean allows water to flow freely away from your home’s foundation. Keeping your chimney in good shape is also important for your home’s safety, making seasonal prep a vital part of your home maintenance routine.
Related Articles
Frequently Asked Questions
How long should my chimney flashing last? The lifespan of your chimney flashing really depends on the material used and the quality of the installation. High-end materials like copper or stainless steel can last for decades, often as long as the roof itself. More common options like galvanized steel or aluminum have a shorter lifespan, typically around 10 to 15 years, before they might start to show signs of wear. Proper installation is the most important factor, as even the best materials will fail if not fitted and sealed correctly.
Can I just use roofing cement or caulk to fix a leak instead of replacing the flashing? Using sealant as a quick fix is one of the most common mistakes we see. While it might stop a small drip for a short time, it's only a temporary patch, not a real repair. Sealants break down under the sun and with temperature changes, eventually cracking and failing. This can trap moisture and hide a bigger problem, like rusted metal or rotted wood underneath. A proper repair addresses the root cause by fixing or replacing the metal system itself.
What's the difference between a minor flashing repair and a full replacement? A minor repair typically involves addressing a small, isolated issue, like reapplying sealant to a specific seam that has pulled away or securing a single loose piece of metal. A full replacement is necessary when the flashing system itself has failed. This includes situations where the metal is rusted through, bent, or was installed incorrectly from the start. If there's widespread damage or you're getting a new roof, a full replacement is the only way to guarantee a long-term, watertight seal.
If I get a whole new roof, will it automatically include new chimney flashing? A reputable roofing contractor should always include new chimney flashing as part of a complete roof replacement. The flashing is a critical component of the total roofing system, and placing new shingles around old, worn-out flashing is a recipe for future leaks. However, you should always confirm this is explicitly listed in your contract. Never assume it's included; ask your contractor directly to ensure all the details are covered in your project quote.
How do I know for sure that a leak is coming from my chimney flashing? Water stains on the ceiling or walls surrounding your fireplace are the most obvious clue that your flashing is the culprit. You might also notice a musty smell in the attic or see dampness on the wood framing near the chimney. While these are strong indicators, water can travel in strange ways. The only way to be certain is with a thorough inspection. A professional can get on the roof and identify the exact entry point, confirming if it's the flashing or another issue, like damaged shingles nearby.