How to Install a Skylight on a Flat Roof: 7 Steps
Stephen Griswell • May 26, 2026
A skylight does more than just let in light; it adds architectural character, improves airflow, and can even increase your home's value. It’s an investment that pays you back every day with a more comfortable and beautiful living space. However, to reap these rewards without the risk of leaks, the installation must be flawless, particularly on a flat roof. The process is less forgiving and requires specific techniques that differ from a standard sloped roof job. We’ll explain exactly how to install a skylight on a flat roof, covering the non-negotiable steps like curb construction and waterproofing, ensuring your new window to the sky is a lasting asset.
Key Takeaways
- Choose the Right Skylight for Your Roof : For flat or low-slope roofs, a curb-mounted skylight is the only safe option. This design uses a raised frame to lift the skylight above the roof's surface, ensuring water drains away properly instead of causing leaks.
- Installation Requires Precision: A successful installation isn't just about the skylight; it's about creating a completely waterproof system. This involves building a sturdy curb, applying a waterproof membrane, and installing layered flashing, all of which require professional skill to get right.
- Protect Your Investment with Professional Care: Hiring a certified installer is the best way to prevent leaks, avoid structural damage, and keep your warranty intact. Following up with annual inspections and keeping the area clear of debris will ensure your skylight remains a long-term asset.
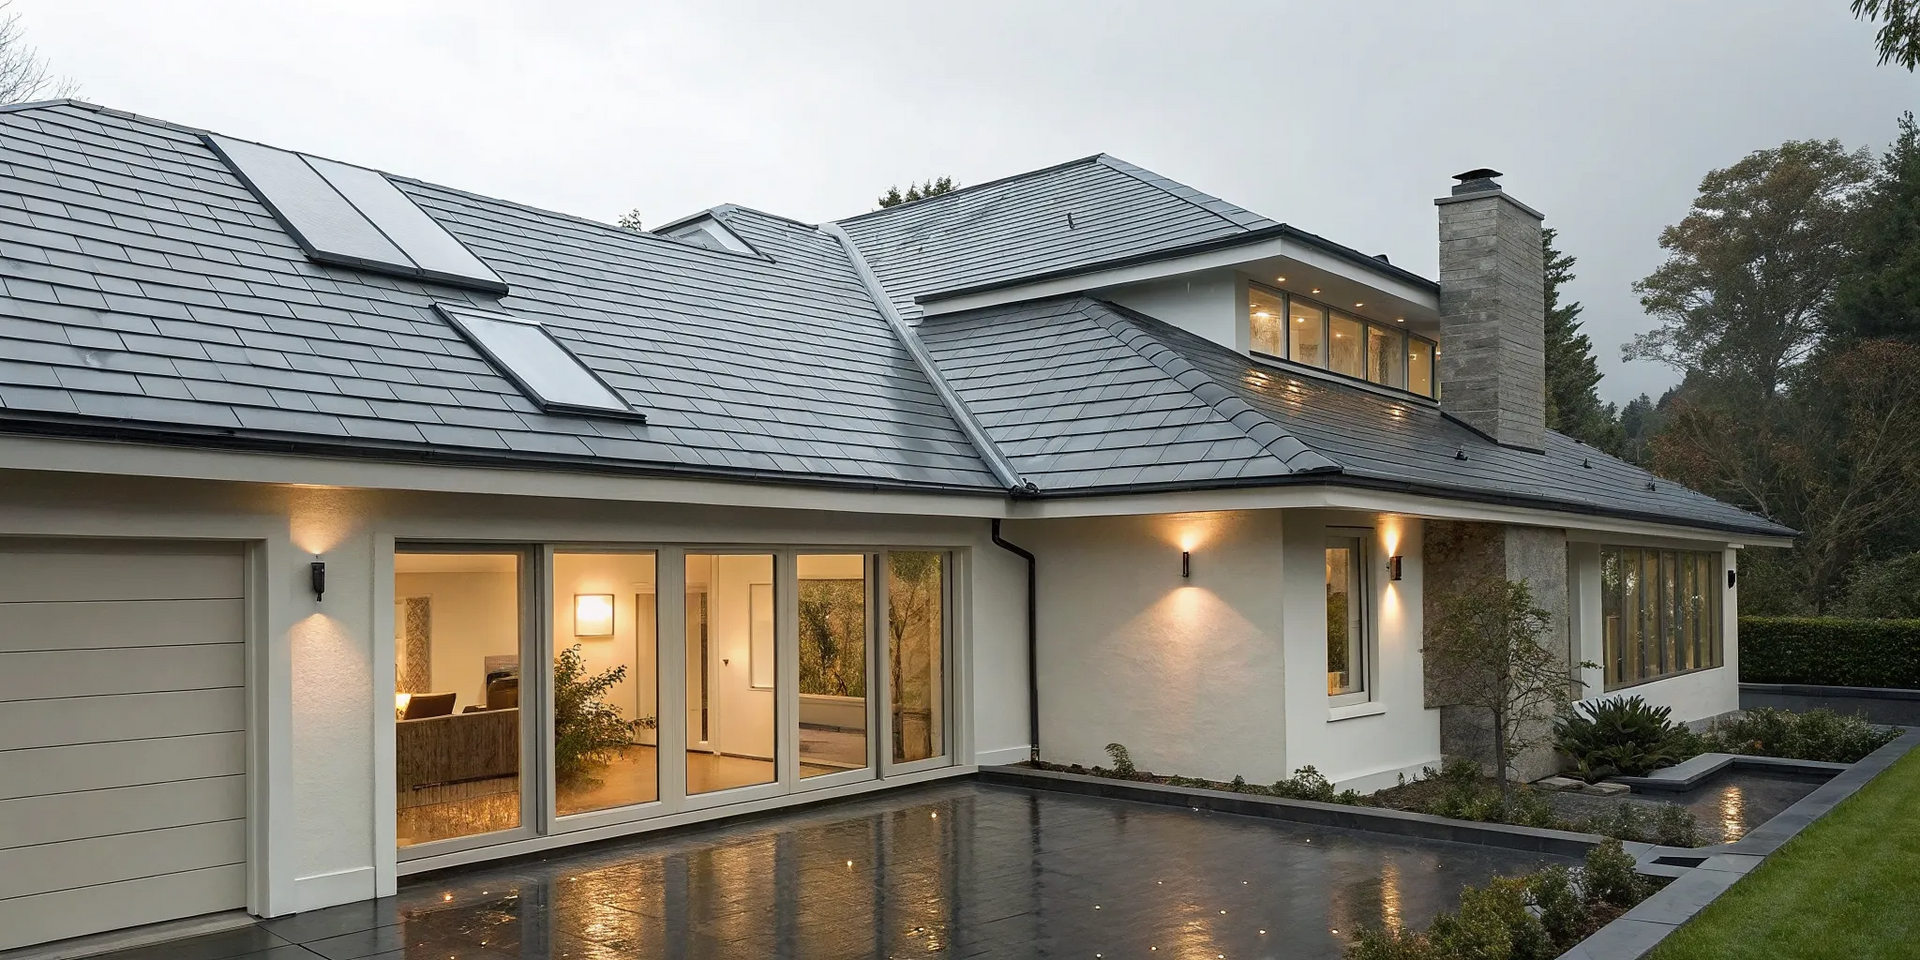
Why Add a Skylight to Your Flat Roof?
Thinking about adding a skylight to your flat roof? It’s one of those home improvements that delivers on multiple fronts. Beyond just being a window on your ceiling, a skylight can completely change the feel of a room, making it brighter, more comfortable, and even more valuable. If you're looking for a way to refresh your space, a skylight is a fantastic option to consider. Let's look at a few of the biggest reasons why this is such a popular project for homes with flat or low-slope roofs.
Brighten Your Space and Save on Energy
A skylight’s most obvious job is to let in the sun, and it does it beautifully. Flooding a room with natural light makes it feel more open, spacious, and welcoming. This can have a real impact on your mood and daily routine, especially in rooms that tend to be dark or closed-off. Beyond the aesthetics, all that extra daylight means you won't have to flip on the lights as often. Using more natural light is a simple way to reduce your electricity consumption, which is always a nice bonus when the utility bills arrive each month.
Improve Airflow and Comfort
Skylights can do more than just provide a view; they can also let in a breeze. Vented skylights, which can be opened either manually or with a remote, are perfect for improving your home's airflow. Since heat naturally rises, placing a vented skylight in a strategic spot like a kitchen or bathroom allows warm, stale air to escape. This creates natural circulation that keeps your home feeling fresh and comfortable, especially during those warm Georgia summers. It’s an effective way to help manage indoor humidity and maintain better indoor air quality without constantly running your air conditioner.
Add Style and Value to Your Home
From a design perspective, a skylight is a powerful tool. It adds architectural interest and creates a stunning focal point that can define a room. Whether it’s framing a view of the passing clouds or the starry night sky, a skylight connects your indoor space with the outdoors in a unique way. This "wow" factor doesn't go unnoticed by potential buyers, either. Features that add light and character are highly sought after, making a professionally installed skylight a smart investment in your property's value. It’s an upgrade that you get to enjoy every day and that can pay off when it’s time to sell.
What's the Best Skylight for a Flat Roof?
Choosing the right skylight for a flat roof is a bit different than for a sloped one. Because water doesn't run off as quickly, you need a design that actively prevents leaks and water damage. Getting this choice right from the start is the key to enjoying years of natural light without any worries. The best option for your home will depend on the room's function and your performance priorities. Let's break down the most important factors to consider.
Curb-Mounted vs. Deck-Mounted
For a flat roof, a curb-mounted skylight is the only way to go. These skylights are installed on a raised wooden frame, called a curb, that sits on top of your roof. This frame elevates the skylight, creating a small slope that helps water drain away instead of pooling around the edges. Building codes often require the curb to be at least four inches high, but a taller frame provides even better protection. Deck-mounted skylights, which sit flush with the roof, are designed for sloped surfaces and are not a suitable or safe choice for a flat roof installation. Using one will almost certainly lead to leaks.
Fixed vs. Vented
Next, you’ll need to decide if you want a fixed or vented skylight. A fixed skylight is a sealed window pane that doesn’t open. It’s a great, lower-cost option for spaces like hallways or entryways where your main goal is simply to add more natural light. Since they have fewer moving parts, they also require less maintenance. A vented skylight, on the other hand, can open either manually or with a remote. This feature is essential for rooms with high moisture, like kitchens and bathrooms, as it allows steam and humid air to escape. They’re also perfect for living areas where you want the option to let in a fresh breeze and improve your home's air circulation.
Must-Have Features: Glazing, Coatings, and Curb Height
The details of your skylight's construction make a huge difference in its performance. Always choose glass over acrylic or plastic. Glass provides a much clearer, distortion-free view, offers better insulation, and can reduce outside noise significantly. It’s also far more durable and comes with better warranties. For maximum energy efficiency, look for double or triple-pane glass with a Low-E coating, which helps reflect heat in the summer and retain it in the winter. Finally, don't forget the curb. A properly built curb not only ensures your skylight has the height needed for proper water drainage but also creates an insulated air pocket, further protecting your home from the elements.
Your Pre-Installation Checklist
Before you or a professional can cut into your roof, a little prep work goes a long way. Getting everything in order ensures the installation process is smooth, safe, and successful. Think of it as creating a game plan. A solid plan helps you avoid surprises and guarantees your new skylight will be a source of joy, not a cause for headaches. From gathering materials to handling paperwork, here’s what you need to check off your list before the work begins.
The Skylight and Curb Frame
For a flat roof, a curb-mounted skylight is almost always the right choice. So, what’s a curb? It’s a raised wooden frame that your installer builds to fit perfectly around the opening on your roof. The skylight then sits securely on top of this curb, rather than directly on the roof surface. This elevation is the key to preventing water from pooling around the edges. It also creates a solid, stable base for the skylight itself, ensuring a tight fit and long-term durability. Getting the curb dimensions and construction right is the first step to a leak-proof installation.
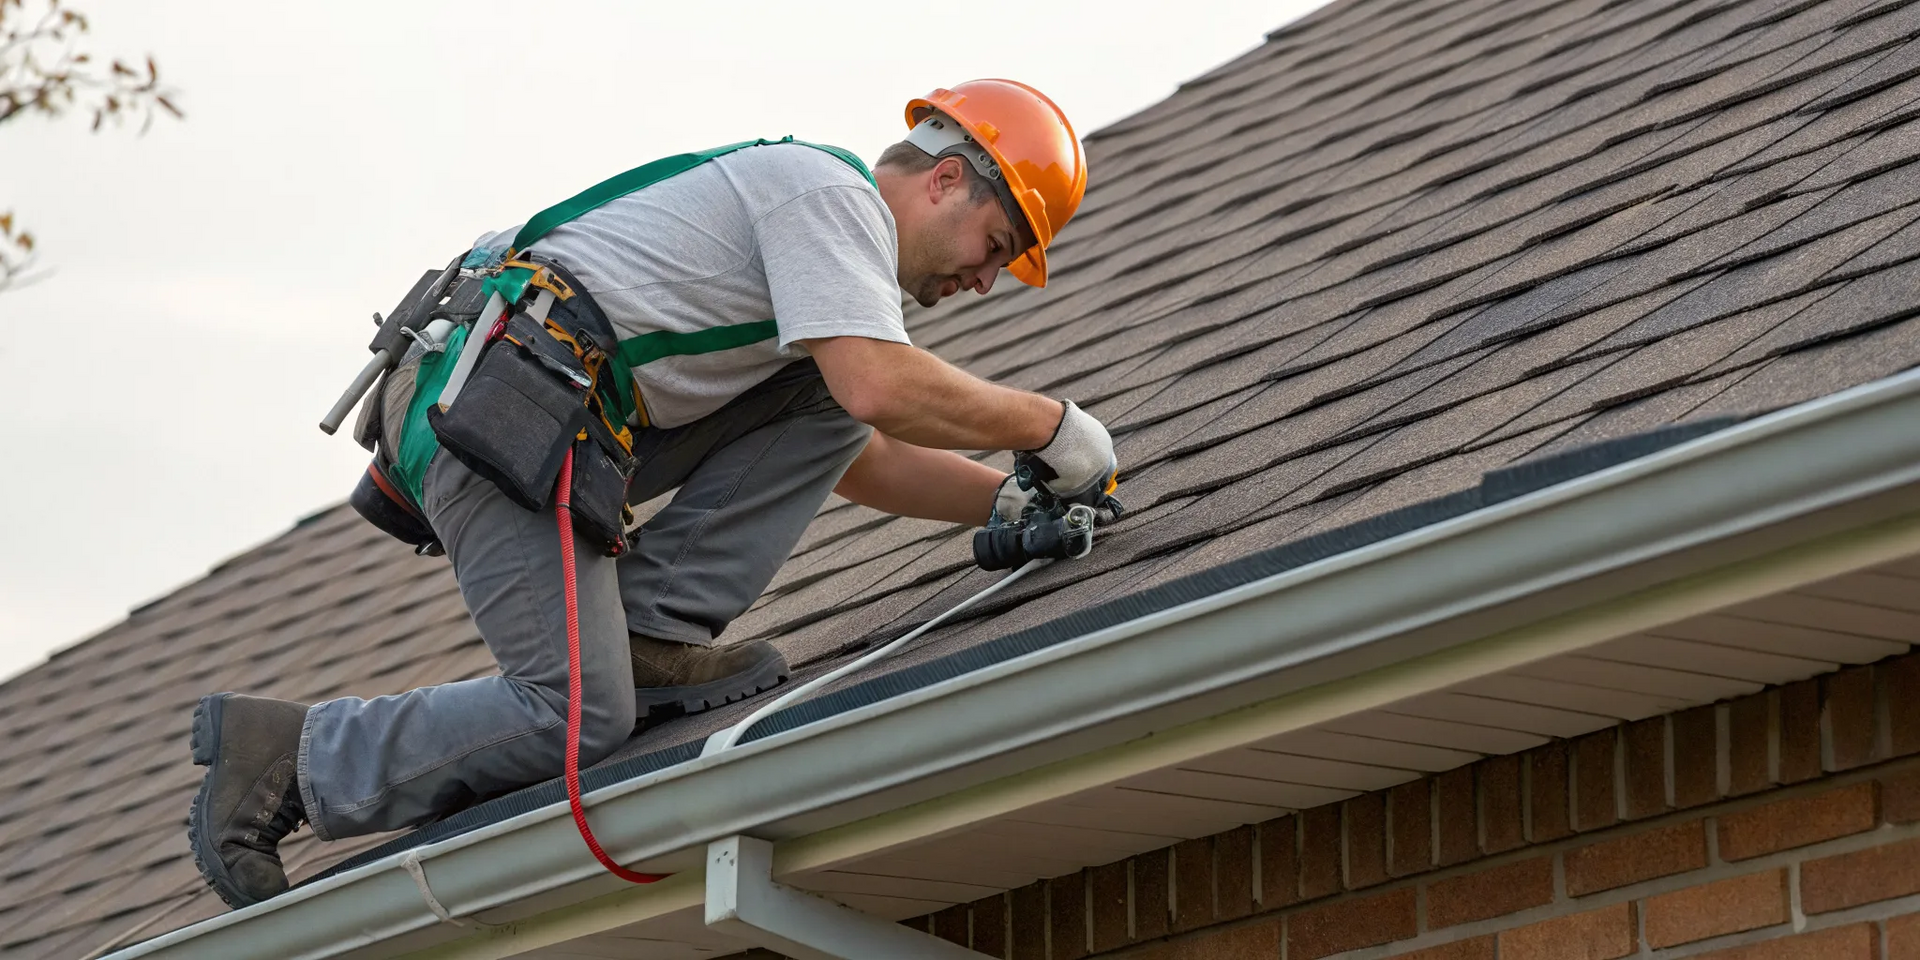
Waterproofing, Flashing, and Sealants
This is where a skylight installation can either succeed or fail. To prevent water from getting in, the curb needs to be completely waterproofed before the skylight is even placed. This involves covering the wooden frame with a durable roofing membrane that integrates seamlessly with your existing roof. Next comes the flashing, which are pieces of metal installed around the curb to direct water away. Finally, high-quality sealants are applied to close any remaining gaps. Proper installation and regular care are essential for making a skylight last, and our team has decades of experience with complex residential roofing projects.
Essential Tools for the Job
A successful skylight installation requires more than just a saw and a hammer. The job demands precision, which means having the right tools is non-negotiable. You’ll need measuring tapes, a chalk line, and a level to carefully mark exactly where the skylight will go. Then, you’ll need a circular saw and a reciprocating saw to precisely cut the opening through the different layers of your roof and ceiling. Other essentials include a drill, pry bar, utility knife, and caulking gun. Having everything on hand prevents delays and ensures each step is done correctly.
Safety Gear and Local Permits
Working on any roof, especially a flat one, comes with risks. Essential safety gear includes a sturdy ladder, safety harnesses, non-slip work boots, gloves, and safety glasses. Beyond personal safety, you also need to consider local regulations. Many areas require a building permit for a skylight installation. Before any work starts, it’s wise to get a professional assessment to confirm your roof can support a skylight and identify the best placement. An experienced contractor can also manage the permit process for you, ensuring your project is fully compliant with local codes. You can learn more about our commitment to professional and safe installations.
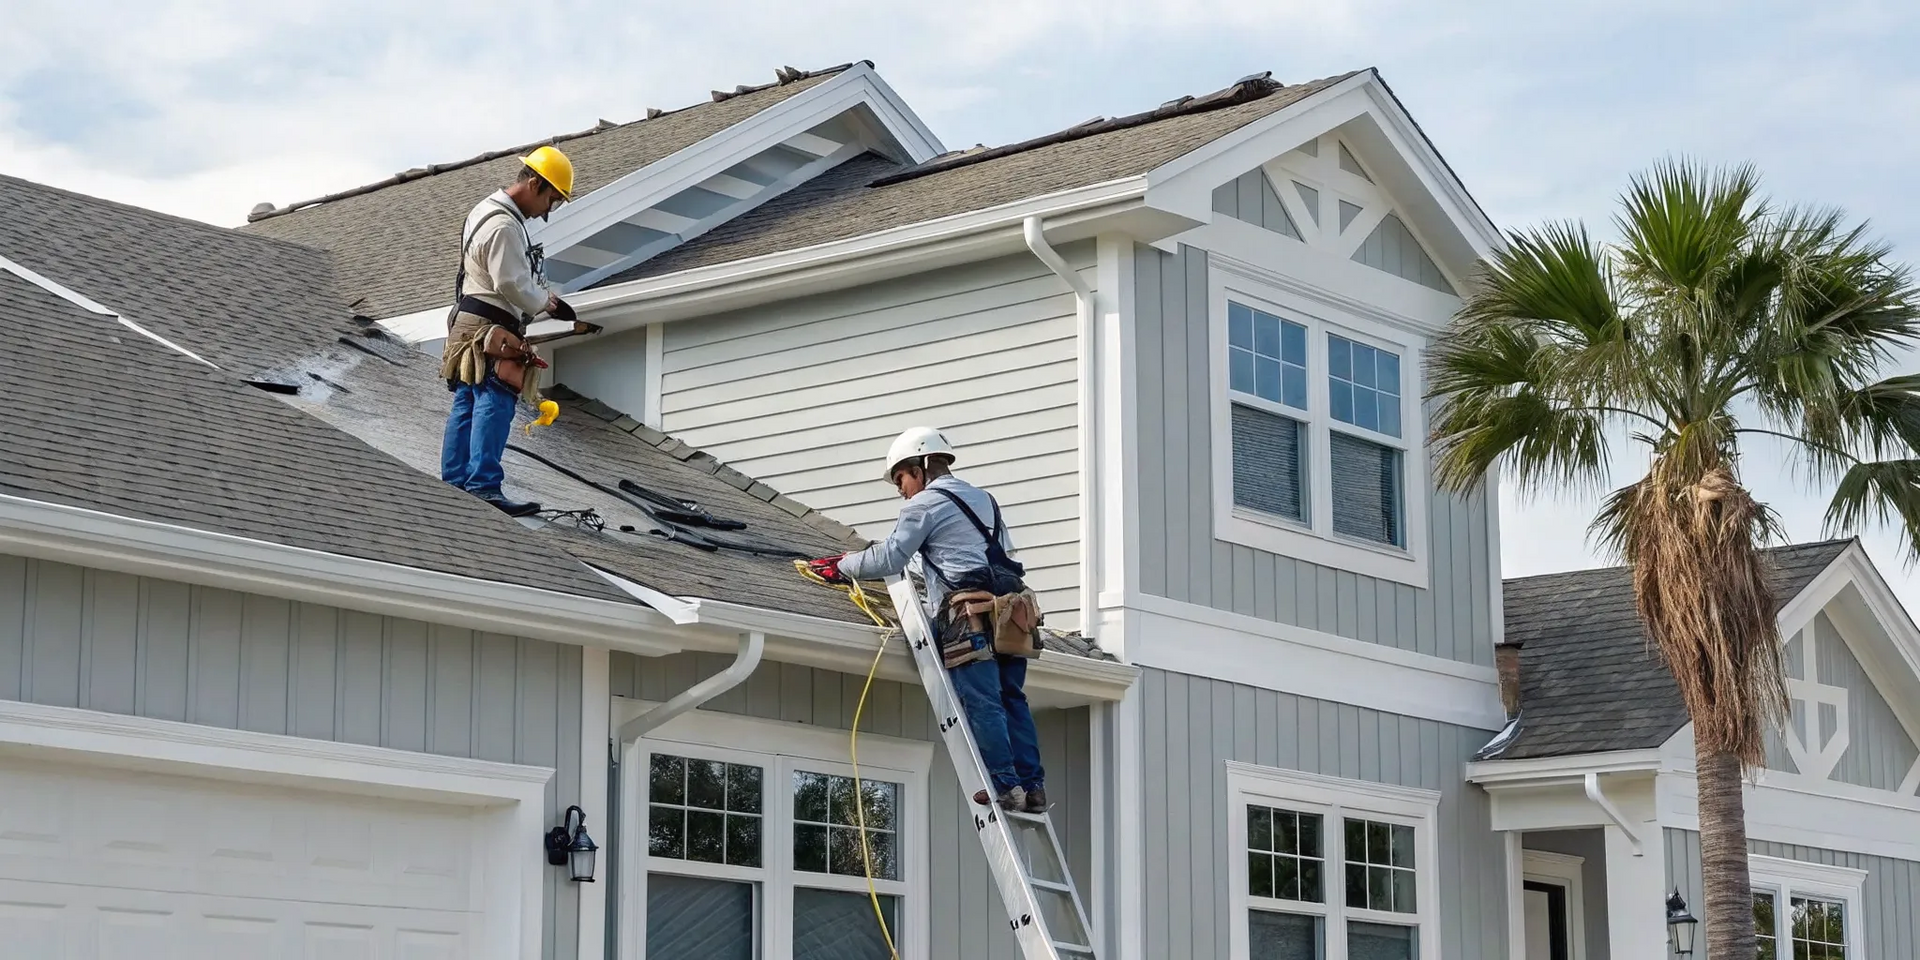
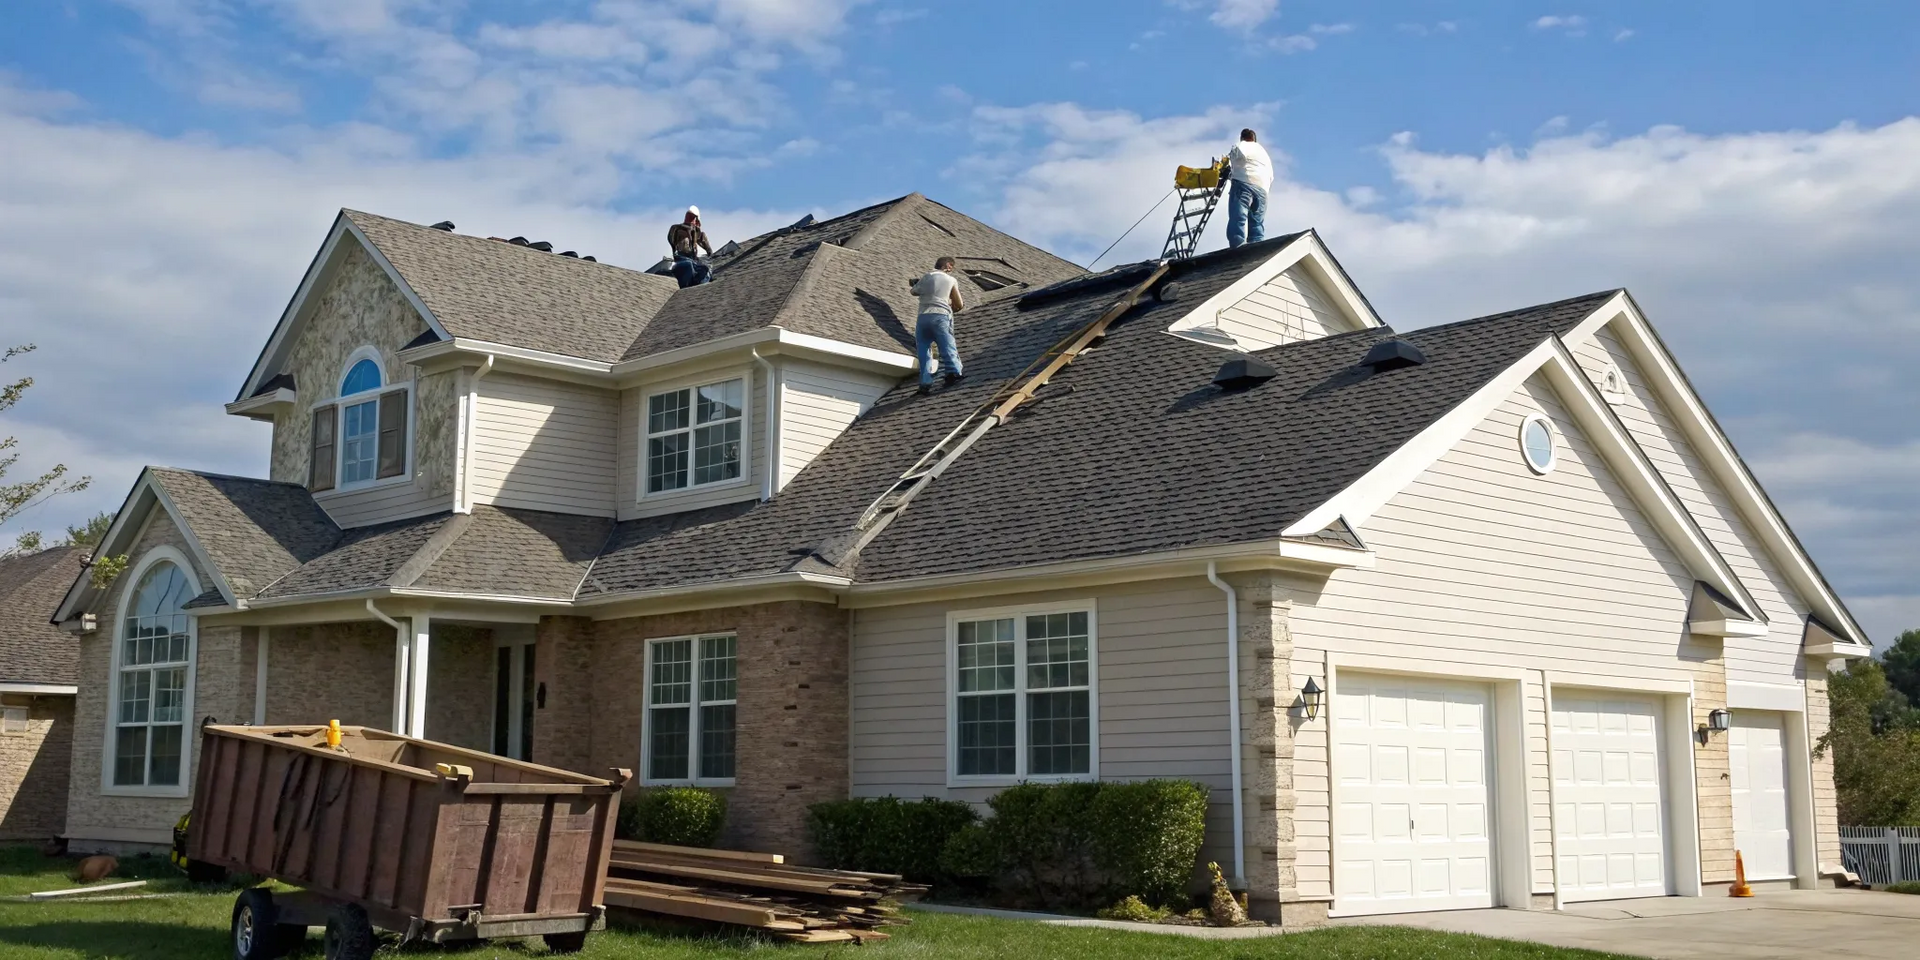
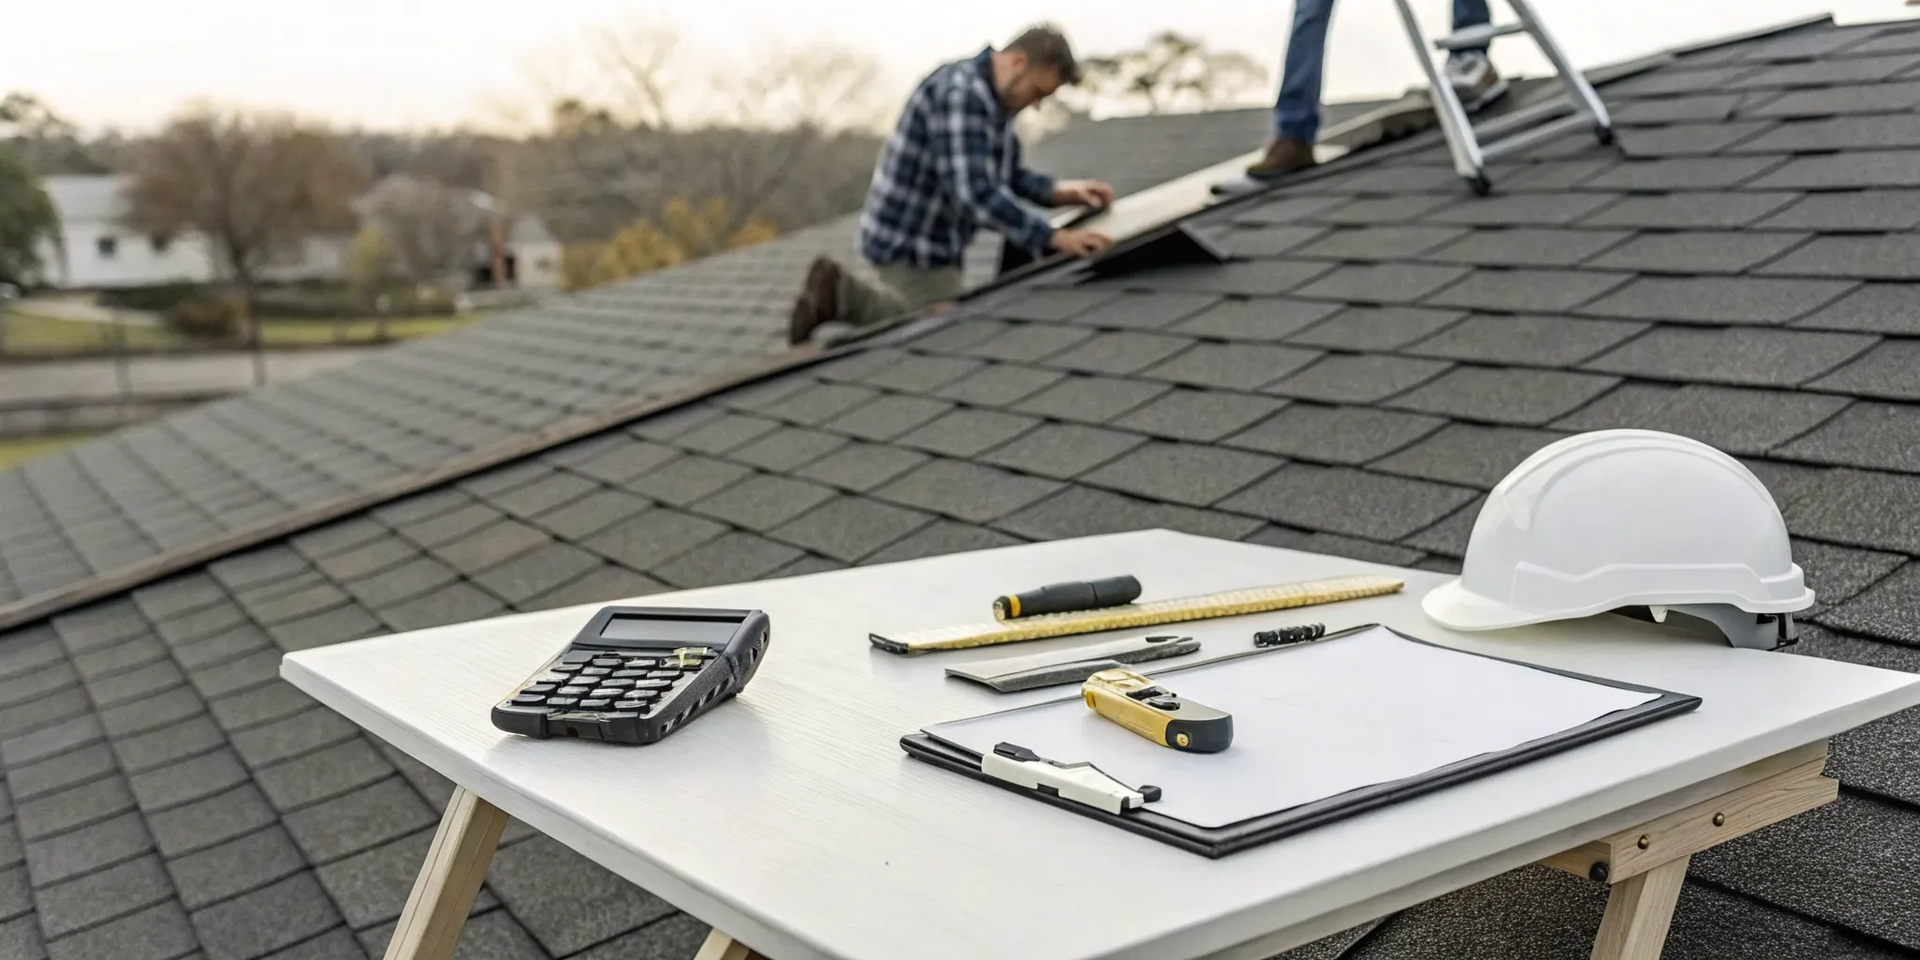
How to Install a Flat Roof Skylight
Installing a skylight on a flat roof is a fantastic way to bring natural light into a room, but it’s a project that demands precision. Unlike a pitched roof where gravity is on your side, a flat roof requires a perfectly sealed, watertight system to prevent leaks. While we always recommend professional installation to protect your home and investment, understanding the process can help you know what to expect. These are the fundamental steps our certified team takes to ensure a flawless, leak-proof skylight installation every time. It’s a detailed job where every cut, seal, and measurement matters.
Step 1: Find the Perfect Spot
First things first, you need to pick the right location. The ideal spot is centered in the room and positioned between your roof rafters to avoid cutting into your home's structural supports. From inside, you can use a stud finder to locate the rafters and mark out your desired placement. It’s also wise to check the attic or crawl space for any hidden electrical wiring, plumbing, or HVAC ducts that might be in the way. Once you’ve confirmed the interior location is clear, you can transfer the measurements to the roof’s surface. Make sure the skylight you’ve chosen is specifically designed for low-slope or flat roofs, as these have features built to handle water differently.
Step 2: Cut the Opening
With your location marked, it’s time to make the cut. This step requires extreme care to ensure the opening is the exact size needed for the skylight’s curb. An opening that’s too large will be difficult to seal, while one that’s too small won’t fit. You’ll start by carefully cutting through the roofing membrane (like EPDM or TPO) and then through the underlying roof deck, which is typically made of plywood or OSB. A clean, precise cut is the foundation for a successful installation, as it creates a snug fit for the curb and makes the waterproofing process much more effective down the line.
Step 3: Build and Secure the Curb
On a flat roof, a skylight doesn't sit directly on the roof deck. Instead, it’s mounted on a curb, which is a raised wooden frame. This curb elevates the skylight to prevent water from pooling around its edges. Using 2x4 or 2x6 lumber, you’ll construct a box frame that fits perfectly around the opening you just cut. This frame should be at least six inches tall to keep the skylight well above any potential standing water. Once built, the curb is securely fastened to the roof deck. This sturdy frame is what the skylight unit will ultimately attach to, so ensuring it’s level and solidly built is key.
Step 4: Waterproof and Flash the Curb
This is arguably the most critical step in preventing leaks. The new wooden curb must be completely integrated into your existing roofing system. This involves applying a waterproof membrane over the entire curb, wrapping it down the sides, and extending it onto the roof surface. For commercial roofing systems, this might involve heat-welding TPO or adhering EPDM to create a seamless barrier. Flashing is then installed around the base of the curb to direct water away. Every seam must be perfectly sealed to create a monolithic, waterproof structure that will stand up to heavy rain and the elements for years to come.
Step 5: Pitch the Curb for Proper Drainage
While your roof may be flat, your skylight shouldn't be. To ensure water and debris run off properly instead of sitting on the glass, the curb itself needs a slight pitch. This is a subtle but essential detail that professionals never miss. By building the curb with a slight angle of about 1 to 1.5 degrees, you create just enough slope for gravity to do its job. This prevents water from pooling on the skylight’s surface, which can lead to seal degradation, leaks, and dirt buildup over time. This small adjustment makes a huge difference in the long-term performance and maintenance of your new skylight.
Step 6: Set and Seal the Skylight
Now that the curb is built, waterproofed, and properly pitched, you can finally set the skylight in place. The skylight unit is carefully lowered onto the curb, and high-quality gaskets or sealants are used to create a watertight seal between the unit and the curb. It’s important to follow the manufacturer’s instructions precisely and use the recommended fasteners to secure the skylight frame. This ensures the unit is held firmly in place and that the seal is compressed correctly to block out any moisture, even during driving rain or melting snow. This final exterior seal is your last line of defense against the weather.
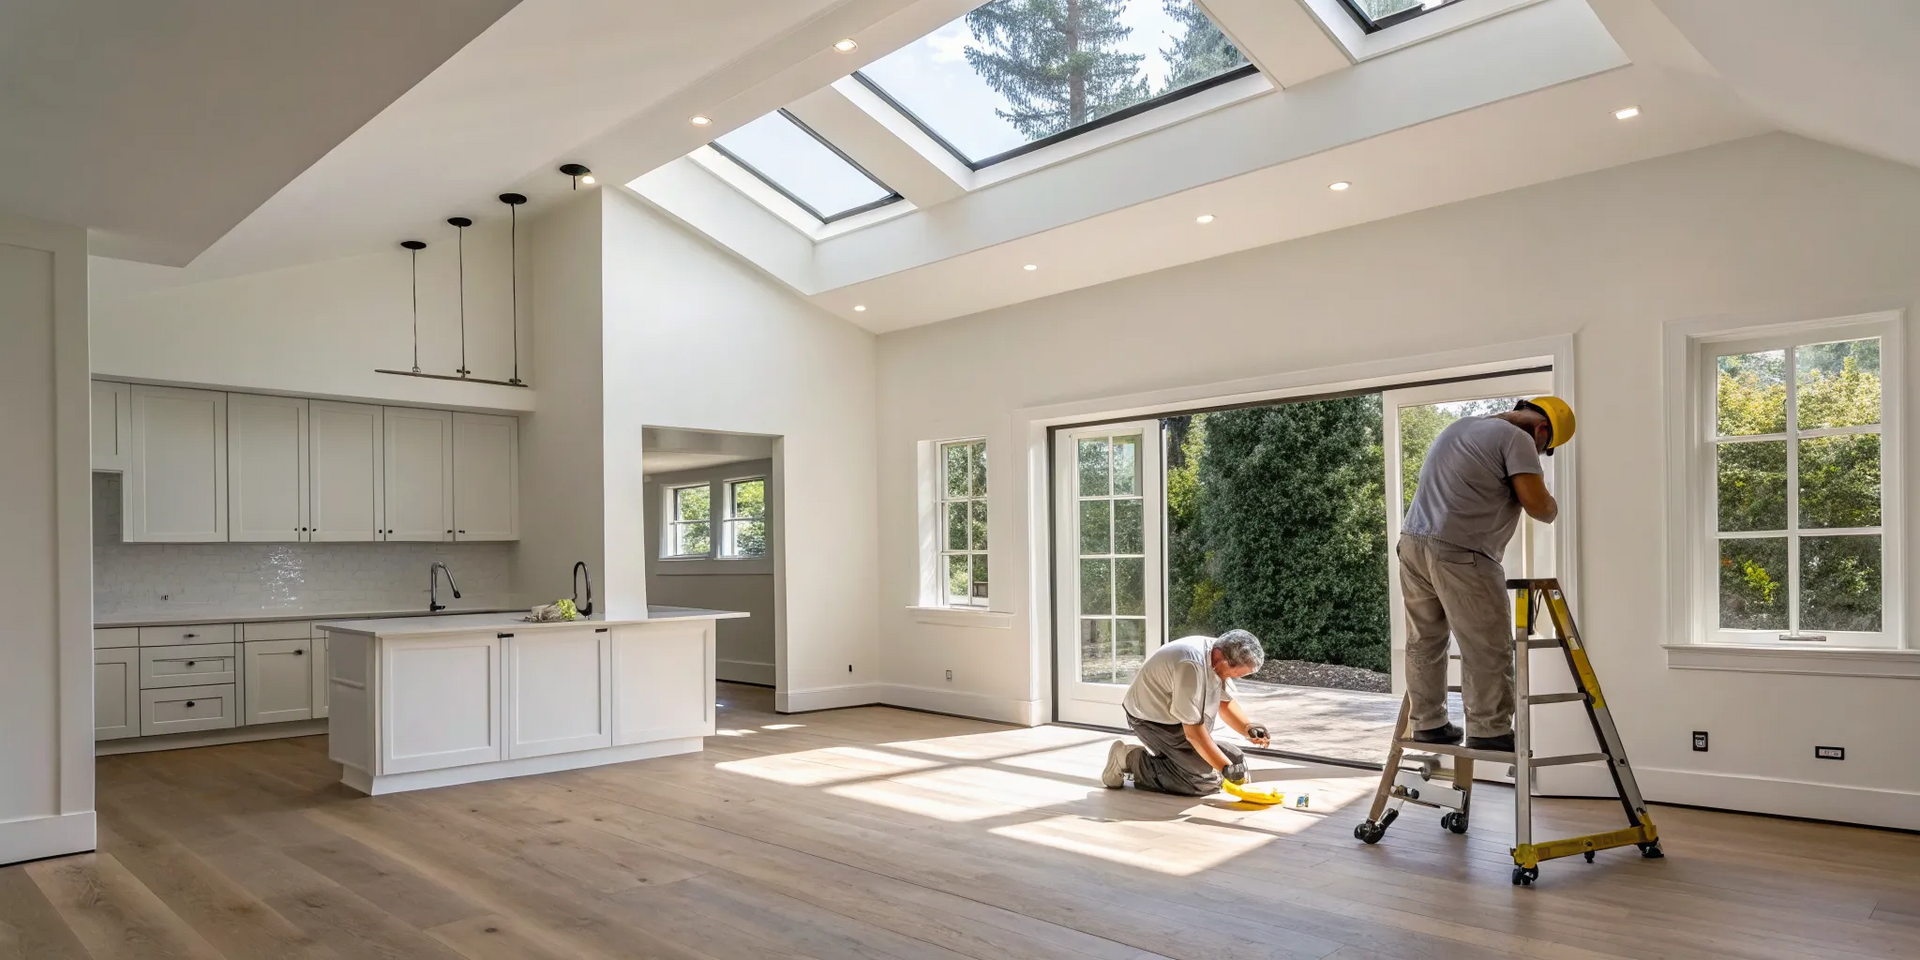
Step 7: Insulate and Finish the Interior
With the skylight securely installed on the roof, the final step is to finish the interior. The space between the roof deck and the interior ceiling, known as the light shaft, needs to be framed out. It’s crucial to add insulation around the curb and within the light shaft to prevent heat loss in the winter and heat gain in the summer. Proper insulation also helps stop condensation from forming around the frame. Once insulated, you can install drywall, then tape, mud, and paint it to match your ceiling for a clean, professional finish. This is a common final step for many residential roofing projects that involve attic or ceiling penetrations.
Common DIY Skylight Installation Mistakes
A skylight seems like a straightforward addition, but installing one, especially on a flat roof, is a project full of potential pitfalls. While the DIY spirit is admirable, a small mistake here can lead to big, expensive problems like persistent leaks and even structural damage. Understanding the most common errors is the first step in getting the job done right, whether you tackle it yourself or decide to bring in a pro. These are the mistakes we see most often, and they’re all completely avoidable with the right knowledge and expertise.
From building the curb to sealing the flashing, every step requires precision. A misstep in one area can compromise the entire installation, leaving you with a drafty, leaky headache instead of a beautiful, sunlit room. That's why it's so important to know what can go wrong before you even start. We'll walk through the four most common installation mistakes so you can be prepared and ensure your new skylight is a lasting, valuable addition to your home. Getting this project right means more than just cutting a hole and dropping in a window; it involves integrating a new component seamlessly into your roof's complex system of drainage, insulation, and structural support. Ignoring any of these elements is a gamble you don't want to take with your property.
Incorrect Curb Height and Water Pooling
One of the biggest mistakes on flat roofs is setting the skylight nearly flush with the roof's surface. A skylight needs a raised platform, called a curb, to lift it above the roofing plane. This curb should be at least eight inches high to effectively prevent water from pooling around the edges and seeping in. Without a proper curb, rainwater has nowhere to go and will test the seals of your new skylight relentlessly. Building a sturdy, correctly-sized curb is a non-negotiable step for a leak-free installation and is a key part of any professional residential roofing project involving skylights.
Flashing Failures and Leaks
Flashing is the material that connects the skylight curb to the roof, creating a watertight seal. This is where most DIY installations go wrong. It’s not just about tacking on some metal strips; it’s a layered, systematic process. A professional installer first covers the curb with roofing material before even thinking about attaching the skylight. Then, they meticulously install the flashing, integrating it with the roof’s water-resistant barrier. Skipping a step or getting the overlap wrong is an open invitation for water to get in, which is why proper flashing is a job that requires a skilled hand and an understanding of how water behaves on a roof.
Poor Insulation and Condensation
A skylight isn't just a window in your roof; it's a break in your home's thermal envelope. If the space between your ceiling and the roof deck isn't insulated correctly around the skylight shaft, you'll run into problems. This gap can cause condensation to form on the cool glass, especially during colder months. This "sweating" can drip down, staining your ceiling and making you think you have a leak when the real issue is insulation. Using a quality waterproof membrane and ensuring there are no air gaps is essential for both preventing moisture issues and maintaining your home's energy efficiency.
Structural Miscalculations
Your roof isn't just a cover; it's a complex structural system. Cutting a large hole in it without understanding what’s underneath is a recipe for disaster. You could accidentally sever a roof joist or rafter, compromising the structural integrity of your entire roof. Before any cuts are made, an expert will assess your roof's framework to determine if it can support a skylight and identify the safest placement. This prevents weakening the structure and ensures the new opening is properly reinforced. This kind of assessment is a critical safety measure that our experienced team performs on every job.
Keeping Your Skylight Leak-Free
Once your beautiful new skylight is installed, a little routine care will ensure it stays a source of joy, not a source of leaks. Think of it like any other major feature of your home; regular maintenance is the key to longevity. By staying proactive, you can catch small issues before they turn into costly repairs and enjoy all that natural light for years to come. Here are a few simple but effective habits to adopt.
Schedule Annual Professional Inspections
Having a professional look at your skylight once a year is one of the smartest things you can do. During an annual check-up, a roofing expert will do more than just wipe down the glass. They’ll thoroughly inspect the flashing, seals, and the surrounding roof area for any signs of wear and tear. They can also clear away any stubborn debris that could trap water and cause damage over time. Scheduling a yearly roof inspection is a simple, preventative step that provides peace of mind and helps protect your investment from the top down.
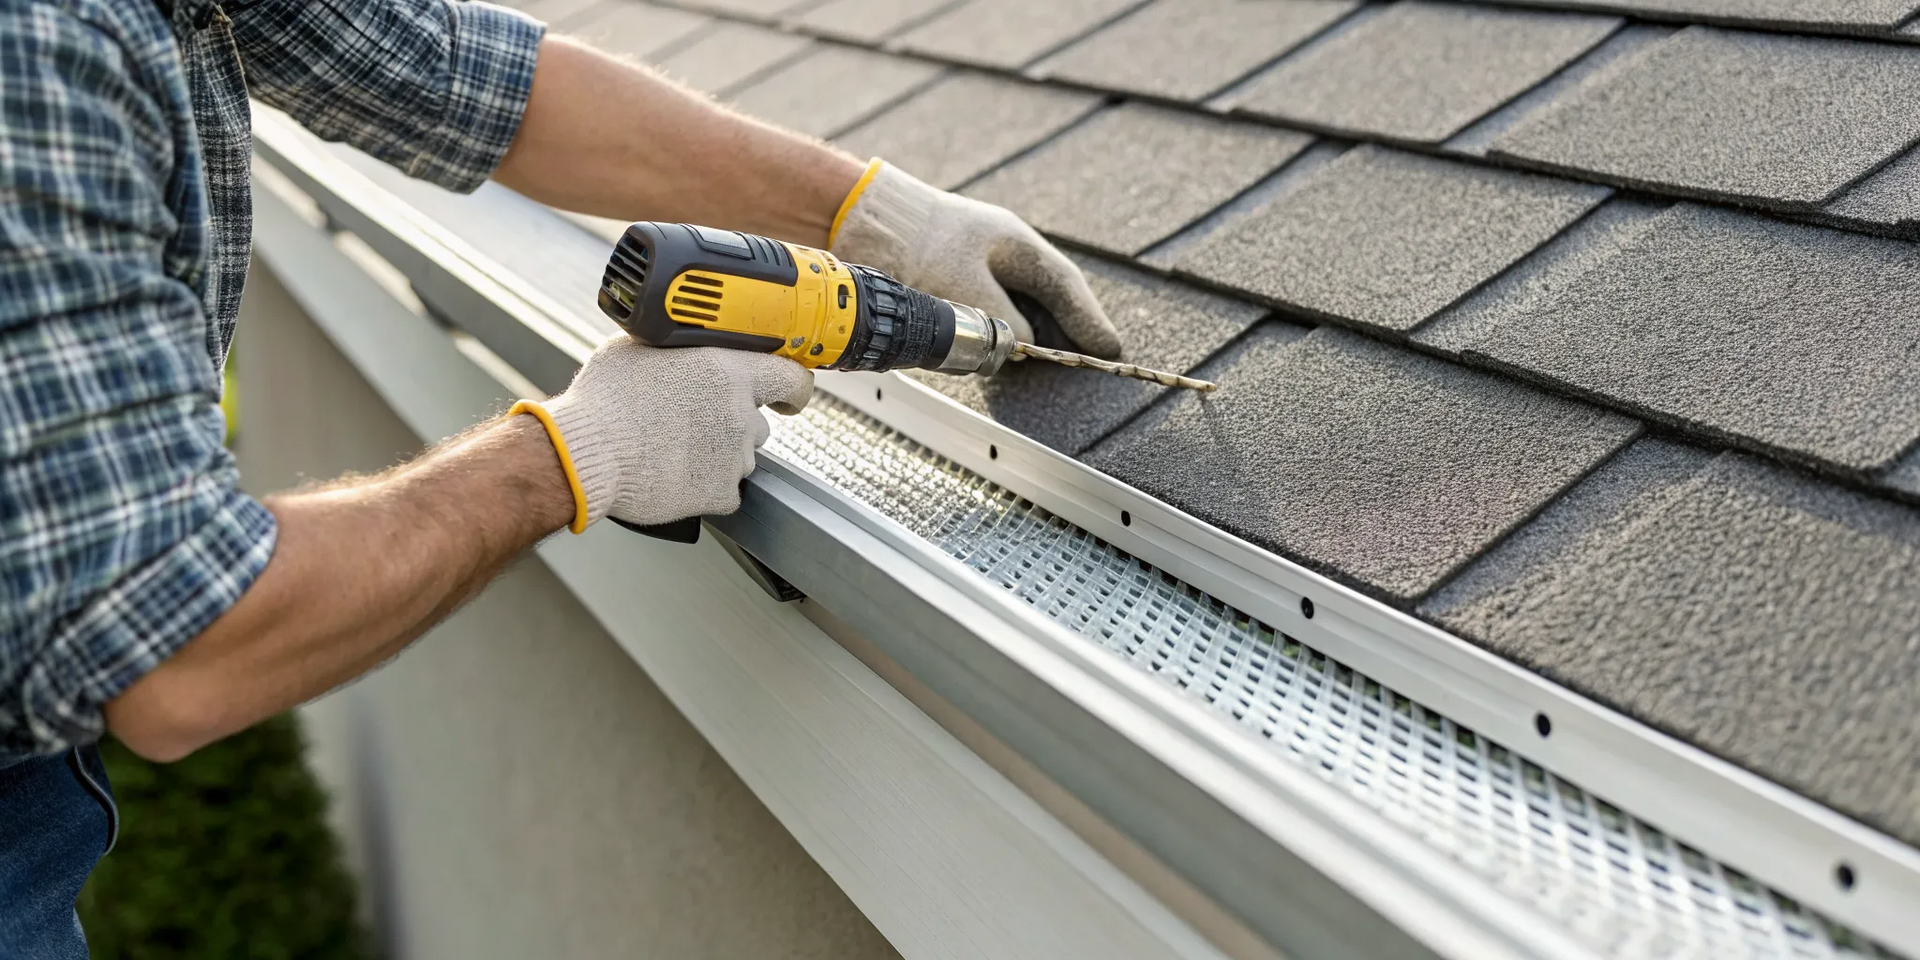
Keep the Glass and Frame Clean
Between professional visits, you can play a big role in your skylight's health. Make it a habit to clear away any leaves, twigs, or dirt that accumulate around the frame. This debris can act like a sponge, holding moisture against the seals and flashing, which can speed up deterioration. While you’re up there, take a quick look at the seals yourself. A clean skylight not only lets in more light but also helps prevent blockages that could affect your entire roofing system. This is also a great time to ensure your gutters are clear, as a clean roof and clear gutters work together to manage water effectively.
Check for Seal Damage and Condensation
Keep an eye out for two tell-tale signs of trouble: failing seals and persistent condensation. The sealant around your skylight is its primary defense against water. If you notice it’s cracking, peeling, or pulling away from the frame, it’s a clear signal that a leak could be on its way. Condensation between the glass panes is another red flag, indicating that the airtight seal has been compromised. While a little fog on the interior pane can happen, moisture trapped inside the unit itself means it’s time to call a pro. Proper insulation in the skylight shaft is also essential for preventing these issues from developing in the first place.
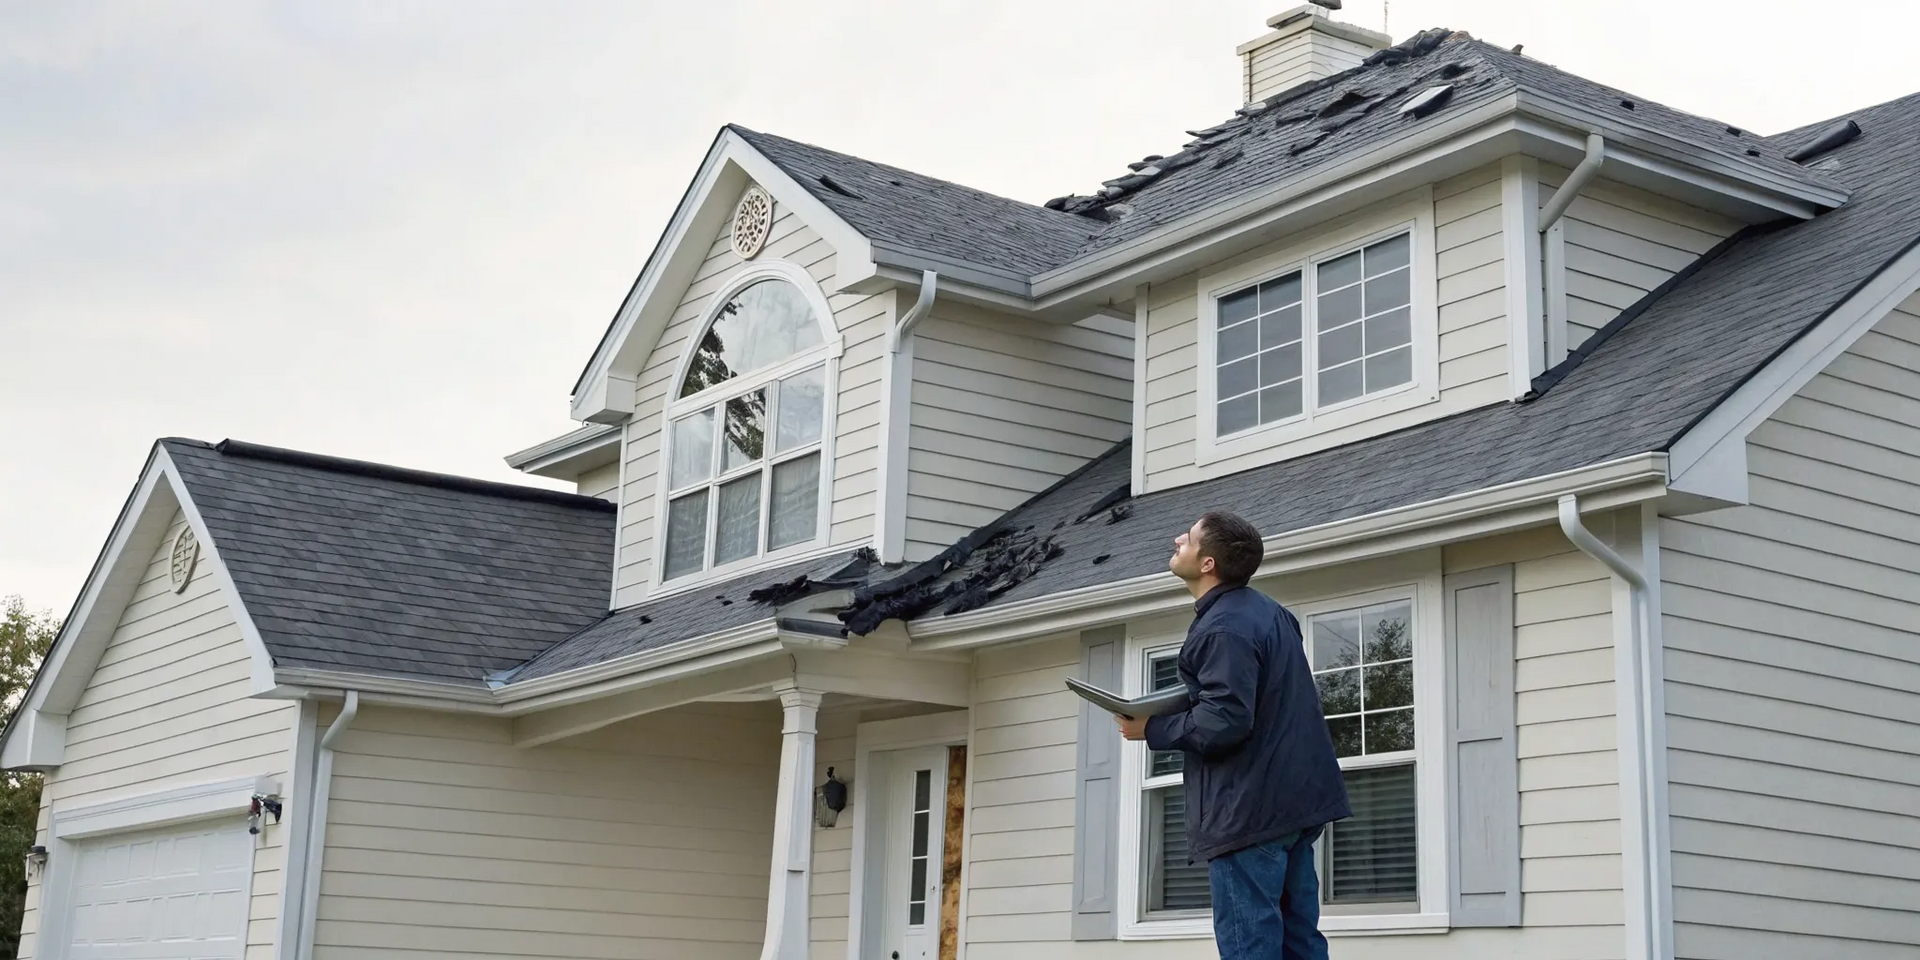
Know When to Call for Repairs
Don’t wait for a small drip to become a big problem. If you see any water stains on the ceiling or walls around your skylight, notice a draft, or see visible damage to the frame or flashing, it’s time to make a call. Acting quickly can often mean the difference between a simple repair and a more extensive one. And if a contractor ever tells you that the only solution is to remove your skylight completely, it’s always a good idea to get a second opinion. A skilled residential roofing specialist can often find a repair solution that saves your skylight and protects your home.
Why Professional Installation Makes All the Difference
I get it, the satisfaction of a DIY project is hard to beat. But when it comes to cutting a hole in your roof, especially a flat one, this is a job best left to the experts. Think of professional installation not as an extra cost, but as insurance for your peace of mind and your home's integrity. A small mistake during a DIY install can lead to big, expensive problems down the road, turning a dream project into a recurring nightmare.
The biggest challenge with a flat roof is drainage, or the lack thereof. Water can sit instead of running off, which means the seal around your new skylight has to be absolutely perfect. An experienced installer knows the specific techniques and materials needed to create a durable, watertight barrier that stands up to Georgia's weather. They understand the unique properties of different roofing systems and how to integrate a skylight without creating a future leak.
Beyond just preventing leaks, a professional handles all the other crucial details. They ensure the installation complies with local building codes, is structurally sound, and won't void your skylight's warranty. In fact, most manufacturers require installation by a certified professional to keep the warranty valid. Our team at Total Roof Solutions has the training and experience to position your skylight for optimal light and performance, all while protecting your investment. Ultimately, hiring a pro for your skylight services is about ensuring your new addition brings you years of enjoyment, not headaches.
Related Articles
- Your Guide to Skylight Installation Done Right
- Skylight Leak Repair: A Step-by-Step Guide
- A Guide to the Commercial Roof Repair Process
- 5 Types of Roofing System: A Complete Comparison
- Key Factors in a Commercial Roof Replacement
Frequently Asked Questions
Why is professional installation so important for a flat roof skylight? A flat roof doesn't shed water like a sloped one does, so the seal around your skylight has to be perfect. A professional installer understands how to build a proper curb to elevate the skylight and uses specific waterproofing and flashing techniques to create a seamless, watertight barrier. This prevents leaks, protects your home’s structure, and ensures your manufacturer's warranty remains valid, which often requires certified installation.
I see condensation on my skylight. Does that mean it's leaking? Not necessarily. A leak is when water from outside gets in, while condensation is moisture from inside your home collecting on the cool glass. This often points to an issue with insulation in the light shaft between your ceiling and the roof. A professional can assess whether you have a true leak or if improving the insulation around the skylight will solve the problem.
Is a skylight a good investment for my home's value? Absolutely. A skylight is a feature that adds both functional and aesthetic value. The abundance of natural light makes rooms feel larger and more inviting, which is a huge selling point for potential buyers. It also adds a unique architectural element that can make your home stand out. It’s an upgrade you get to enjoy every day that can also provide a solid return when it's time to sell.
My roof isn't perfectly flat, but it's not steep. Can I still get a skylight? Yes, the same principles apply. For any low-slope or flat roof, a curb-mounted skylight is the correct choice. The raised curb creates the necessary angle to help water drain away effectively, preventing it from pooling around the frame. An experienced contractor can assess your roof's specific pitch and confirm the best installation method to ensure it remains leak-free.
How often should I have my skylight inspected? It's a great idea to have your skylight professionally inspected once a year, ideally along with a general roof check-up. An expert can spot early signs of wear on the seals or flashing, clear away any debris that could trap moisture, and make sure everything is in top shape. This simple, proactive step is the best way to catch small issues before they become big problems.