How to Handle Ceiling Damage After Roof Replacement
Stephen Griswell • April 17, 2026
You’ve just invested in a new roof to shield your home from the elements, but now you’re seeing trouble from the inside. A fresh water stain, a sagging spot, or a new network of cracks can make any homeowner anxious. The source of this ceiling damage after roof replacement can be a bit of a mystery. Was it a mistake during installation? A result of bad weather during the project? Or just the house settling in response to heavy construction? Each cause requires a different solution. This guide will help you play detective, showing you how to spot the warning signs and what they mean.
Key Takeaways
- Know the difference between damage types: Not all ceiling issues are emergencies. Learn to spot the difference between minor vibration cracks, which are often cosmetic, and serious warning signs like water stains or sagging, which require immediate attention.
- Document the issue, then call your roofer: If you spot a problem, your first move is to take clear photos from multiple angles. This documentation is crucial for your records before you make the most important call: contacting the contractor who installed the roof.
- Prevention starts with the right contractor : Your best defense against post-installation problems is hiring a licensed and insured professional. A reputable roofer communicates clearly, uses quality materials, and stands by their workmanship, minimizing risks from the very beginning.
Why Is My Ceiling Damaged After a New Roof?
Finding a new stain or crack on your ceiling right after a roof replacement is incredibly frustrating. You invested in protecting your home, so seeing new damage feels like a step backward. While it’s easy to assume the worst, there are several reasons this can happen, and not all of them point to a bad roofing job. The installation process itself can be intense, involving vibrations, exposure to the elements, and the coordination of many different materials. Understanding the potential causes is the first step toward finding the right solution and getting the peace of mind you paid for. From simple cosmetic issues to more serious installation mistakes, let’s walk through the most common reasons you might be seeing ceiling damage.
Mistakes During Installation
A new roof should be a shield for your home, but if it’s not installed with care, it can be the source of new problems. Installation mistakes are a primary cause of post-replacement ceiling damage. This can happen when a crew rushes the job, cuts corners on materials, or improperly drives nails, creating small entry points for water. A professional and experienced team understands that attention to detail is everything. Every shingle, nail, and seal must be placed correctly to ensure a watertight barrier. When you work with a trusted contractor, you’re paying for the expertise to prevent these kinds of errors and ensure your residential roofing project is done right the first time.
Bad Weather During the Project
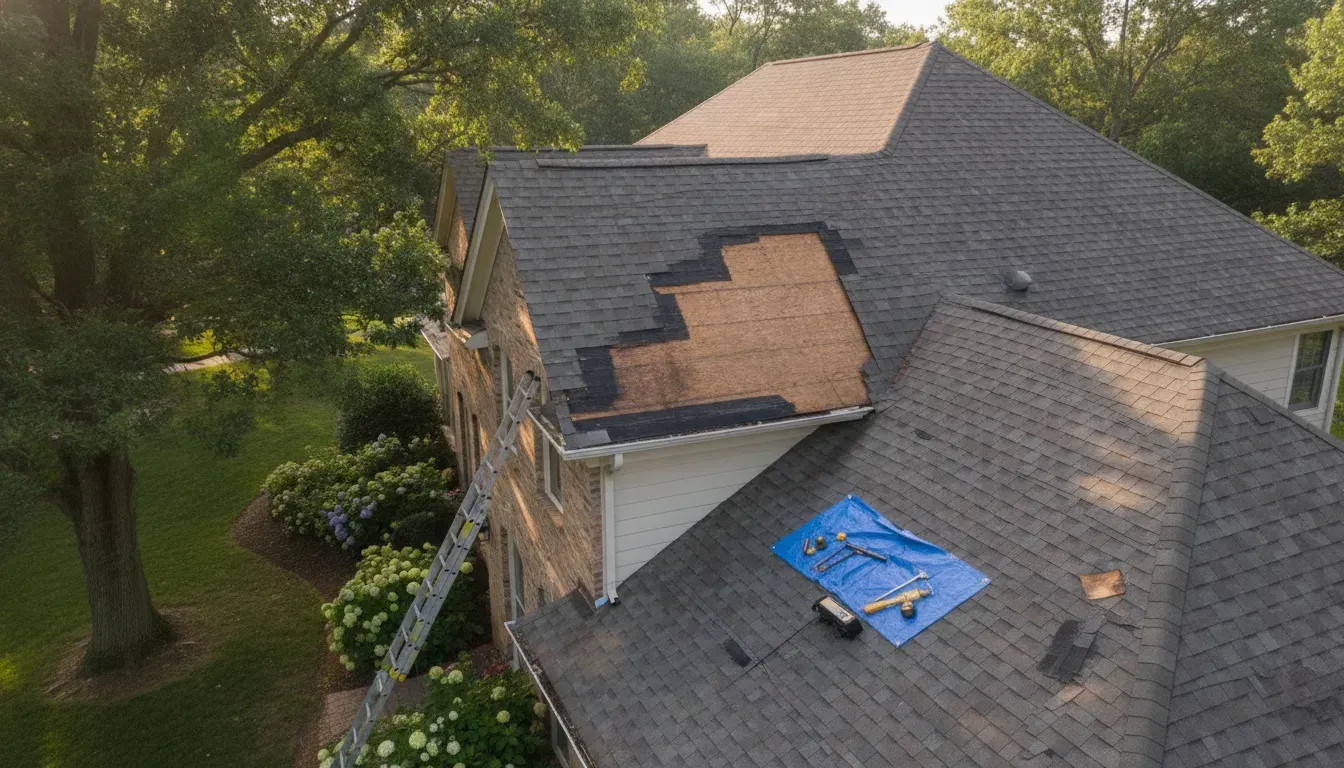
Even with careful planning, the weather can be unpredictable. A sudden downpour or strong winds in the middle of a roof replacement can expose your home’s interior to moisture before the new roof is fully sealed. Professional roofing contractors take precautions to protect your property, like using tarps to cover exposed areas if they have to stop work. However, in a severe and unexpected storm, some water might find its way in. This is why it’s so important that your roofer has a clear plan for dealing with inclement weather and communicates with you about the project timeline and any potential weather-related delays.
Vibrations From the Roofing Work
The process of tearing off old shingles and installing a new roof is a heavy-duty job that creates significant vibrations throughout your home’s structure. All that hammering and movement can sometimes cause minor cosmetic issues inside, like small cracks appearing in drywall or existing settlement cracks becoming more noticeable. This is often a normal side effect of the construction process and not necessarily a sign of a problem with your new roof’s integrity. While large, deep cracks are a cause for concern, fine hairline cracks are typically just a result of the house settling in response to the vibrations from the work overhead.
Faulty Flashing or Underlayment
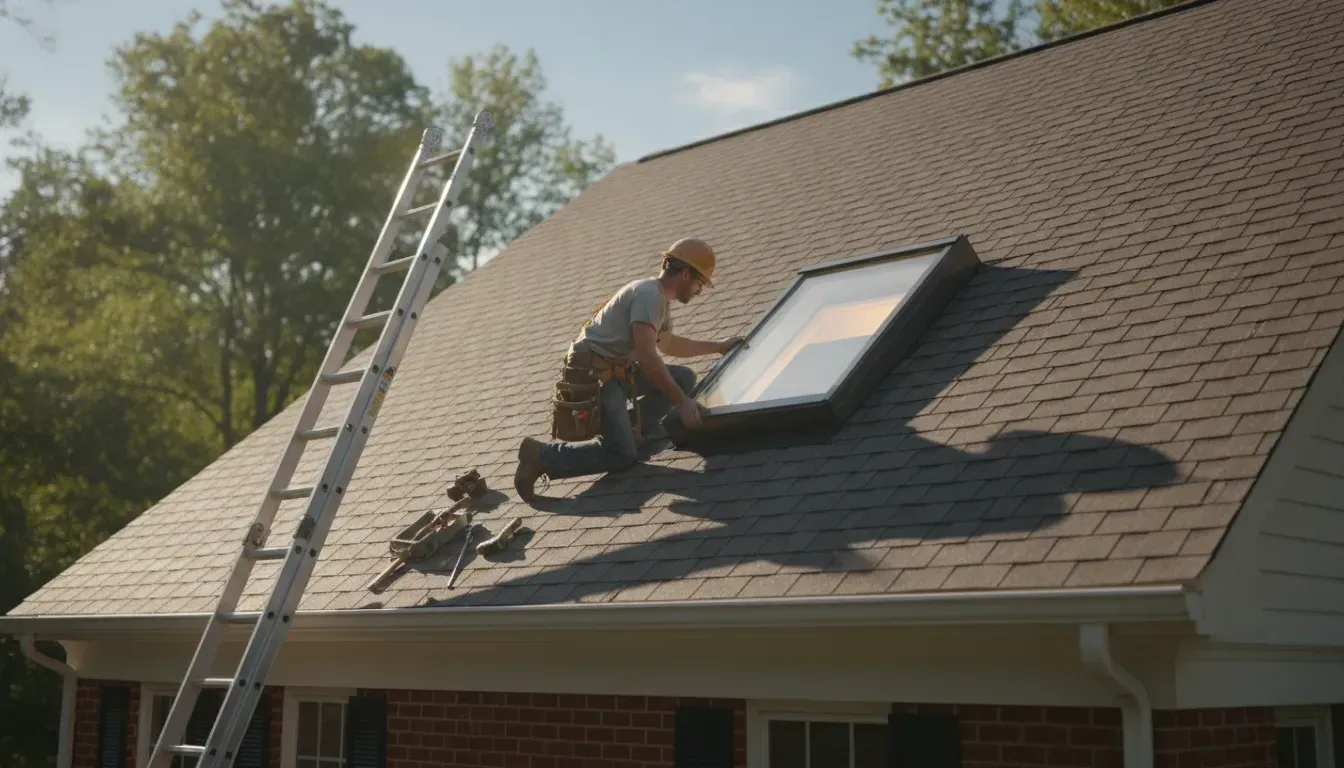
Some of the most critical components of your roof are the ones you don’t see. Underlayment is the waterproof barrier installed beneath the shingles, and flashing is the metal stripping that directs water away from vulnerable areas like chimneys, vents, and skylights. If either of these is damaged or installed incorrectly, it creates a direct path for water to leak into your attic and, eventually, your ceiling. A meticulous contractor knows that proper installation of these materials is non-negotiable for a leak-proof roof, whether for a home or a commercial roofing project. It’s a detailed part of the job that requires precision to get right.
Spotting the Warning Signs of Ceiling Damage
Finding damage on your ceiling right after getting a new roof is incredibly frustrating. You invested in protecting your home from the top down, so seeing new problems inside can feel like a major setback. But don't panic. The first step is to know exactly what you’re looking for. Some signs of trouble are obvious, like a dripping leak, while others are much more subtle. Catching these issues early can make all the difference, preventing a minor inconvenience from escalating into a costly, complicated repair. It’s about being vigilant in the days and weeks following the installation.
Being able to identify these warning signs is key. It allows you to contact your contractor quickly and stop a small issue in its tracks. Whether it’s a small discoloration, a new crack, or a faint musty smell, paying close attention to your ceilings after a residential roofing project can save you a lot of headaches down the road. Think of it as the final quality check. Your roofer has done their job, and now it's time to ensure everything settled in correctly. Keep your eyes peeled for any changes, big or small, and remember that a proactive approach is always best. If something feels off, it probably is, and it’s worth investigating right away.
Water Stains and Discoloration
One of the most common red flags is a new water stain on your ceiling. These often show up as yellowish or brownish circles or splotches. A discolored spot means that water has found a way through your new roof and is soaking into the drywall or plaster above you. Even a small, faint stain is a clear sign of a leak that needs immediate attention. It can be tempting to just paint over it and hope for the best, but that only hides the evidence. The stain is a symptom of a bigger problem, and ignoring it will only allow the moisture to cause more damage, like wood rot or mold, within your ceiling and attic.
Sagging or Bulging Spots
If you notice any part of your ceiling starting to droop, bulge, or sag downwards, you need to act fast. This is a serious warning sign that water is pooling in one area, adding significant weight and stress to your ceiling materials. A sagging ceiling is a structural risk and indicates a substantial leak that has been happening for a while. This isn't just a cosmetic issue; it's a sign that the integrity of your ceiling is compromised and could be close to collapsing. You should call a professional roofing contractor immediately to assess the situation before it gets worse or the ceiling fails completely. Don't wait on this one.
New Cracks or Shifts
It’s important to distinguish between normal settling and a real problem. Tiny, hairline cracks can sometimes appear from the vibrations of a major construction project like a roof replacement. However, you should be concerned about any new cracks that are wide, growing, or have discoloration around them. These types of cracks can point to a more serious issue, like water damage weakening the ceiling structure or a significant shift. A good rule of thumb is to keep an eye on any new cracks you find. Take photos with a ruler next to them to track their progress. If they get bigger over a few days, it’s time to call for a professional inspection.
Mold Growth or Musty Smells
Where there’s persistent moisture, mold is sure to follow. If you see black, green, or gray spots appearing on your ceiling, you’re likely looking at mold growth. You might also notice a damp, musty, or earthy smell in the room, which is another telltale sign of hidden moisture. Mold isn't just ugly; it can pose serious health risks to you and your family, especially for those with allergies or asthma. It’s also a clear indicator that a leak has been active long enough for mold to establish itself. The source of the moisture must be found and fixed before you can properly and safely remove the mold.
What to Do If You Find Ceiling Damage
Discovering a new stain, crack, or bulge on your ceiling after a roof replacement is incredibly frustrating. Your first instinct might be to panic, but taking a calm, methodical approach will help you resolve the issue quickly and effectively. Acting fast is key to preventing minor issues from turning into major, costly repairs. Follow these clear, actionable steps to address the damage and protect your home.
Call Your Roofing Contractor Immediately
Your first phone call should be to the company that installed your new roof. A reputable contractor stands behind their work and will want to address any potential issues right away. Explain what you’ve found calmly and clearly, and ask them to come out and inspect the problem. Professional companies value their reputation and understand that mistakes can happen. They should be responsive and willing to investigate whether the damage is related to their workmanship. This initial contact is the most important step in getting the problem solved.
Document the Damage with Photos
Before anything is touched or moved, grab your phone and take detailed photos and videos of the damage. Capture the issue from several different angles and distances. Get close-ups of stains or cracks, but also take wider shots to show the location of the damage in the room. Good lighting is important, so open the curtains or turn on lights to make sure the photos are clear. This documentation is crucial for your records and will be incredibly helpful when talking with your contractor or, if necessary, your insurance company.
Schedule a Professional Assessment
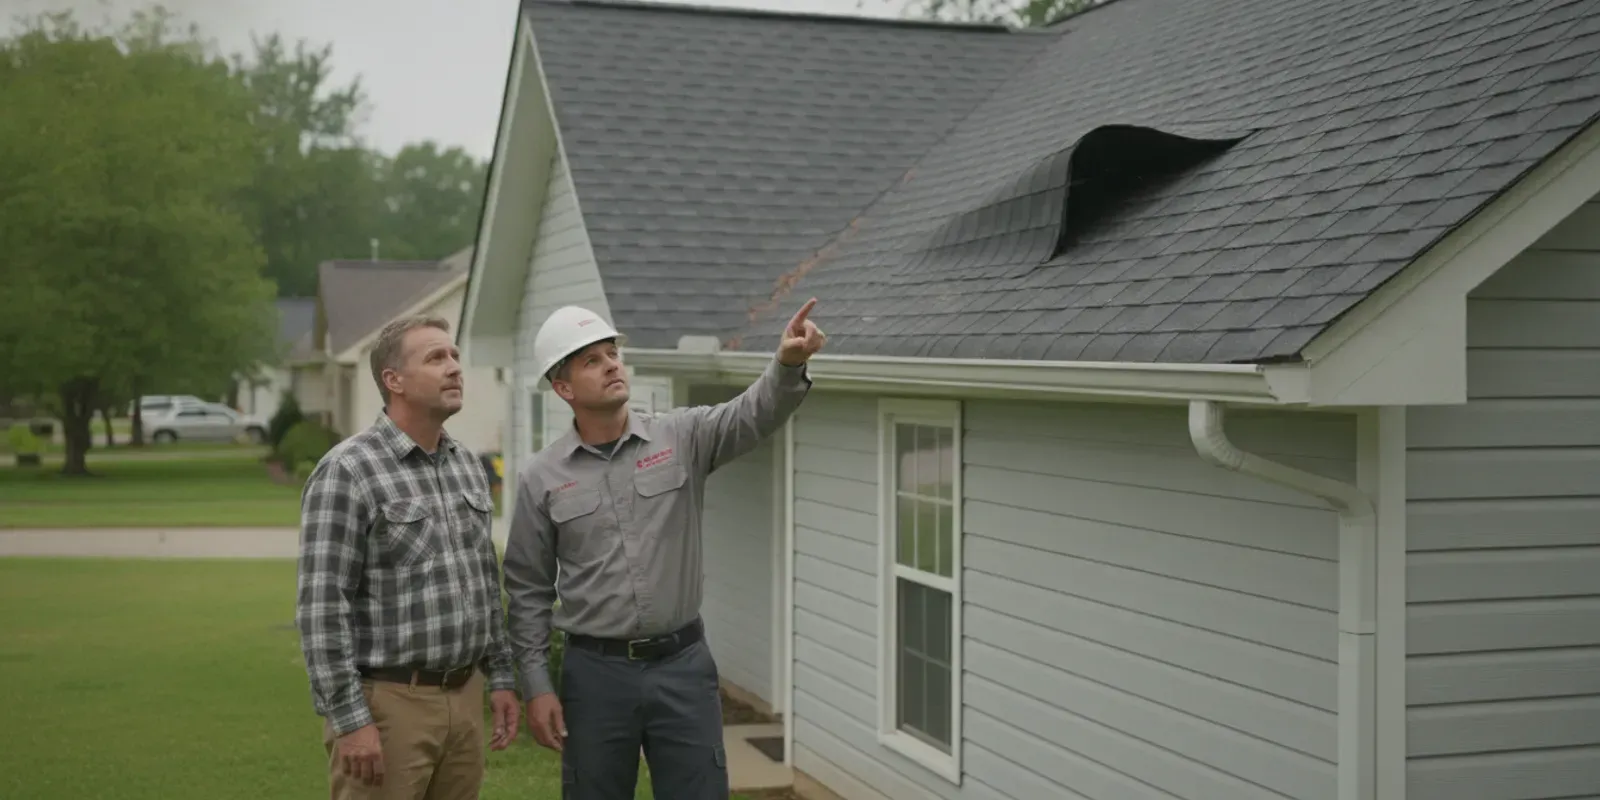
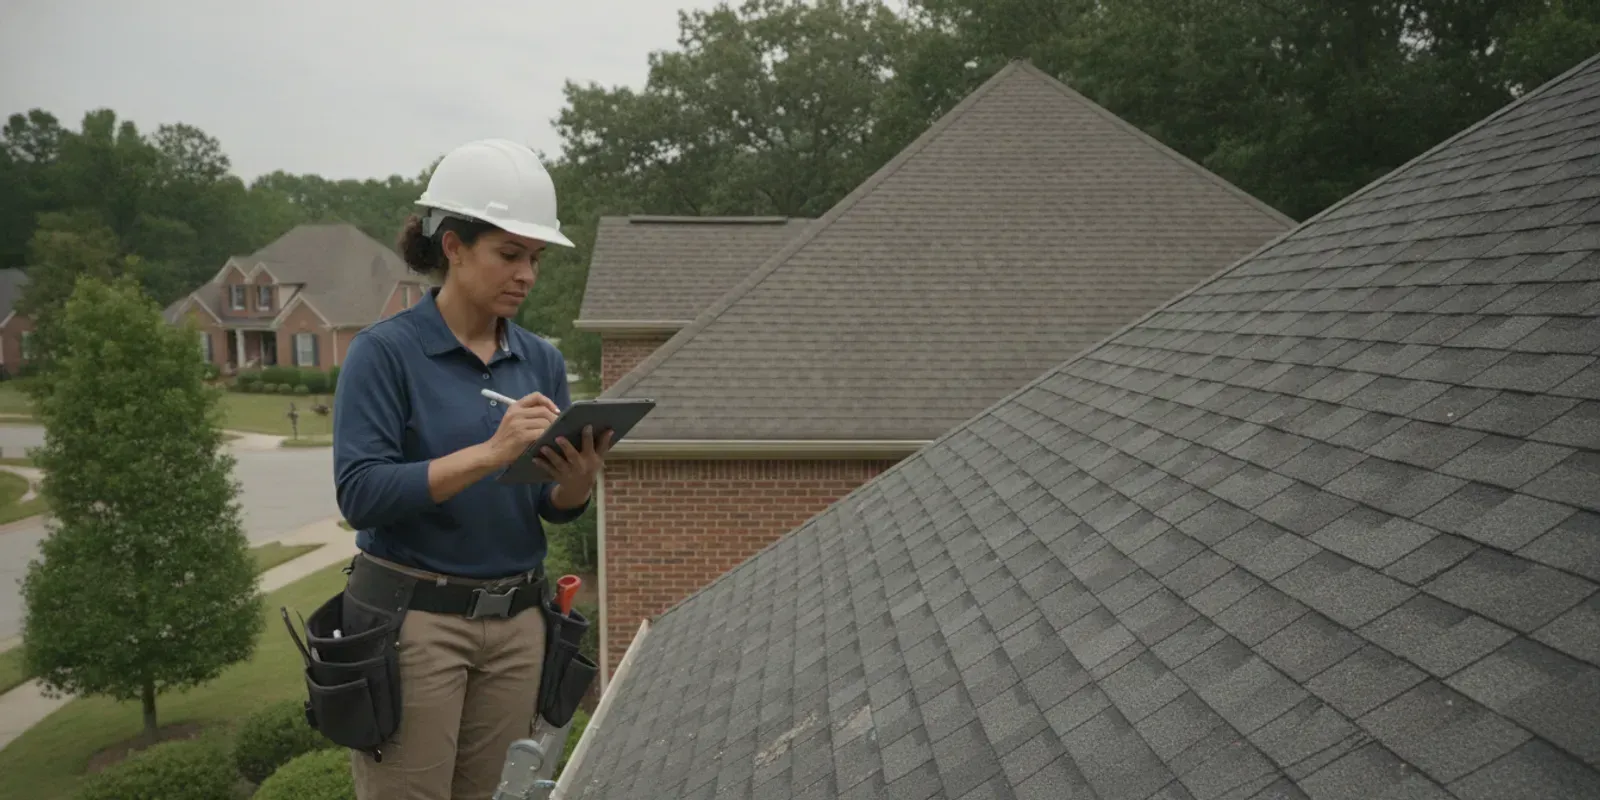
After you’ve contacted your original roofer, they should schedule a time to come assess the damage in person. During this visit, they will inspect both the ceiling inside and the roof outside to find the source of the problem. If you have any doubts or if the original contractor is unresponsive, it’s wise to get a second opinion from another trusted company. A thorough roof inspection will confirm the cause of the damage, whether it’s a small installation error or a more significant issue, and outline the necessary repairs.
Prevent the Damage From Getting Worse
While you wait for the professionals to arrive, take immediate steps to mitigate the damage. If water is actively dripping, place buckets or pans underneath to catch it and use old towels to soak up any water on the floor. This helps prevent further water damage and the need for more extensive roof repairs. If you notice a musty smell or visible signs of mold, be sure to point it out to the inspector. Addressing the source of the moisture promptly is the best way to keep your home safe and healthy.
Who Is Responsible for the Repairs?
Figuring out who pays for unexpected ceiling repairs can feel stressful, but the answer usually comes down to what caused the damage in the first place. In most cases, the responsibility will lie with your roofing contractor, be covered by a warranty, or fall under your homeowner's insurance policy. It’s rarely a simple answer, but understanding the different scenarios will help you determine the right course of action. Let's walk through each possibility so you know exactly who to talk to and what to expect when you pick up the phone.
When Your Contractor Is Liable
If the ceiling damage is a direct result of the roofing team's work, the contractor is generally responsible for the repairs. This could be due to mistakes like improper installation of flashing, accidentally puncturing the roof deck, or failing to properly protect your home from the elements during the project. If the damage is due to poor installation, their workmanship warranty should cover fixing both the roof leak and the ceiling damage. A professional, insured company will stand by their work and take responsibility for their errors. This is why it’s so important to partner with a trusted contractor who has a strong reputation in the community.
What Does Your Warranty Cover?
It’s crucial to understand the difference between the two main warranties that come with a new roof. Your contractor's 'workmanship warranty' covers mistakes made during installation, while the 'material warranty' covers faulty products like defective shingles. For ceiling damage caused by a new leak, you’ll be looking at the workmanship warranty. This is the contractor’s promise that their installation was done correctly and will perform as expected. A solid workmanship warranty should cover the cost of not only fixing the leak on your new roof but also repairing the interior damage it caused. This is a hallmark of high-quality residential roofing services.
Using Your Homeowner's Insurance
Sometimes, the damage isn't anyone's fault; it's just a case of bad timing or bad luck. If the damage was caused by something else, like a severe storm that rolled in unexpectedly during the project, your homeowner's insurance might cover it. This also applies to other unforeseen events, like a tree limb falling on an exposed section of your roof while the crew is working. In these situations, your first step should be to review your policy and contact your insurance agent. They can help you understand your coverage and guide you through the process of filing a claim for the interior and exterior damage.
When the Homeowner Is Responsible
There are a few specific situations where the cost of repairs might fall to you. A roof replacement is a major construction project, and some minor cosmetic issues are a normal part of the process. For example, small, hairline cracks in the ceiling from vibrations might be considered normal and are typically not covered by the contractor. Additionally, if the damage is linked to a pre-existing structural issue with your home that the roofing project revealed but didn't cause, you would likely be responsible for those repairs. It’s always a good idea to discuss any potential structural concerns with your contractor before the work begins.
How to Prevent Ceiling Damage During a Roof Replacement
The best way to handle ceiling damage is to prevent it from ever happening. While a roof replacement is a major construction project, a professional team will take every precaution to protect your home inside and out. Being proactive and choosing the right partner for the job can save you from the stress and expense of unexpected repairs. Here are four key steps you can take to ensure your roof replacement goes smoothly and your ceilings stay pristine.
Hire a Vetted, Licensed Contractor
Your single most important decision is choosing the right contractor. A reputable, licensed, insured, and bonded roofing company has the experience to anticipate potential issues and the training to avoid them. Look for contractors with certifications from leading manufacturers, as this shows they are trained to install specific products correctly. A vetted professional will not only do the job right but will also stand behind their work. They understand that their reputation is built on protecting your entire home, not just installing a new roof. Don’t hesitate to ask for proof of insurance and licensing before signing any contracts.
Protect Your Home Before Work Begins
Before the first shingle comes off, have a clear conversation with your contractor about their plan to protect your property. Ask them directly: "How will your crew protect my home's interior and exterior during the project?" A professional team should have standard procedures for covering landscaping, siding, and windows. They should also have a plan for securing your roof if unexpected rain occurs during the tear-off phase. This conversation sets clear expectations and ensures the crew respects your home. It’s a simple step that confirms you’ve hired a team that values communication and cares about the details.
Insist on Quality Materials and Standards
While it can be tempting to choose cheaper materials to lower the upfront cost, this often leads to problems down the road. High-quality, durable materials provide superior protection and longevity, reducing the risk of leaks and subsequent ceiling damage. A trustworthy contractor will recommend the best products for your home’s specific needs and climate, explaining the benefits of investing in a robust roofing system. From the underlayment and flashing to the shingles themselves, every component plays a role in keeping your home dry and secure. Insisting on quality is an investment in your peace of mind.
Schedule the Project Around the Weather
Timing is critical during a roof replacement. Your home is most vulnerable when the old roof is removed and the new one has yet to be installed. A professional roofing contractor will meticulously watch the weather forecast and schedule the tear-off and installation for clear days. They should also have an emergency plan, including heavy-duty tarps, to quickly cover exposed areas if the weather takes an unexpected turn. Discussing the weather plan with your contractor beforehand can help you feel confident that your home will be protected, rain or shine. This foresight is a hallmark of an experienced and reliable roofing team.
Identify the Type of Ceiling Damage
Seeing new flaws in your ceiling after a roof replacement can be disheartening, but don't panic just yet. The first step is to figure out what kind of damage you’re dealing with, as not all issues are created equal. Some problems are minor side effects of the construction process, while others can point to more significant concerns. By understanding the difference between water damage and vibration cracks, or a cosmetic flaw and a structural problem, you can determine the right next steps and have a more productive conversation with your contractor.
Water Damage vs. Vibration Damage
Water damage is often the first thing homeowners fear. It typically appears as yellowish or brownish stains, peeling paint, or sagging spots on the ceiling. This can happen when moisture gets into your attic, either from unexpected rainfall during the tear-off phase of the project or because the new flashing or underlayment wasn't sealed correctly. On the other hand, vibration damage is a mechanical issue. The hammering, walking, and heavy equipment on your roof can shake the entire house frame. This can cause thin cracks to appear in your drywall or make existing ones more noticeable. You might also see "nail pops," where the nails securing the drywall get pushed out slightly.
Cosmetic Flaws vs. Structural Problems
It’s important to distinguish between a simple cosmetic issue and a real structural problem. Cosmetic flaws, like hairline cracks or nail pops from vibrations, are surface-level and don't compromise the integrity of your home. While they are an inconvenience that needs to be addressed, they are usually a straightforward fix. Structural problems are much more serious. These often appear as large, deep cracks that may run across the ceiling and down a wall. They can indicate that the home's frame or foundation has shifted, a problem that requires an expert opinion from a team with decades of experience. Ignoring these can lead to bigger, more expensive issues down the road.
Normal Settling vs. Serious Safety Risks
All houses settle over time, which can create tiny hairline cracks in the drywall. The intense activity of a roof replacement can sometimes reveal or slightly widen these pre-existing, harmless cracks. A good rule of thumb is to look at the width. If a crack is thinner than a nickel (about 1/16 of an inch) and isn't growing, it's likely cosmetic. However, you should treat it as a serious safety risk if a crack is wider, getting longer, or is accompanied by other warning signs like sticking doors or sagging floors. These are red flags that point to a potential structural issue that needs immediate attention from a professional roofer.
When Is Ceiling Damage an Emergency?
Discovering ceiling damage after a new roof installation is unsettling, but not every issue is a five-alarm fire. It's easy to assume the worst, but some minor cosmetic flaws, like small cracks in the drywall tape, can happen simply from the vibrations of the work overhead. The key is knowing how to tell the difference between a minor touch-up and a serious problem that needs immediate attention. An emergency situation involves active water intrusion or signs that your home's structural integrity is at risk. These are the problems that can't wait until Monday morning. Acting quickly can prevent a small issue from turning into a major, expensive repair that affects more than just your ceiling. If you see any of the red flags we're about to cover, it’s time to stop wondering and call a professional for an immediate assessment of your residential roofing system. Understanding these warning signs will help you protect your home and make sure your new roof is performing exactly as it should. Remember, a solid roof is your home's first line of defense, and any sign of failure at the ceiling level warrants a closer look. Don't hesitate to trust your gut; if something feels wrong, it's always better to have it checked out.
Signs of an Immediate Structural Problem
Some ceiling issues go beyond cosmetic and point to a serious structural problem. Keep an eye out for sagging or bulging spots on your ceiling. This often means water is pooling above the drywall, adding significant weight and putting your ceiling at risk of collapse. You should also look for new cracks that are wider than a nickel (about 1/16 of an inch). While tiny hairline cracks can be normal, larger or growing cracks suggest a significant structural shift that needs urgent evaluation. Finally, dark yellow or brown water stains are clear indicators that water has breached your new roof and is soaking into your ceiling materials, which can compromise the structure over time.
Urgent Leaks That Can't Wait
An active leak is always an emergency. If you see water dripping from your ceiling, your first step should be to place a bucket underneath to protect your floors and furniture. A persistent leak often points to a failure in the roof's water-shedding system, such as improperly installed flashing. Flashing is the metal stripping that seals the seams around chimneys, vents, and skylights, and if it’s not done right, it creates a direct path for water to enter your home. These leaks are especially common if the roof replacement happened during rainy or windy weather without proper protection. An
How to Work With Your Insurance Company
Figuring out insurance claims can feel like a major headache, especially when you’re already stressed about damage to your home. But when it comes to ceiling damage after a roof replacement, the process is more straightforward than you might think. Your first call should always be to your roofing contractor to assess the situation. If they determine the damage wasn’t caused by their work, for instance, if a surprise storm rolled through during the project, then it’s time to get your homeowner's insurance involved.
A good roofing partner won’t leave you to handle this alone. At Total Roof Solutions, we believe in supporting our clients from start to finish. We can provide a professional assessment and the documentation you need to clearly explain the situation to your insurance provider. Think of your roofer as your first line of defense and a key ally. They have the expertise to identify the cause of the problem, which is the most important piece of information your insurance company will need. With a clear plan and the right support, you can get through the claims process smoothly and get your home back to normal.
Filing a Claim for Ceiling Damage
When you discover ceiling damage, your first instinct might be to call your insurance agent, but you should actually contact your roofing contractor first. A reputable company will come out to inspect the issue and determine the cause. If the damage is a direct result of their installation, they should be responsible for the repairs. However, if the problem was caused by an external event, like a severe storm that occurred during the replacement, your homeowner's insurance policy may cover it. In that case, your next step is to file a claim. Call your insurance agent, explain what happened, and let them know you have a professional assessment from your roofer.
What Documentation You'll Need
When you file an insurance claim, solid proof is your best friend. The moment you notice any ceiling damage, start documenting it. Use your phone to take clear, well-lit photos and videos of the affected areas from several different angles. Get close-ups of water stains, cracks, or sagging spots, as well as wider shots to show the location and scale of the problem. Keep a detailed log of all communication with your roofing contractor, including dates, times, and a summary of your conversations. Your contractor’s written assessment is also a critical piece of evidence. This collection of documents will create a clear and compelling picture for your insurance adjuster, making the claims process much simpler.
Know Your Coverage Limitations
It’s important to understand what your homeowner's insurance does and doesn’t cover. Generally, these policies are designed to protect you from sudden and accidental events, like storm damage, fire, or hail. They typically do not cover issues that arise from poor workmanship or faulty installation. That’s why your contractor’s liability insurance would handle repairs if they made a mistake. Before you file a claim, take a few minutes to review your policy or call your agent to confirm your coverage details. Understanding these limitations will help you set realistic expectations and ensure you’re directing your claim to the right place, whether it’s your insurer or your residential roofing contractor.
Common Myths About Post-Replacement Damage
Finding a new crack or stain on your ceiling after a roof replacement is incredibly frustrating. It’s easy to assume the worst and point fingers, but the cause isn't always as straightforward as it seems. A roof replacement is a major construction project, and understanding what can happen helps you separate minor side effects from genuine installation errors. Let's clear up a few common myths so you can approach the situation with a clear head.
The key is to work with a contractor who communicates openly about what to expect. A professional team will take precautions to protect your home and will be ready to address any concerns that pop up. The goal is always to ensure your new roof provides lasting protection without creating new problems inside your home.
Not All Damage Is From the Installation
It’s a common belief that any ceiling damage appearing after a new roof is a direct result of a mistake made by the crew. While poor workmanship can certainly be the culprit, it’s not the only possibility. Sometimes, the issue is a combination of factors. For example, a sudden downpour during the tear-off phase could expose your attic to moisture before the new underlayment is in place. Heavy materials or foot traffic on the roof deck can also cause vibrations that affect the drywall below. It's important to investigate the specific cause rather than assuming it was a simple installation error.
What to Expect During Construction
A full roof replacement is an intensive process. Think about it: a team of people is walking on your roof, tearing off thousands of pounds of old material, and using heavy equipment to install the new system. All of this activity creates significant vibrations that travel through your home’s structure. These vibrations can sometimes be enough to cause small, pre-existing settlement cracks in your drywall to become more visible. While a reputable contractor will do everything possible to minimize impact, a certain amount of vibration is an unavoidable part of any major residential roofing project.
Pre-Existing Issues vs. New Problems
This is where things can get tricky. If your ceiling already had hairline cracks or the paint was old, the vibrations from the roofing work can easily make them worse. Many contractors view these minor cosmetic issues as an unfortunate but normal consequence of the job, especially in older homes. It’s different from a new water stain or a large, structural crack, which clearly points to a new problem. This is why having a detailed conversation with your contractor beforehand is so important. A trustworthy company, like the team at Total Roof Solutions, will be transparent about the risks and help you document your home's condition before work begins.
Protect Your Home After a Roof Replacement
A new roof is a major investment in your home’s safety and value, so it makes sense to protect it. Once the installation crew leaves, your role in maintaining the roof begins. Taking a few proactive steps can extend its life, prevent unexpected problems, and ensure you get the most out of your warranty. Think of it as simple preventative care for one of the most important parts of your house.
Schedule Regular Roof Inspections
The easiest way to prevent major problems is to catch them while they’re still small. Plan to check your roof and ceilings at least twice a year, ideally in the spring and fall, and always after a major storm passes through. From the ground, look for any missing or damaged shingles. Inside, check your attic and ceilings for new water stains or discoloration. Catching a small leak early can save you from a much bigger headache. A professional residential roofing expert can also perform a detailed inspection to spot issues you might miss.
Follow Maintenance Best Practices
Beyond inspections, a few simple maintenance habits can make a huge difference. First, make sure your attic has good ventilation. Proper airflow helps prevent moisture from building up, which can lead to rot and mold. It also protects your shingles from heat damage. Another key task is to keep your gutters clean and clear of debris. When gutters get clogged, water can back up and seep under your roof’s edge. Finally, trim back any overhanging tree branches that could scrape against your shingles or fall during a storm.
Build a Relationship With a Trusted Pro
Finding a roofing contractor you trust is essential, not just for the installation but for the long-term health of your roof. When you have a go-to professional, you know exactly who to call if you notice a potential issue. If you find damage after a replacement, your first call should be to the company that did the work. A reputable contractor will stand by their installation. It’s also a good idea to document any issues immediately by taking clear photos from a few different angles. This provides a clear record for your discussion.
Related Articles
- How to Check for Roof Leaks After an Atlanta Storm
- How the Weather Impacts Your Roof Replacement Schedule
- What to do if a tree falls on your roof?
- Understanding Roofing Insurance Coverage for Homeowners in Atlanta
Frequently Asked Questions
What's the first thing I should do if I find ceiling damage? Before you do anything else, take clear photos of the damage from several angles. Good documentation is incredibly helpful. Your next step is to call the contractor who installed the roof. A professional company will want to inspect the issue immediately. If there is an active leak, place a bucket under it to protect your floors while you wait for them to arrive.
Are small cracks in the ceiling normal after a roof replacement? It’s not unusual to see tiny, hairline cracks appear after a big project like a roof replacement. The work creates a lot of vibration that can shake the house frame and affect the drywall. These small cracks are typically cosmetic. You should only be concerned if a crack is wide, getting longer, or has any discoloration around it, as that could signal a more serious problem.
Is my roofing contractor automatically responsible for fixing the ceiling? Not always, as it depends entirely on the cause. If the damage resulted from an installation error, then yes, their workmanship warranty should cover the cost of repairing both the roof and the resulting interior damage. However, if the damage was caused by an event outside of their control, like a severe and sudden storm during the project, it may be a matter for your homeowner's insurance.
How can I tell if the ceiling damage is a real emergency? You should treat any active, dripping leak as an emergency. Another urgent warning sign is a ceiling that has started to sag, droop, or bulge, which means water is pooling and adding dangerous weight. This creates a risk of collapse and needs immediate professional attention. Large, deep cracks are also a red flag that could point to a structural issue.
How can I avoid ceiling damage with my next roof replacement? The most effective step you can take is to hire a reputable, licensed, and insured contractor with a proven track record. Before work begins, talk with them about their plan to protect your property from weather and debris. Choosing high-quality materials and working with your contractor to schedule the job during a clear weather forecast will also go a long way in preventing any unexpected issues.