Vinyl Siding Starter Strip Installation: Steps, Placement, and Common Errors
MEGA MEGA • September 15, 2026
Learn vinyl siding starter strip installation for Georgia homes: level, place, fasten, and inspect the strip, avoid common errors, and know when to call a pro.

A vinyl siding starter strip is the first accessory installed at the bottom of a siding wall. It locks the first siding panel into place, helps establish a straight course, and supports the water-shedding design of the complete siding system. Because a small layout error can carry across the entire wall, starter strip installation deserves careful measuring and fastening.
Schedule a free siding installation assessment with Total Roof Solutions.
What Does a Vinyl Siding Starter Strip Do?
A starter strip creates the connection point for the first course of vinyl siding while setting the system's bottom alignment. It should be straight, level, compatible with the siding profile, and installed over a sound, properly protected wall assembly.
The strip is not just decorative trim. Its locking edge engages the lock on the first siding panel, which means the strip influences the position of every course above it. If it slopes, waves, or sits at the wrong height, the finished siding can show uneven horizontal lines, poor engagement, or gaps near the foundation.
Starter strips also work as part of a larger system that may include a water-resistive barrier, flashing, corner posts, J-channel, and the siding panels themselves. The exact profile and clearances vary by manufacturer, so the product installation instructions should control when they differ from general guidance.
For homeowners comparing siding options, the starter strip is one small part of the larger installation. Total Roof Solutions also explains how vinyl compares with other materials in its guide to choosing home siding based on lifespan and maintenance.
How Should You Prepare the Wall Before Installation?
Before vinyl siding starter strip installation begins, the wall should be flat enough to support a consistent plane, protected against incidental water, and free of damage that could compromise fastening. Correct preparation gives the starter strip a stable reference instead of forcing it to hide a deeper wall problem.
- Inspect the substrate. Look for soft sheathing, rot, loose panels, protruding fasteners, major bulges, and areas that are not securely attached. Do not cover structural or moisture damage simply because the siding will hide it.
- Confirm the water-control layers. Vinyl siding is not a substitute for a water-resistive barrier or properly integrated flashing. Openings, corners, and the wall-to-roof transition need particular attention before trim is installed.
- Check the siding profile. Use a starter strip designed for the selected vinyl siding system. A strip that does not match the panel lock can make the first course difficult to engage or leave the panel insecure.
- Plan the bottom elevation. Identify the lowest practical point around the wall and establish the manufacturer-recommended height above the foundation or finished surface. The line must work around the building, not just look correct on one short section.
- Gather compatible fasteners and tools. A level, chalk line, tape measure, snips, and corrosion-resistant fasteners are typical requirements. Fasteners must reach the specified nailable material without restricting movement.
The installation guidance at Polymeric Exteriors emphasizes a flat sheathing surface, a continuous water-resistive barrier, flashing at openings and corners, and fasteners that penetrate adequately into nailable material. Read the vinyl siding installation manual guidance and the selected product instructions before work begins.
How Do You Set and Place the Starter Strip?
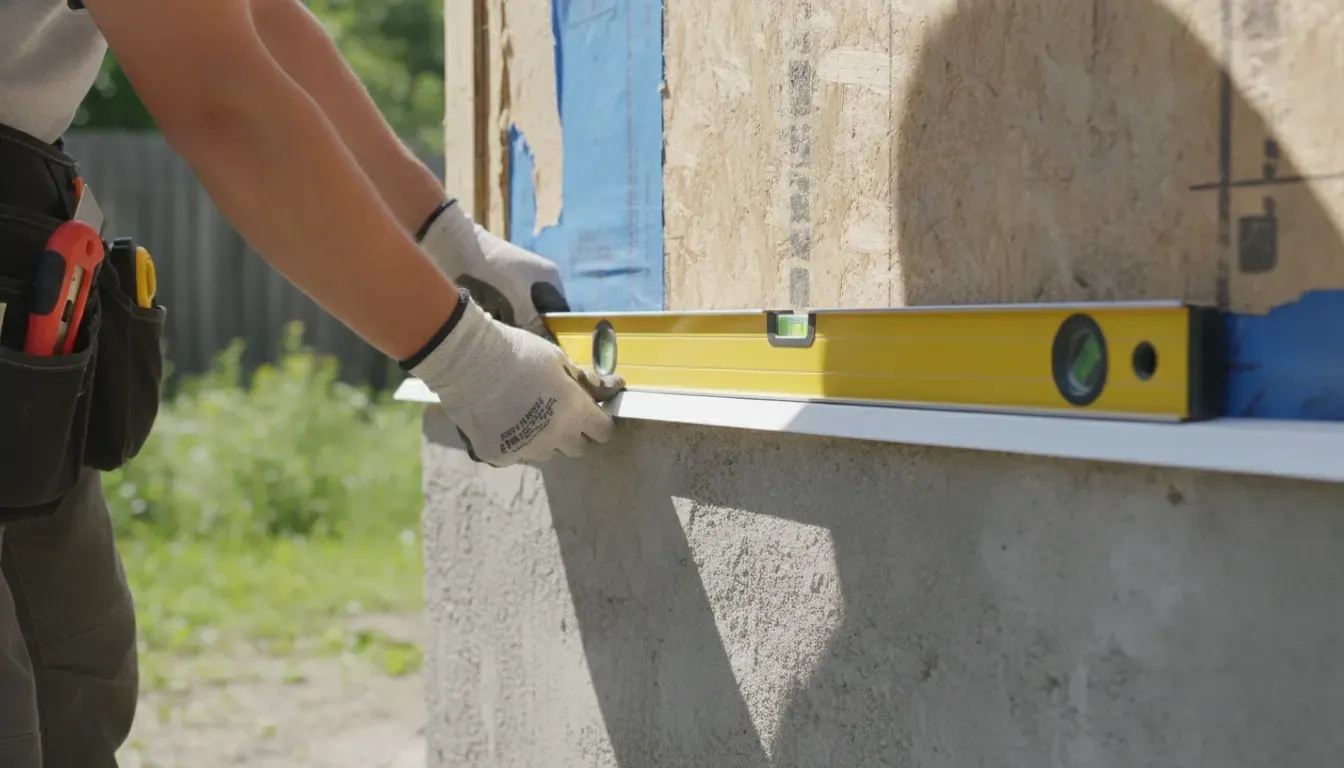
Set the starter strip against a continuous reference line so the top edge remains level from one end of the wall to the other. Measure from a reliable fixed point, snap the line carefully, and keep the strip aligned with the siding system rather than with an uneven existing surface.
- Find the reference height. Start at the lowest point that will govern the siding layout. Use the product instructions to determine the required clearance above the foundation, slab, grade, or other adjacent material.
- Transfer the line around the wall. Use a level or laser to carry the layout to each corner. A line that is level on one elevation can still be wrong on another if the measurements were not transferred consistently.
- Position the top edge. Place the starter strip's top edge on the reference line. Keep its face straight and supported. If the wall has hollows, use an appropriate shim or correction method rather than pulling the strip into a curve with fasteners.
- Leave the specified corner clearance. Starter strip ends need room to coordinate with outside corners, inside corners, lineals, or other trim. Follow the selected system's dimensions instead of assuming every corner uses the same setback.
- Join sections correctly. When more than one piece is required, leave the expansion space specified by the manufacturer. Do not butt pieces tightly if the system requires movement room.
A straight reference line is the visual and functional foundation for the siding courses above it. Step back often while laying out the strip. A line that looks acceptable close up can reveal a noticeable slope when viewed across a full wall.
How Should Vinyl Siding Starter Strips Be Fastened?
Fasten the starter strip through the center of its slots with compatible corrosion-resistant fasteners, while leaving enough clearance for the vinyl to expand and contract. The strip should be secure without being clamped tightly against the wall.
- Center the fastener in the slot. This allows the component to move horizontally as temperatures change.
- Keep the fastener head slightly proud. Driving it tight can restrict movement and contribute to distortion, buckling, or tearing.
- Follow the product spacing. Many installation guides provide a regular spacing range, but the selected manufacturer's instructions take priority.
- Use a sound attachment point. The fastener needs adequate penetration into the specified nailable material. Foam alone may not provide the holding power required by the system.
- Keep the strip straight while fastening. Work from the reference line and check alignment frequently instead of fastening one end and forcing the other end into place.
Vinyl siding is designed to move with temperature changes. The starter strip, corner posts, and panels need compatible clearances so the system can move without losing alignment. The CertainTeed guide to installing vinyl siding accessories provides an example of manufacturer-specific alignment, corner spacing, and nail-slot guidance.
How Do Corners, Windows, and Doors Affect Placement?
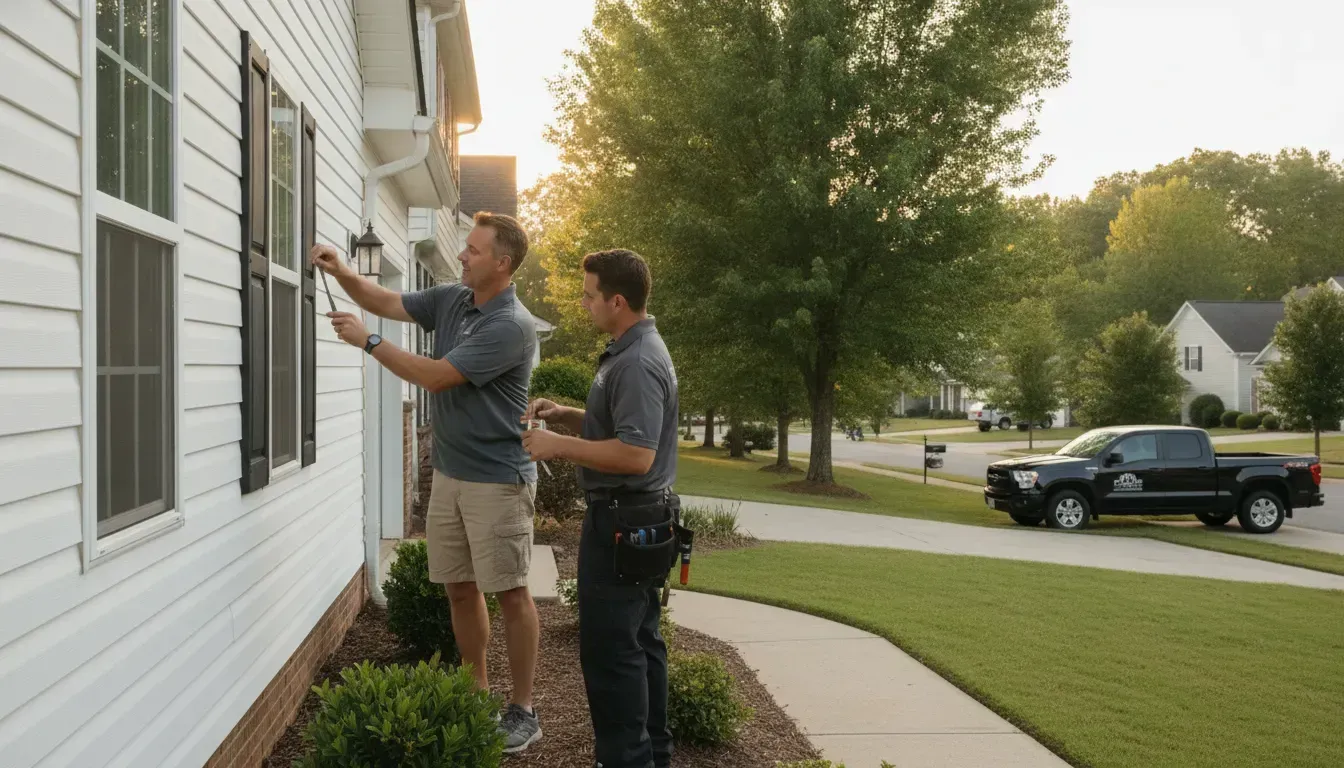
Starter strip placement must be coordinated with corner posts, J-channel, window and door trim, flashing, and drainage paths. The strip should create a clean starting point without crowding trim or blocking the details that direct water away from the wall.
At outside corners, confirm the corner post location before cutting the starter strip. The strip generally stops short of the post according to the selected system's instructions, allowing the corner assembly to remain straight and leaving room for movement. At inside corners, the trim arrangement may use an inside cornerpost or J-channel configuration.
Windows and doors require similar planning. The starter strip should not interfere with the sill, side trim, or the flashing sequence. Around openings, J-channel receives the ends of siding panels, while properly integrated flashing helps manage incidental water. A detail that looks neat from the outside can still fail if it interrupts the drainage path behind the siding.
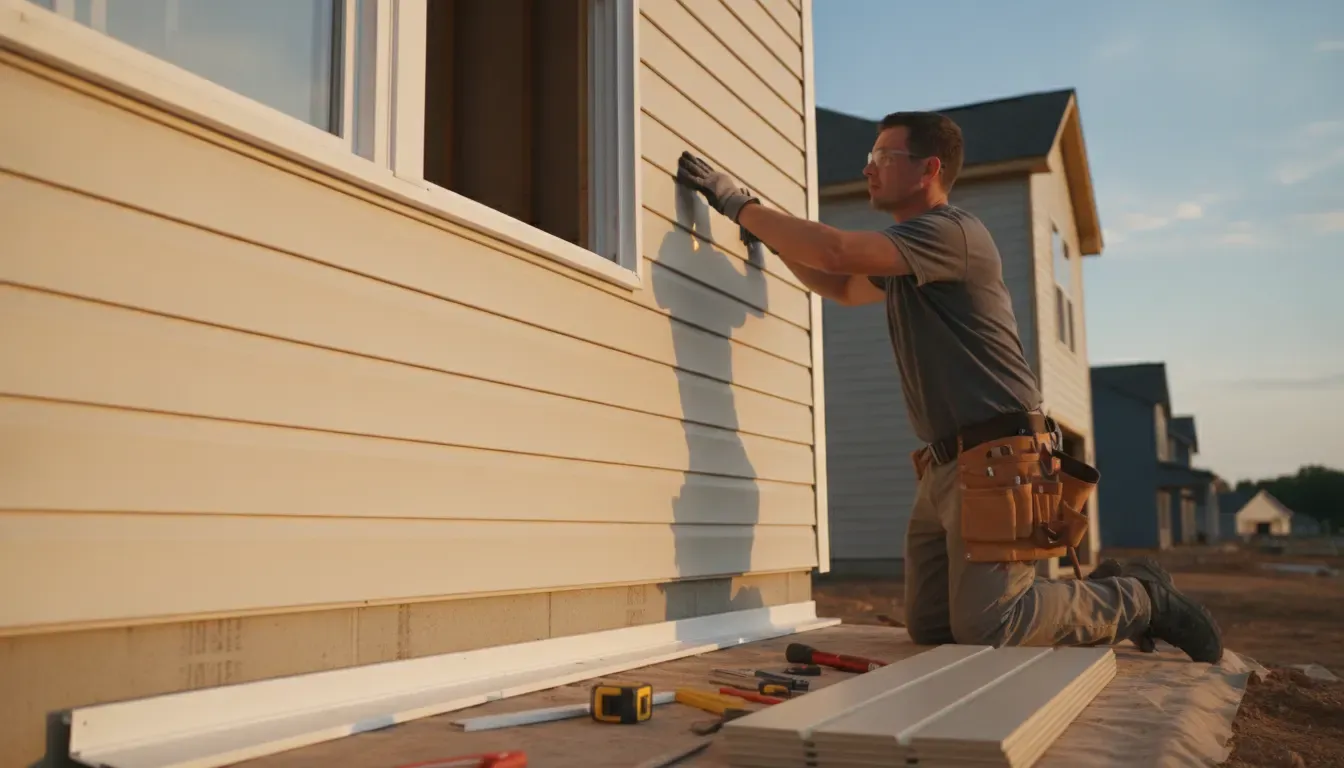
Before covering a corner or opening, check that trim is plumb, the starter strip remains level, fasteners are not tight, and the required clearances are present. Take extra care when new siding meets an existing roof edge, deck, masonry surface, or uneven foundation.
Which Starter Strip Installation Errors Cause Problems?
Most starter strip problems come from a small layout or fastening mistake that is repeated around the wall. The result may be visible as uneven siding lines, loose first panels, buckling, water-management concerns, or trim that no longer lines up.
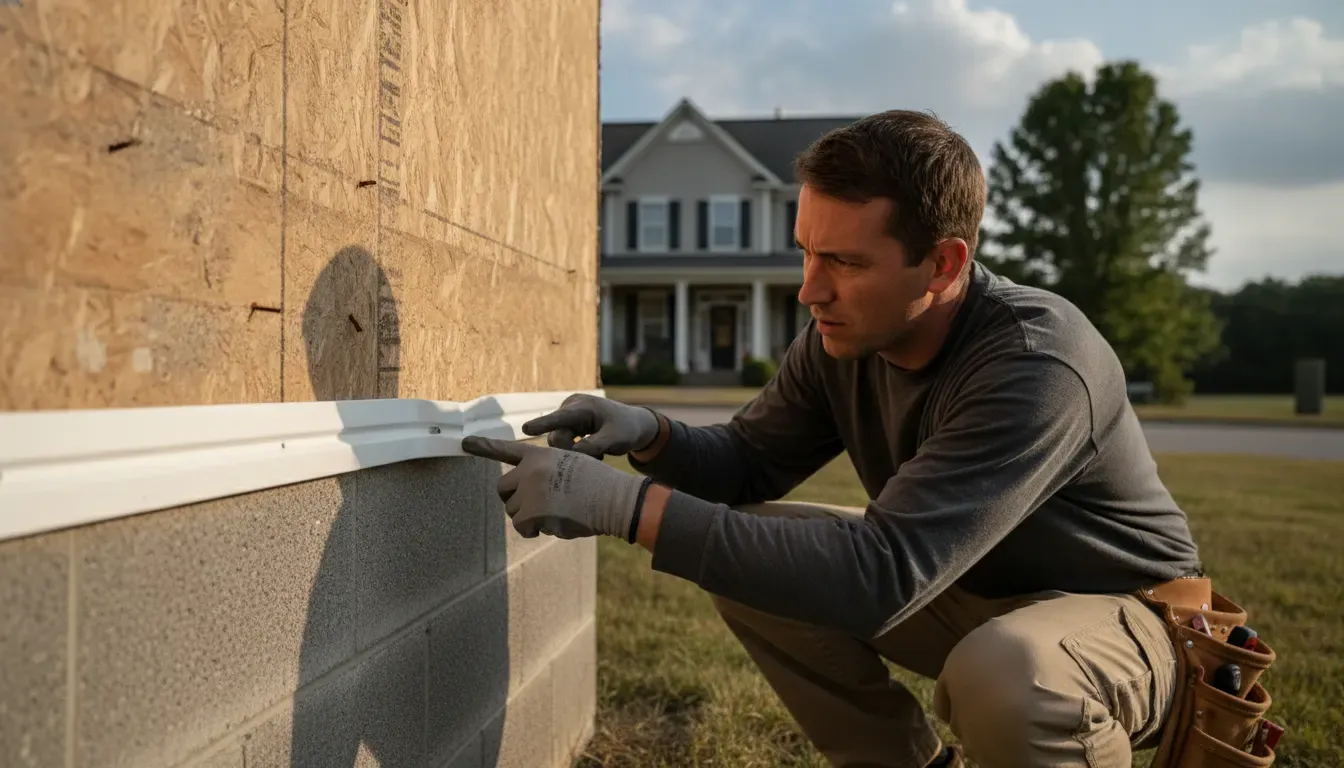
Common errorWhat it can affectBetter next step Starting from an unverified low pointUneven courses and inconsistent bottom clearanceRecheck the layout against the full wall and product instructions Following an uneven foundation without correctionWavy starter strip and siding linesAddress the substrate or use an approved support method Driving fasteners tightRestricted movement, distortion, and bucklingCenter fasteners in slots and leave the specified movement room Butting sections tightlyExpansion pressure at jointsUse the manufacturer's joint clearance Crowding corners or openingsTrim interference and poor drainage detailsPlan the trim sequence before cutting the starter strip Covering damaged sheathingWeak attachment and recurring moisture damagePause for a substrate and moisture assessment A starter strip should not be used to make a damaged wall appear ready for siding. If the wall is soft, wet, badly bowed, or missing key water-control layers, the correct next step is assessment and repair rather than more trim.
When Should a Professional Assess the Siding System?
Professional assessment is appropriate when the substrate is damaged, the existing siding is pulling away, water is entering around openings, or the correct starter strip and trim sequence are unclear. An experienced installer can separate a simple alignment issue from a wall assembly problem that needs repair first.
Consider an assessment if you notice:
- Soft or discolored sheathing near the foundation, corners, windows, or doors
- Repeated buckling after previous siding work
- Loose first-course panels or locks that will not engage consistently
- Visible gaps, missing flashing, or signs of water intrusion
- A foundation or wall that is too uneven for a continuous level layout
- Storm, impact, or construction damage affecting the siding and wall beneath it
Total Roof Solutions provides exterior renovation services, including siding, along with roofing and moisture-related assessments for Georgia properties. Learn more about the company's residential roofing and exterior services, or contact the team for a no-pressure conversation about the condition of your siding system.
Schedule a free siding installation assessment with Total Roof Solutions.
Vinyl Siding Starter Strip Installation FAQs
These answers address common questions about vinyl siding starter strip installation. Product instructions, local code requirements, and the condition of the wall should guide the final installation details.
Does vinyl siding need a starter strip?
Most horizontal vinyl siding systems use a starter strip to secure the first siding panel and establish the bottom alignment. The exact accessory depends on the siding profile, so use the manufacturer's specified starter component rather than improvising with unrelated trim.
Should the starter strip be perfectly level?
Yes, the starter strip should follow a carefully established level reference line. If the foundation or grade is uneven, the layout may need to maintain the required clearance while using an approved correction method. Do not simply follow a visibly uneven surface.
Can starter strip sections be nailed tightly together?
Not usually. Vinyl components need room to accommodate normal temperature-related movement. Follow the selected product's instructions for joint spacing, corner clearances, and fastening so the pieces do not push against one another as they expand.
What happens if the starter strip is not level?
An out-of-level starter strip can make every siding course above it look uneven. It may also interfere with panel locks and trim alignment. Correcting the layout before installing more courses is usually safer than trying to hide the slope later.
Can I install a starter strip over damaged sheathing?
No. A starter strip needs a stable attachment surface, and siding should not be used to conceal rot, wet sheathing, major wall distortion, or missing water-control details. Have the substrate evaluated and corrected before installing the siding system.
How do I choose the right starter strip?
Match the starter strip to the siding brand, profile, panel lock, and installation system. If the existing materials are unknown or discontinued, bring a sample or photograph to a qualified siding professional before purchasing replacement components.