Ceiling Leak From Rain Repair: A Step-by-Step Guide
Stephen Griswell • April 22, 2026
Your roof is your home’s first and most important line of defense against the elements. When it functions correctly, you barely think about it. But when a leak appears on your ceiling, it’s a clear cry for help. That drip is a symptom of a problem that could stem from a missing shingle, cracked flashing, or even clogged gutters. Understanding what your roof is trying to tell you is key to a lasting solution. This guide will help you decipher the signs, take immediate action to prevent further damage, and know when to call for a professional ceiling leak from rain repair to restore your home’s protective shield.
Key Takeaways
- Take immediate action to control the damage: Before you do anything else, move furniture, place a bucket under the drip, and shut off power to the room to protect your home and ensure your safety.
- Understand the common causes but trust a professional for the fix : Leaks often start with damaged shingles, failed flashing, or clogged gutters, but a professional repair is essential for a safe, lasting solution that addresses the root problem.
- Make proactive maintenance your best defense: You can avoid most future leaks by keeping your gutters clean, doing visual checks after storms, and scheduling an annual professional inspection to catch small issues early.
Why Is My Ceiling Leaking When It Rains?
That sinking feeling when you spot a dark, damp circle on your ceiling is something no homeowner wants to experience. A ceiling leak during a rainstorm is a clear sign that your roof's defenses have been breached. Water is incredibly persistent; it can enter through a tiny opening on your roof and travel along rafters and insulation before it finally makes an appearance on your ceiling, often far from the actual source of the problem. Understanding the potential causes is the first step toward a proper fix. From aging materials to storm damage, several common issues could be letting rainwater into your home.
Damaged, Curling, or Missing Shingles
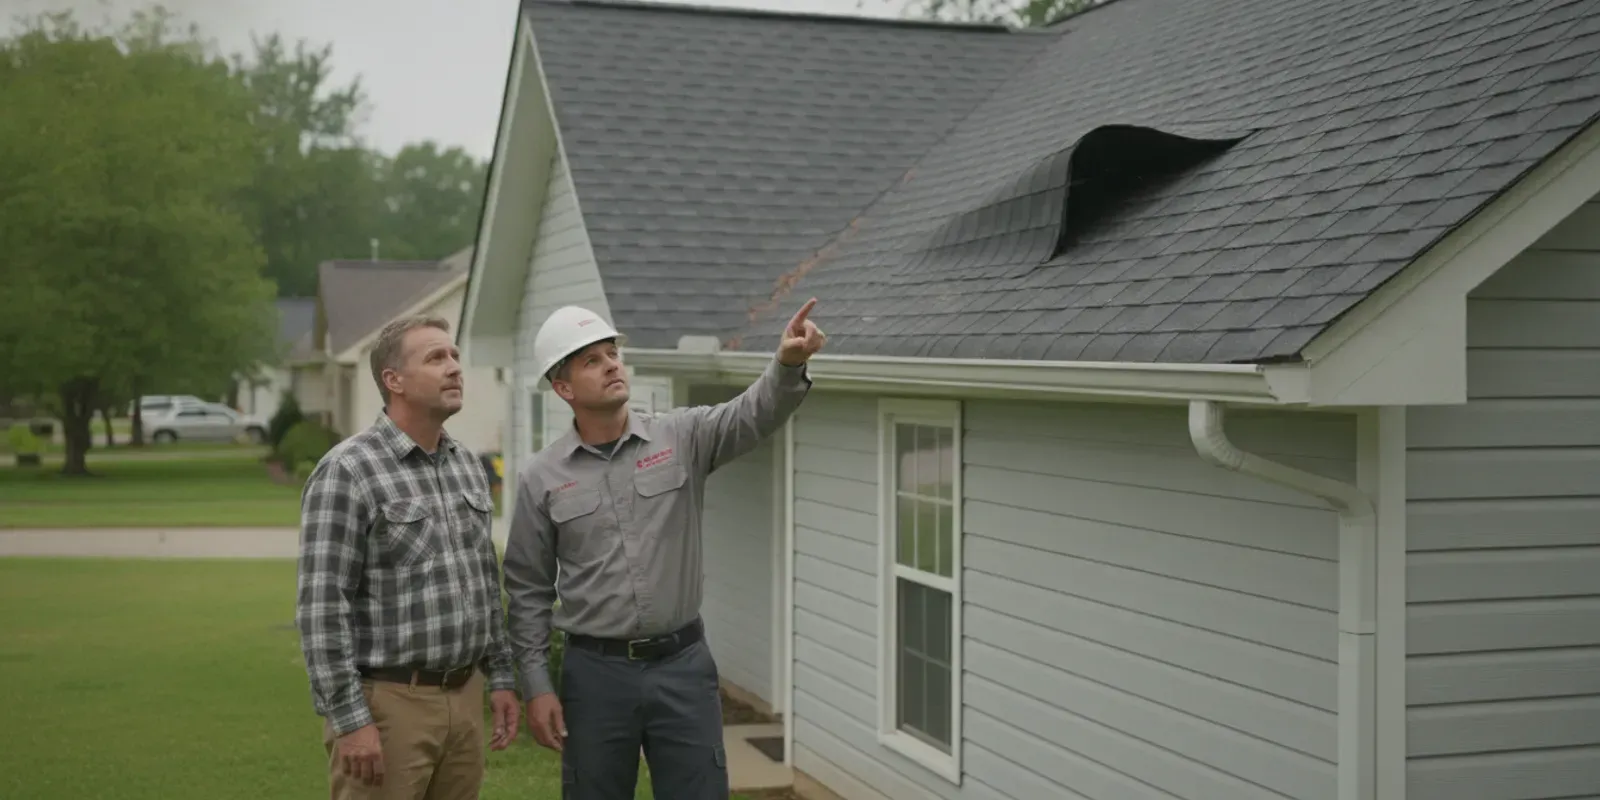
Think of your shingles as your home's armor. They are the first and most important line of defense against rain. Over time, exposure to the elements, like harsh sun, strong winds, or hail, can cause shingles to crack, curl at the edges, or even get blown off entirely. When a shingle is damaged or missing, it exposes the sensitive underlayment beneath it to direct rainfall. This creates a direct path for water to seep into your roof decking and, eventually, your attic and ceiling. It’s a common issue, especially on older roofs, but it requires immediate attention to prevent more widespread water damage. A professional residential roofing expert can identify and replace compromised shingles to restore your roof's integrity.
Cracked Flashing Around Chimneys and Vents
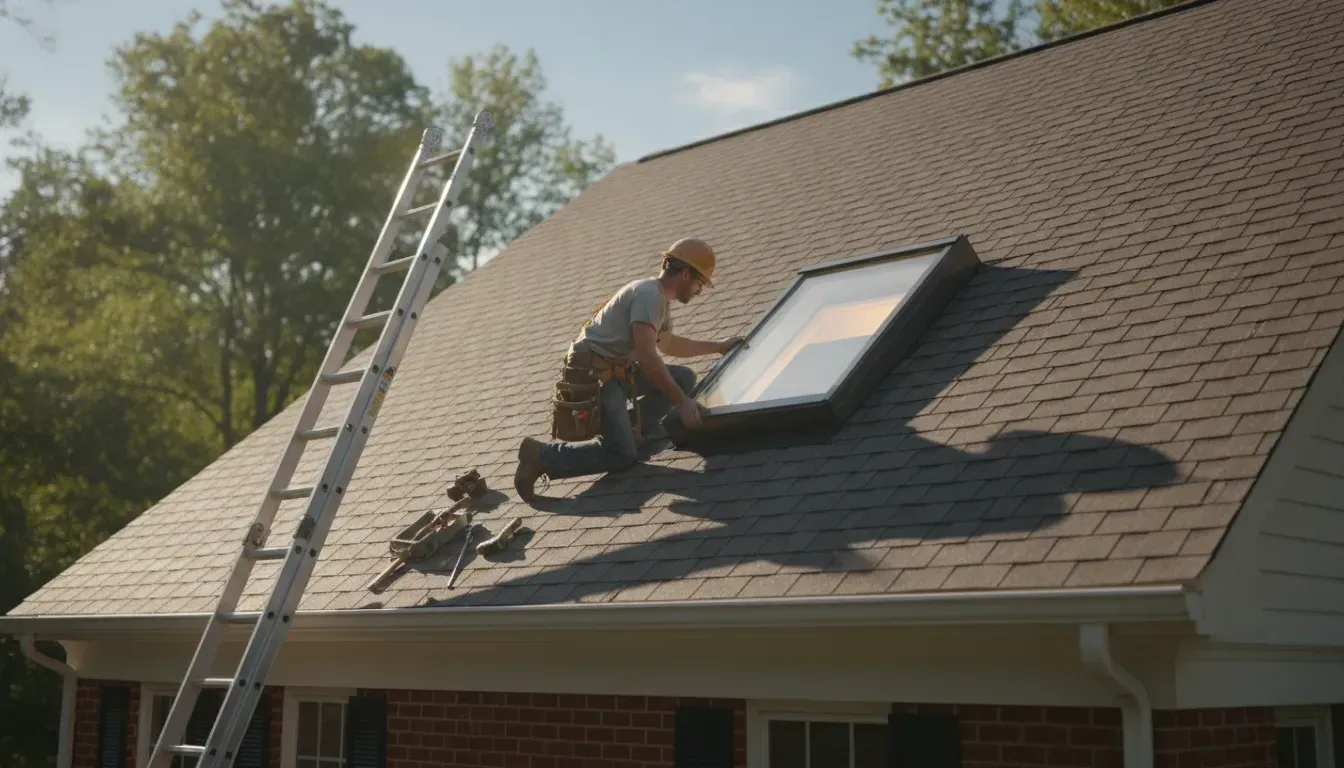
Your roof isn't one flat, seamless surface. It has vents, pipes, skylights, and a chimney, all of which create interruptions in the shingle pattern. To seal these vulnerable joints, roofers install flashing, which is typically a thin sheet of metal designed to direct water away from the openings. If this flashing was installed incorrectly or has started to rust, crack, or pull away from the roof over time, it creates a perfect entry point for water. A leak around a chimney or vent is often a direct result of failed flashing. Because these areas are complex, it’s a job best left to a professional who can ensure a durable, watertight seal.
Clogged and Overflowing Gutters
It might seem strange, but the source of your ceiling leak could actually be your gutters. Your gutter system is designed to catch rainwater and channel it safely away from your home's foundation and roofline. When gutters become clogged with leaves, twigs, and other debris, that water has nowhere to go. It backs up and overflows, pooling along the edge of your roof. This standing water can easily seep underneath your shingles and fascia boards, causing rot and eventually leaking into your attic and walls. Regular maintenance is key to preventing this. Keeping your gutters clean and clear ensures they can do their job and protect your entire home from water damage.
Worn-Out Roofing Underlayment
Beneath your shingles lies a critical layer of protection called the underlayment. This is a water-resistant membrane that acts as a secondary barrier, catching any moisture that might sneak past the shingles. However, this material doesn't last forever. Over many years, the underlayment can become brittle, tear, or develop holes, especially if the shingles above it are already compromised. When the underlayment fails, there is nothing left to stop water from soaking into the wooden roof deck. This can lead to wood rot and significant leaks that appear on your ceiling. A worn-out underlayment is often a sign that it's time for a full roof replacement.
Failing Seals Around Roof Vents
Your roof likely has several pipes and vents protruding from it for plumbing and attic ventilation. These penetrations are sealed with a rubber or neoprene boot or collar that fits snugly around the pipe. Constant exposure to UV rays and temperature fluctuations causes these rubber seals to degrade over time. They can become brittle, shrink, and develop deep cracks, breaking the watertight seal. Once that happens, rainwater can drip directly down the pipe and into your attic. This type of leak is often slow and steady, but it can cause serious damage before it’s noticed. Catching these failing seals during a routine inspection can save you from a costly interior repair.
First Steps: What to Do When You Spot a Leak
Seeing a water stain on your ceiling is alarming, but a calm, quick response can prevent a small issue from becoming a major disaster. Before you do anything else, focus on these four immediate steps to control the damage, ensure your family’s safety, and prepare for a professional repair.
Move Furniture and Protect Your Floors
Your first priority is getting anything valuable out of the water’s path. Move furniture, electronics, and rugs to a dry area. If something is too heavy to move, cover it with thick plastic sheeting. Next, contain the drip. Place a bucket or any waterproof container directly under the leak to catch the water. For soaked carpets, lay down old towels to absorb as much moisture as possible. This simple step prevents water from seeping into your subfloors or spreading to other rooms, saving you from more extensive and costly damage down the line.
Carefully Drain Any Ceiling Bubbles
If you see the paint or drywall on your ceiling starting to bulge, that’s a sign water is pooling up. You can relieve the pressure to prevent the entire section from collapsing. First, place a large bucket directly underneath the bubble. Then, using a screwdriver or a small drill bit, carefully puncture the center of the bulge. This creates a controlled path for the water to drain, preventing a sudden burst that could cause significantly more damage. It’s a small action that can stop a much bigger problem in its tracks while you wait for a professional.
Shut Off Power to the Affected Area
This step is a non-negotiable safety measure. Water and electricity are a dangerous combination, so head to your breaker box and shut off power to the room with the leak. This is especially critical if water is dripping near light fixtures or ceiling fans. Turning off the electricity eliminates the risk of electrical shock or a short circuit that could lead to a fire. Even if the leak seems far from any wiring, it’s always better to be cautious. You can’t see what’s happening behind the drywall, so make safety your top priority.
Document Everything for Your Insurance Claim
Once the immediate crisis is managed, grab your phone and start documenting. Take clear photos and videos of the leak, the dripping water, the bulging ceiling, and any damaged property. Capture the scope of the problem from different angles. It’s also smart to jot down the date and time you first noticed the leak. This detailed record is incredibly valuable when you file an insurance claim. It provides clear proof of the damage, which will streamline the process with your insurance provider and the residential roofing experts who will fix the problem.
How to Find the Source of the Leak
Finding where a roof leak starts can feel like a bit of detective work. Water is tricky; it can travel along roof decking, rafters, and ceiling joists before it finally decides to drip onto your living room floor. This means the wet spot on your ceiling is often not directly below the actual problem on your roof. Before you can even think about a repair, you need to trace the water back to its entry point. Grab a good flashlight, and let’s walk through how you can pinpoint the source of the leak safely.
Start Your Search in the Attic
If you have attic access and feel safe doing so, this is the best place to begin your investigation. The most important first step is to go into the attic right above where you see the leak in your ceiling. Carefully make your way to that area, being mindful to only step on the sturdy joists, not the drywall ceiling below. Once you're there, look for obvious signs of water intrusion like damp or compressed insulation, dark water stains on the wood, or active dripping. This initial look can provide valuable clues for when you call for a professional roof inspection, giving the experts a head start on diagnosing the problem.
Follow the Water Trails on Rafters and Beams
Once you’re in the attic, try to find exactly where the water is coming from. Since water flows downhill, the entry point on the roof is likely higher up than where you see the drips inside. Look for water trails along the rafters and the underside of the roof decking. These often appear as dark, discolored streaks on the wood. Follow these trails upward to trace the water’s path back to its origin. The leak could be coming from a nail that missed a joist, a cracked piece of flashing around a vent, or a damaged shingle. This step is crucial for understanding the full scope of your residential roofing issue.
Rule Out Plumbing Problems
It’s also important to confirm that the leak is actually rain-related. If the leak doesn't only happen when it rains, it might be a plumbing issue, not a roof problem. Before you assume the worst about your roof, check your attic for any plumbing pipes, HVAC units, or water heaters located near the leak area. A slow drip from a pipe fitting or a clogged condensation line can easily be mistaken for a roof leak, especially if it soaks the same area of the ceiling. If you notice the ceiling is wet on a dry, sunny day, the culprit is almost certainly not your roof. Making this distinction early can save you a lot of time.
Use Buckets to Track the Drip's Location
While you’re in the attic, put a bucket under the leak to collect the dripping water. This simple action serves two important purposes. First, it helps prevent the water from soaking more of your insulation and causing further damage to the ceiling drywall below. Second, it confirms the exact spot where the water is coming down. If you have a slow, hard-to-find leak, you can place a piece of plywood or a sturdy board over the joists and put the bucket on top of it. This not only contains the mess but also helps you verify the drip’s location over time, making the source much easier for a professional to find and repair.
Temporary Fixes to Minimize Damage
When you've got water coming into your home, every second counts. While you wait for a professional roofer to arrive, your main goal is damage control. These temporary fixes are designed to protect your home and belongings from further harm. Think of them as first aid for your roof. It’s crucial to remember that these are not permanent solutions. A professional inspection is still necessary to address the root cause of the leak and prevent long-term issues like mold or structural rot. Your safety is the top priority, so never attempt a fix that feels dangerous, especially if it involves climbing onto a wet or steep roof. If you're not comfortable, it's always better to focus on managing the water inside and wait for the experts. These steps can help you take control of the situation and reduce the immediate stress of a leak.
Tarp Your Roof in an Emergency
If you can safely access your roof and locate the general area of the leak, covering it with a heavy-duty tarp is an effective emergency measure. Spread the tarp so it extends several feet beyond the suspected leak on all sides, ensuring it lies flat against the roof surface. Instead of using nails, which can create new holes and more problems, secure the tarp with sandbags or pieces of wood placed along the edges. This method prevents wind from lifting the tarp without causing additional damage to your shingles. Remember, this is only a temporary shield against the rain. A proper residential roofing repair is needed to permanently fix the underlying issue.
Contain the Drips Inside Your Home
Your immediate priority indoors is to manage the water and protect your property. Start by placing a large bucket or plastic bin directly under the drip to catch the water. If the leak is spread out, you might need a few. For extra protection, lay down old towels or plastic sheeting on the floor around the bucket to absorb any splashes. Don't forget to move any furniture, electronics, or valuable items out of the affected area. If you have large pieces of furniture that can't be moved, cover them with a waterproof tarp or plastic sheeting. This simple step can save you from costly repairs or irreplaceable losses.
Safely Puncture Ceiling Bulges to Release Water
A sagging or bulging spot on your ceiling is a serious warning sign. It means water is pooling and putting immense pressure on the drywall, which could lead to a collapse. To prevent this, you need to release the water safely. Place a bucket directly underneath the lowest point of the bulge. Then, carefully use a screwdriver or a similar sharp tool to poke a small hole in the center of the bubble. This will create a controlled drain for the trapped water to flow into the bucket. It might seem counterintuitive to make a hole, but it relieves the weight and prevents a much larger, more destructive ceiling failure.
Apply a Temporary Sealant or Patch
For small, obvious leaks around flashing, vents, or pipes, a temporary sealant can be a quick fix. You can find roofing cement or flashing sealant at most hardware stores. After cleaning and drying the area as much as possible, apply the sealant generously over the crack or gap with a putty knife. This creates a temporary waterproof barrier that can hold until a professional can assess the situation. Keep in mind this is just a patch. It won't hold up forever, and the real problem might be more extensive than what you can see. A professional will need to perform a full roof repair to ensure the area is properly sealed for the long term.
When to Call a Roofing Professional
While temporary fixes can be a lifesaver in a pinch, they are not a permanent solution. Knowing when to step back and call in a professional is key to protecting your home and your safety. Some jobs are simply too big, too complex, or too dangerous to handle on your own. If you find yourself facing any of the situations below, it’s time to contact a licensed roofing contractor.
Red Flags That Require an Expert
A small, single drip might seem manageable, but certain signs point to a much larger issue brewing overhead. If you notice multiple leaks throughout your home, large or rapidly growing water stains on your ceiling, or any visible sagging, don't wait. Ignoring a ceiling leak can lead to serious problems like mold, structural damage, and ruined insulation. What looks like a minor inconvenience can quickly become a major, expensive repair. A professional can assess the full scope of the problem, ensuring that the fix addresses the root cause for any type of residential roofing system. Catching it early saves you stress and money in the long run.
If the Repair Feels Unsafe or Too Complex
Your safety should always come first. If you can't find the source of the leak from inside your attic, the repair will likely involve getting on the roof. Climbing onto a steep or wet roof without the proper safety equipment and training is incredibly risky. If you feel at all hesitant, trust your gut. A professional roofer has the experience and gear to work safely and efficiently. Complex leaks, especially those around chimneys, skylights, or vents, require specific expertise. A botched DIY repair can often make the damage worse, so it's best to rely on a team you can trust to get the job done right.
When Your Insurance Company Requires It
Dealing with a roof leak is stressful enough without worrying about the cost. Many homeowners hesitate to call a professional, fearing a high bill, but your homeowner's insurance may cover the damage. Most insurance policies require a formal assessment and estimate from a licensed contractor to process a claim. A professional roofer can provide the detailed documentation your insurer needs and can often help you with the claims process. They can accurately identify the cause of the leak and ensure all related damages are accounted for, helping you get the full coverage you’re entitled to.
If You Suspect Mold or Structural Damage
If you see dark spots on your ceiling or notice a musty smell, you could be dealing with mold. Mold can begin to grow in as little as 24 to 48 hours after water exposure, and it poses a health risk to your family. By the time you see a stain, mold may already be spreading inside your walls or attic. Similarly, a sagging or bulging ceiling is a sign of structural damage. The weight of the water is putting immense strain on your home’s framework. Both situations are serious and require immediate professional intervention for both commercial roofing and residential properties to ensure the area is safely repaired and restored.
What to Expect from a Professional Repair
When you call in a professional, you’re not just getting a quick patch. You’re getting a systematic process designed to find the root of the problem and fix it for good. An experienced team will walk you through every step, from the initial inspection to the final interior touch-ups, so you know exactly what’s happening above your head.
A Thorough Inspection to Pinpoint the Source
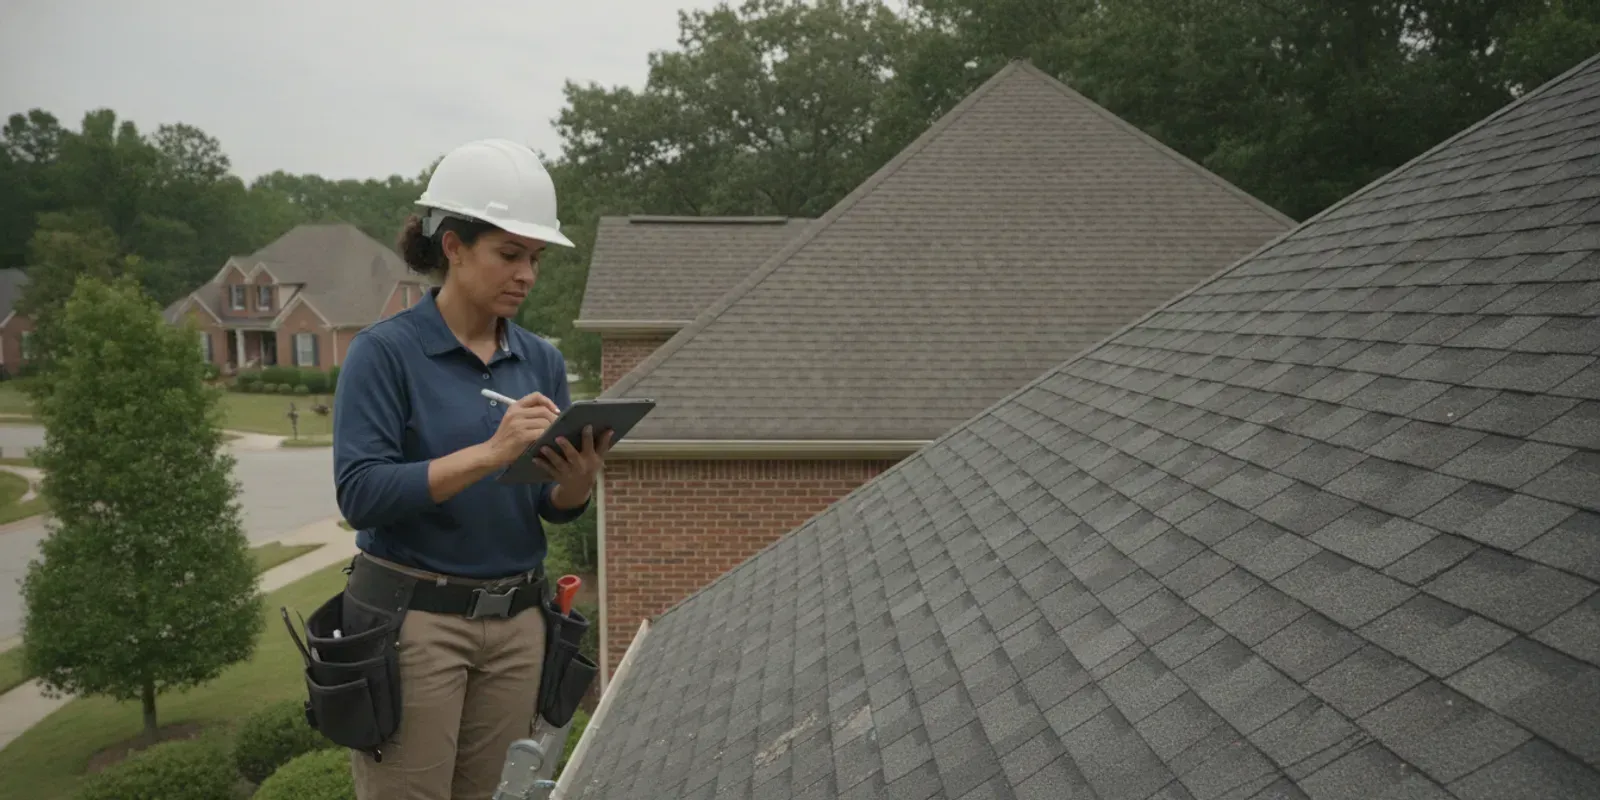
A professional roofer’s first step is to play detective. Finding a leak’s entry point requires a detailed investigation, not just a quick glance. They’ll ask you about the leak’s history, then conduct a full inspection. This includes examining your roof’s exterior for obvious damage and heading into your attic to look for water stains on the roof deck. In tricky cases, they might even perform a controlled water test to pinpoint the source. This thorough approach ensures they’re treating the cause, not just the symptom, which is key to a lasting repair.
Assessing the Full Extent of the Damage
A small ceiling drip can be the tip of the iceberg. Water traveling through your home’s structure often causes hidden damage. A professional assessment goes beyond the obvious stain. An experienced team will check for compromised insulation, moisture in wall cavities, early signs of mold, and potential damage to your home’s wooden frame. Catching these issues early is crucial, as ignoring them can lead to significant structural problems and more expensive repairs. A complete assessment gives you a clear picture of the situation and a plan to fix everything correctly.
Fixing the Problem at Its Source
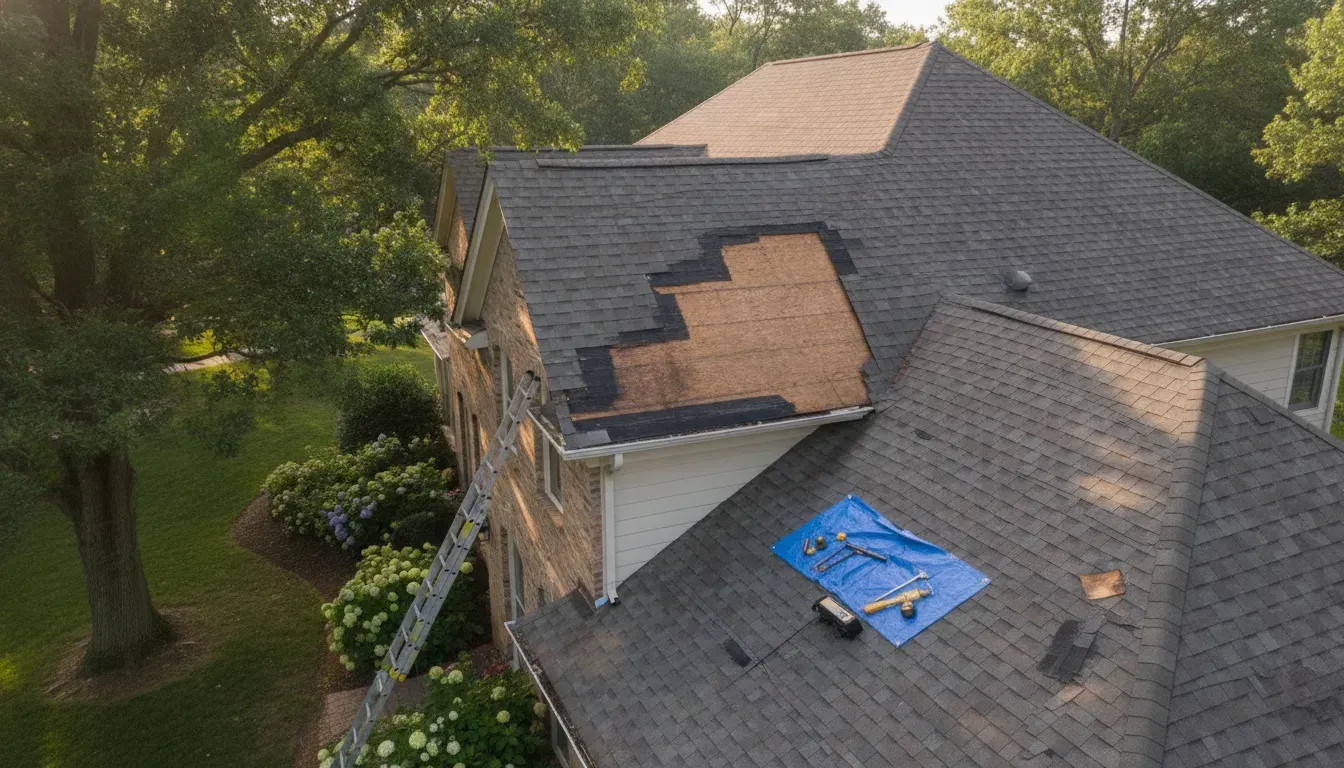
While a temporary patch is tempting, it rarely provides a lasting solution. A professional repair focuses on fixing the problem at its source so it doesn't happen again. Depending on the cause, this could mean replacing damaged shingles, installing new flashing around vents, or repairing a section of rotted roof decking. A quality residential roofing contractor uses durable materials and proven techniques to restore your roof’s integrity. This commitment to a permanent fix gives you peace of mind, knowing your home is protected from future storms.
Restoring Your Ceiling and Interior Finishes
Once the roof leak is sealed, the job isn't finished. The final step is addressing the interior damage. This typically involves repairing or replacing the water-stained section of your ceiling, whether it’s drywall or plaster. After the area is repaired, it will be primed and painted to blend seamlessly with the rest of your ceiling, leaving no trace of the leak. Some full-service companies can handle these interior repairs, saving you the hassle of hiring another contractor. After the work is done, it’s smart to monitor the area during the next heavy rain.
How to Prevent Future Ceiling Leaks
After you’ve dealt with a ceiling leak, the last thing you want is a repeat performance. The good news is that you can take control with a few proactive steps. Preventing a leak is always less stressful and more affordable than repairing one. By focusing on consistent care, you can protect your home from water damage and keep your roof in top shape for years to come. Think of it as a simple health plan for your home’s most important shield against the elements. Regular maintenance, clean gutters, professional check-ups, and quality materials are the four pillars of a leak-free roof. Let’s walk through how you can put these strategies into action.
Stick to a Regular Roof Maintenance Schedule
One of the easiest ways to prevent major issues is to make roof maintenance a regular habit. After a storm, take a quick walk around your property to see if any shingles have been lifted or blown off. A few times a year, clear away any accumulated leaves, branches, or other debris that can trap moisture and cause rot. Taking a few minutes for these simple checks can help you spot trouble early. As experts often say, regular maintenance and professional inspections are crucial for keeping your roof in optimal condition. A well-maintained residential roof not only protects your home but also preserves its value.
Keep Your Gutters Clean and Clear
It’s easy to forget about your gutters, but they play a huge role in protecting your roof and foundation. When gutters get clogged with leaves, twigs, and other debris, rainwater has nowhere to go. Instead of flowing away from your house, it backs up and can pool along the edge of your roof. This standing water can seep under your shingles and into your home, leading to leaks and water damage. To avoid this, make a point to clean your gutters at least twice a year, typically in the spring and fall. This simple task helps ensure water is directed away from your home, just as it should be.
Schedule Annual Professional Inspections
While your own visual checks are helpful, they can’t replace the trained eye of a professional. A roofing expert can spot subtle signs of wear and tear that you might miss, like cracked flashing around vents or deteriorating seals. Scheduling an annual inspection is a smart, preventative measure that can save you a lot of money and headaches down the road. Routine inspections and prompt repairs help safeguard your home and protect your wallet from future problems. When you work with a trusted team, you can feel confident that your roof is ready to handle whatever the weather brings. You can learn more about our commitment to quality and expertise by getting to know our team.
Invest in Quality Materials and Installation
When it comes to roofing, the quality of the materials truly matters. It can be tempting to choose the cheapest option, but investing in durable, high-performance materials is essential for long-term protection. Superior shingles and underlayment are designed to withstand harsh weather and last for decades, giving you peace of mind. Of course, even the best materials won't perform well without proper installation. That’s why it’s so important to hire an experienced contractor who understands the right techniques for your specific commercial or residential property. This combination of quality products and expert craftsmanship is your best defense against future leaks.
Related Articles
- 24 Hour Emergency Roof Repair: What to Do First
- Roof Replacement Cost in Atlanta | Total Roof Solutions
- Cost to replace your roof in Atlanta | Total Roof Solutions
- Key Factors in a Commercial Roof Replacement
- A Guide to the Commercial Roof Repair Process
Frequently Asked Questions
Is a small water stain on my ceiling really that urgent? Yes, you should treat any water stain as an urgent issue. The spot you see on your ceiling is just the end of the water's journey; it doesn't show you the path it took to get there. By the time a stain is visible, water may have already soaked your insulation, damaged wooden rafters, and created the perfect environment for mold to grow inside your attic or walls. Acting quickly on a small stain can prevent a much larger, more expensive structural problem.
How can I tell if the leak is from my roof or from my plumbing? The easiest way to tell the difference is to pay attention to the timing. If the water stain only appears or gets worse after it rains, the problem is almost certainly your roof. If you notice the leak on a dry, sunny day, or if the damp spot is directly below a bathroom or laundry room, it’s more likely a plumbing issue like a leaky pipe or drain.
Will my homeowner's insurance cover the cost of a roof leak repair? In many cases, yes, but it depends on your specific policy and the cause of the leak. Insurance typically covers damage from sudden events like a storm or a fallen tree, but it may not cover leaks caused by a lack of maintenance or an old, worn-out roof. Your best course of action is to document everything with photos and call a professional roofer for an official assessment. They can provide the detailed report your insurance company will need to process a claim.
How often should I have my roof professionally inspected to prevent leaks? Scheduling a professional roof inspection once a year is a smart, proactive strategy. An annual checkup allows a trained expert to spot and fix minor issues, like cracked pipe seals or a few loose shingles, before they turn into a major leak. It’s a small investment that gives you peace of mind and helps extend the life of your roof.
When is a simple repair enough, and when do I need a full roof replacement? A repair is usually the right choice when your roof is still in good overall condition but has a specific, isolated problem, like a few missing shingles or failed flashing around a chimney. A full replacement becomes necessary when the roofing system is nearing the end of its lifespan, the damage is widespread across many areas, or the underlayment beneath the shingles has failed. A thorough inspection by a professional will give you a clear answer on which approach is best for your home.